

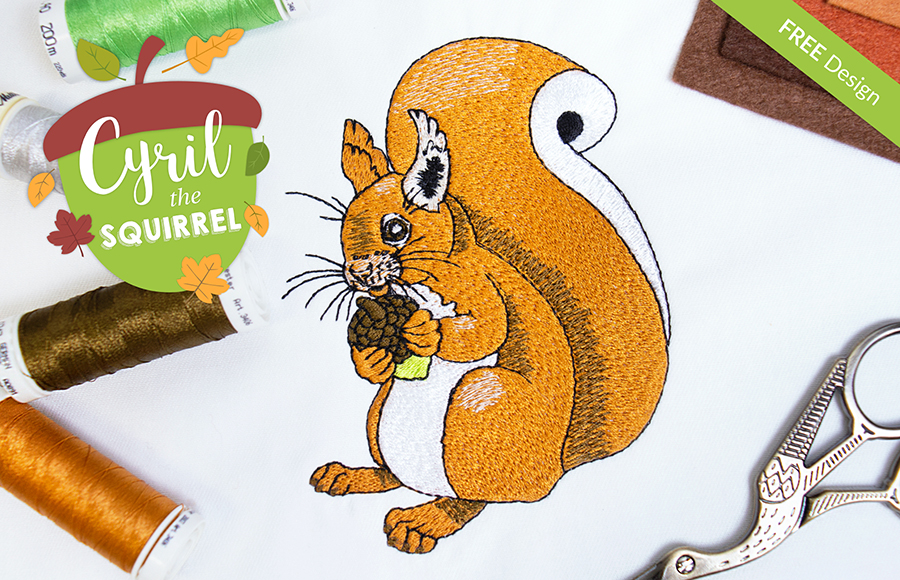
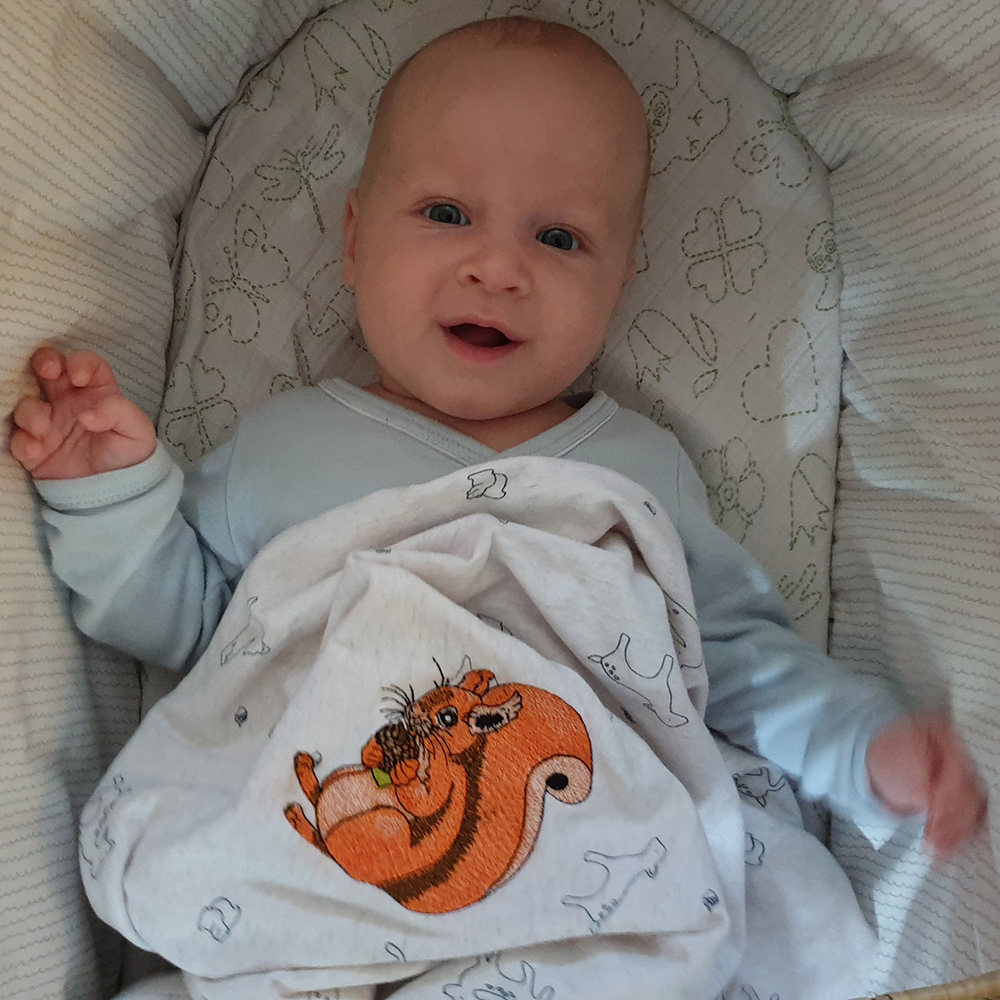
I digitized this cute design to stitch on a blanket for my new nephew. The original drawing was created by Noel Payne and amazing graphic artist from the US. I love using Noel’s graphics (see previous seahorse, pineapple, turtle and chameleon blogs), because they are simply beautiful.
In this blog I will give you an insight of how to achieve fur look and the shading by using the right stitch types and effects and layering objects. I will also explain how to create outlines easily, then connect them, so they stitch out really quickly.
I am not going to elaborate on all the small how-to details here, so if you are brand new to Hatch Embroidery, head over to the Hatch Academy where the fantastic Lindee Goodall will teach you every little thing you need to know right from the basics in easy-to-follow online lessons.
At the end of the blog you will find a button to access the free design.
Digitizing Fur & Shading
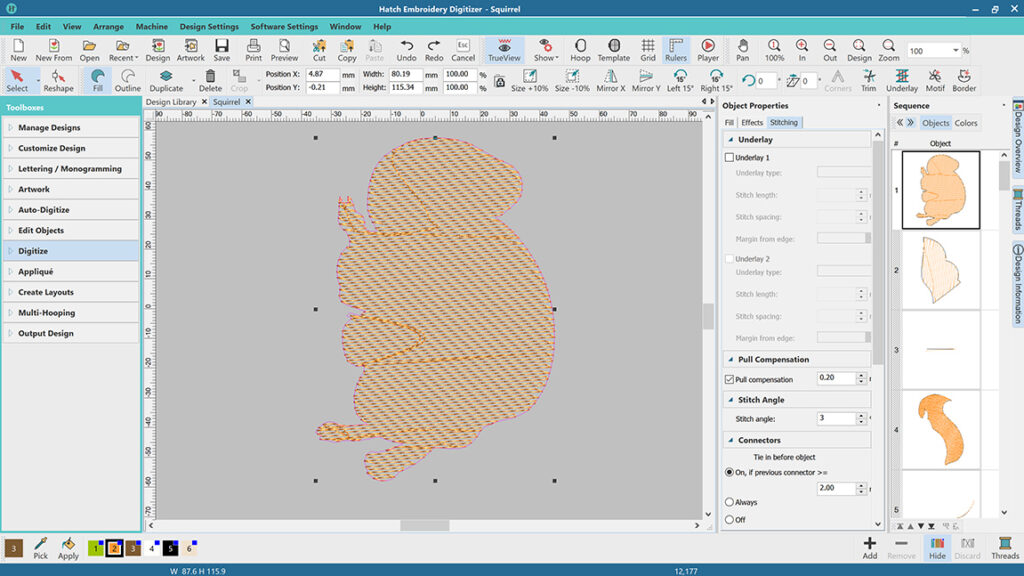
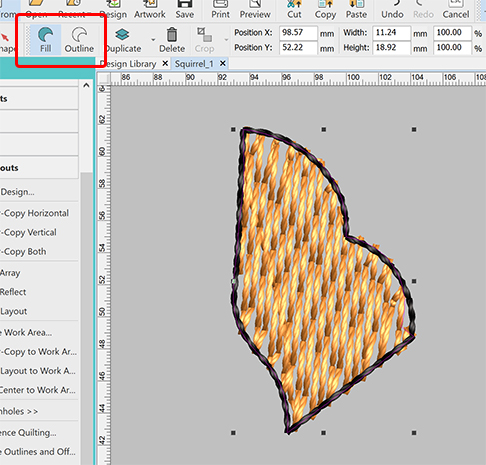
I started out by creating a global underlay, which is a base object I will use to add onto. I traced the outline of the design selected a tatami stitch type and adjusted the stitch spacing to 1mm.
I also removed any underlays.
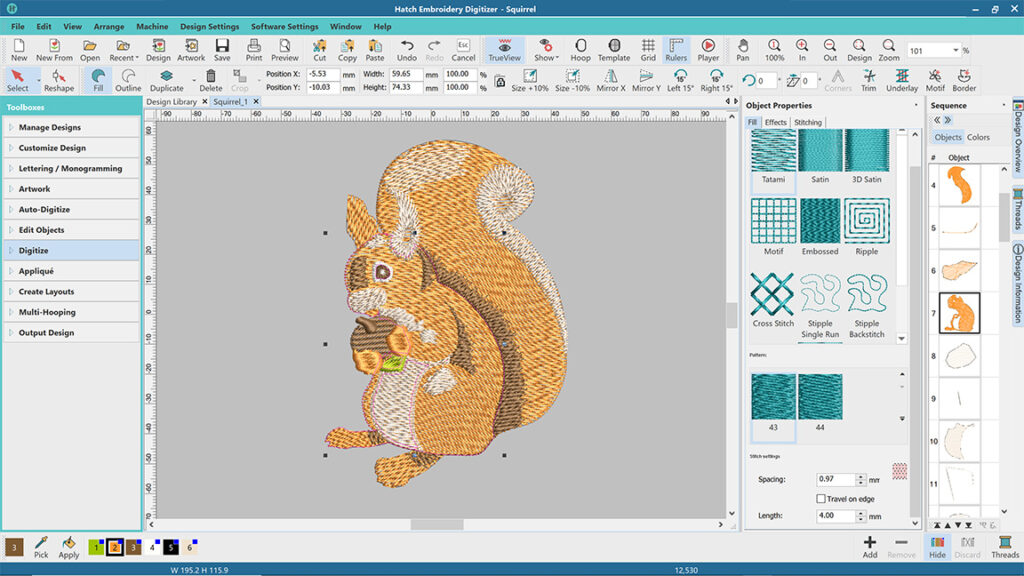
I then digitized the various objects that make up the squirrel. There are 44 different tatami fills in Hatch. I picked 38 and 43 for the larger objects on the body because they provide a more fuzzy look, which is perfect for animal fur. For the shading, I layered on darker and lighter objects with the stich spacing increased to various levels depending on the stitch angles and how dark or light I wanted the shading to be.
I used the Florentine effect to curve the stitch angles that gave the body a more 3D look, rather than a flat one.
Creating Outlines
A really easy way to create outlines around the object is with the Crete outlies & Offsets tool in the Create Layouts Toolbox.
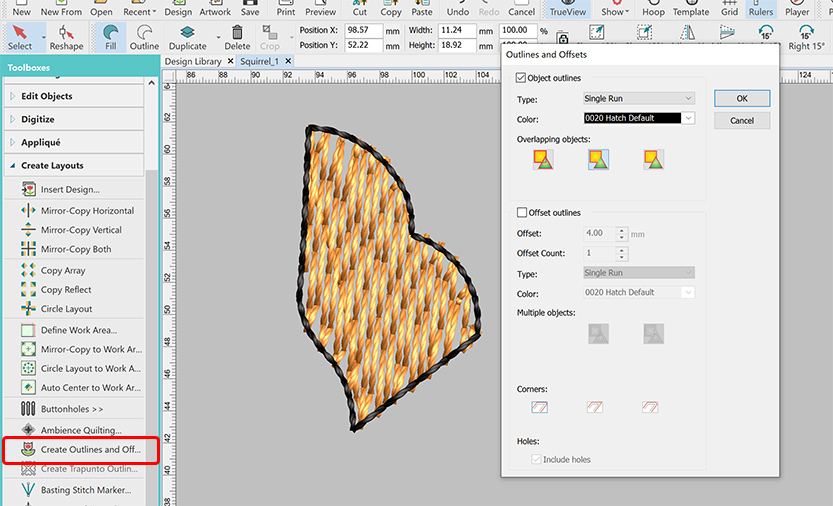
An alternative way is to create a copy of the fill object you want the outline around and then switch it to Outline.
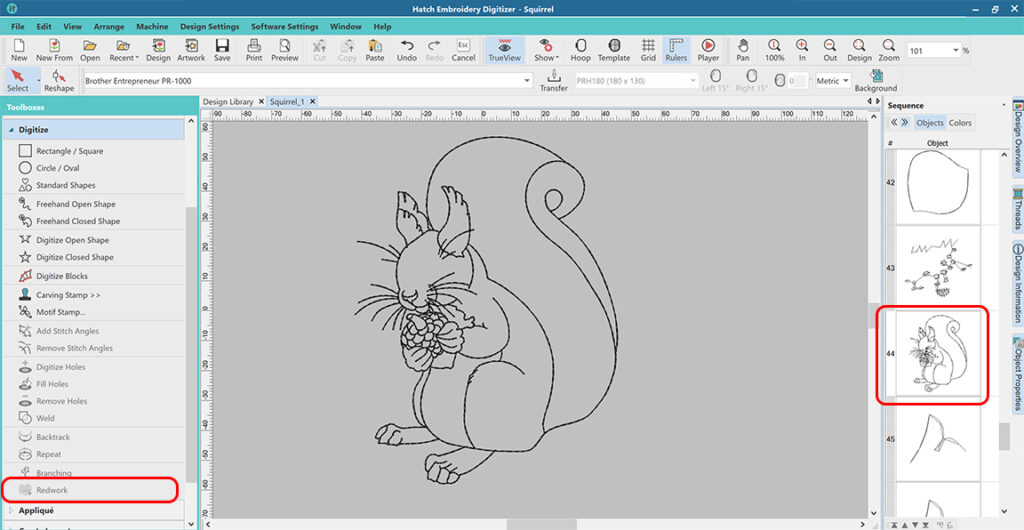
Connecting Outlines
Once I created all the outlines and other lines, it made sense to connect them in a way that they stitch out as a continuous object to speed up the process significantly. Redwork is the perfect tool for this. The only important thing with Redwork is that the lines need to touch or cross over to be able to connected.
If you want to learn more about digitizing and embroidering animals, I wrote a blog before on this topic called Digitizing Animals with Hatch Embroidery.
And this is our little man with his blanket. Not my best photography work, so the embroidery is a little blurred. 🙂
Click the link below to access the FREE Squirrel design.

Hatch Embroidery software products are in popular use in over 120 countries. It is time to join the global trend and give Hatch a try! The 30-Day Free Trial grants you unlimited use of all the amazing features and the 30-Day Money-Back Guarantee ensures that there is absolutely no risk involved.

Hatch Academy
over 200 FREE Lessons

30-Day FREE Trial
all the tools & features

Money-Back Guarantee
ease of mind

FlexPay
monthly instalments