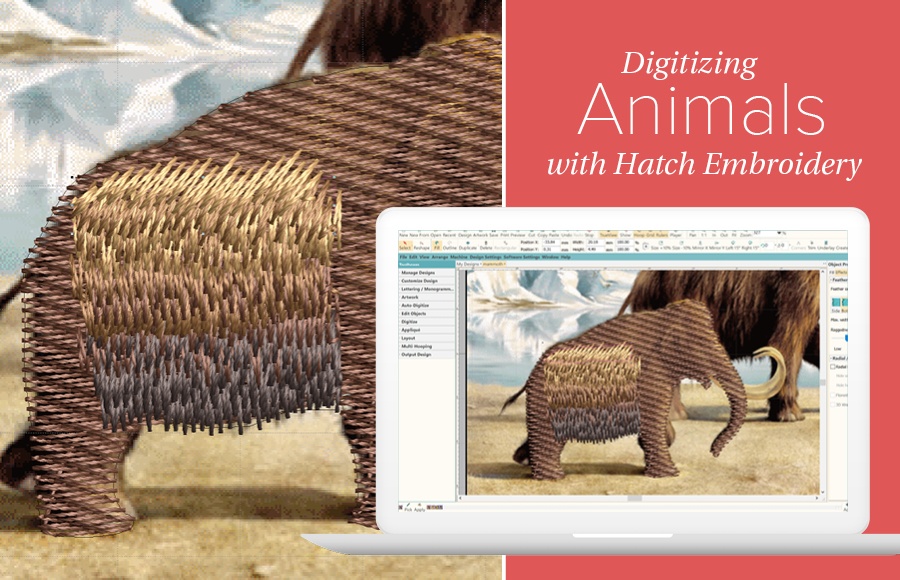
Learn about the various ways you can achieve the look of fur and feathers
Once you have mastered the basics of digitizing, you can easily find yourself looking for the next challenge. Digitizing animals with embroidery that imitates fur or feathers is definitely taking it to the next level, and it is also something that many people seem to be very interested these days.
I collated the various techniques you can use to achieve fur and feather like effect with Hatch Embroidery; some are quick and easy and some take a bit of time and effort.
Satin Shading
Satin shading is very similar to old school hand embroidery where you interweave long stitches along the surface. Most traditional fur is done in narrow patches of satin-style stitches with feathered sides.
When you use this method, you are likely to end up with quite a lot of color changes, but the end result is well worth putting in the time required to stitch out your design.
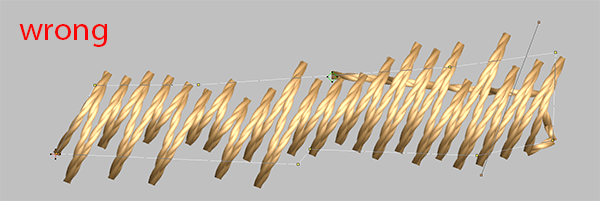
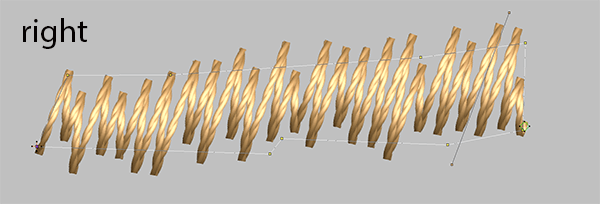
You need to switch off all underlays and make sure you set your start and end points correctly to avoid lines behind your objects.
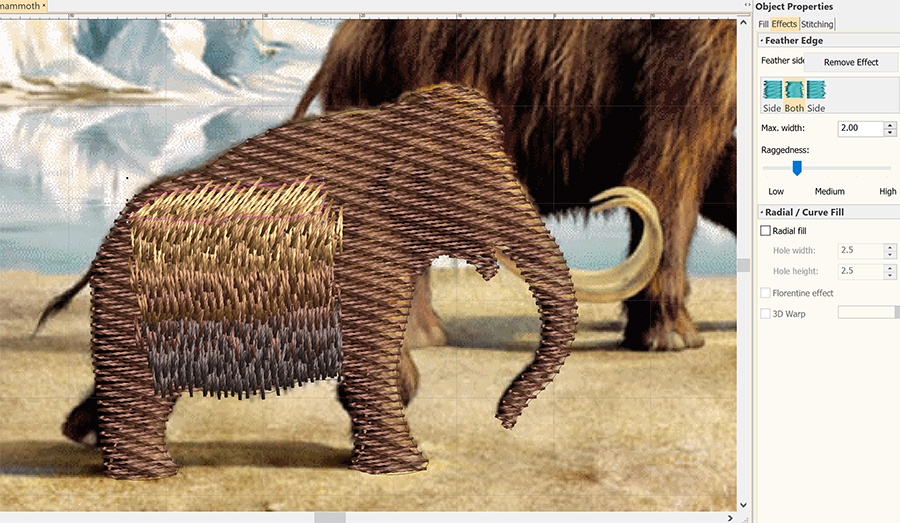
In the example below, I first digitized a global underlay with tatami fill and increased the stitch spacing to 0.80 mm, so it’s quite light. This forms the base of the design. I then digitized long narrow objects layered on top of each other to achieve the shaggy fur effect on the mammoth. I applied ‘Feather edges’ effect on both sides of the objects. I gradually blended lighter colors as I worked my way upward on the body.
Fill Shading
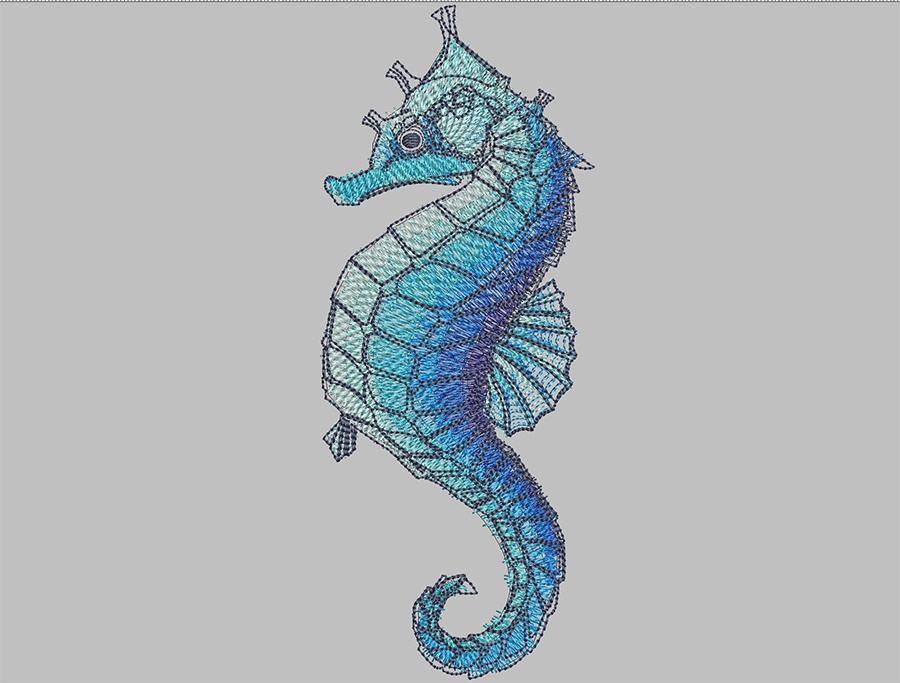
In a previous blog article I explained in great detail how I digitized this seahorse. I blended open layers of Tatami filled objects on the body up to a density. I used Ripple stitch on the fins.
Same way as above, you need to switch off all underlays and make sure you set your start and end points correctly to avoid lines behind your objects. You can use this method with wider objects.
Combination of Tatami, Run Stitches and Satin
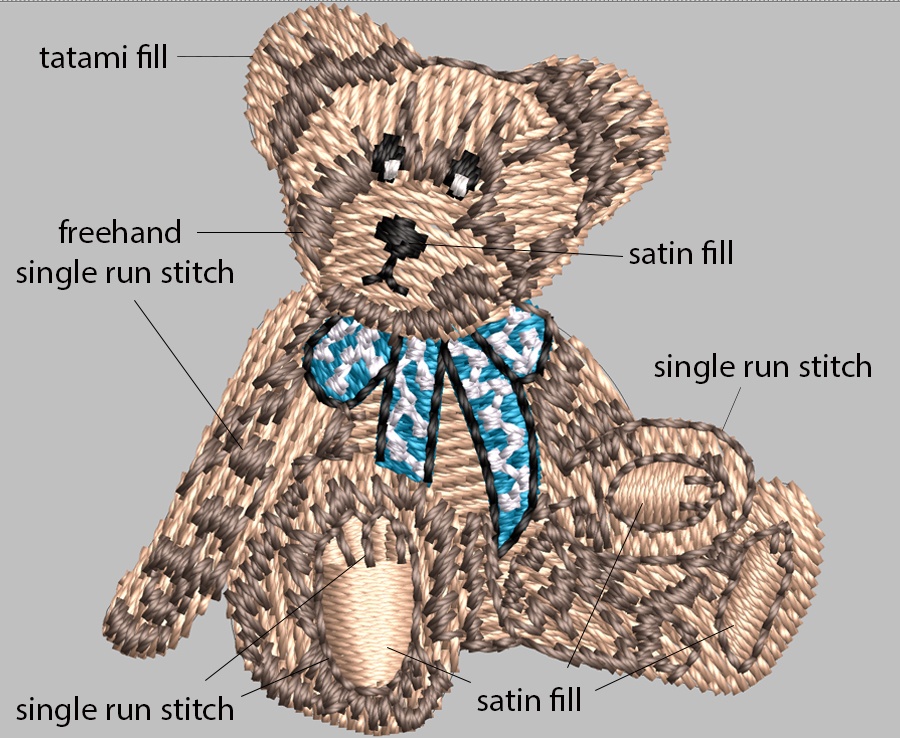
In this example the digitizer used Tatami fill and adjusted the stitch angles so the stitches imitate fur. A lot of the detail was created using the ‘Freehand Open Shape’ digitizing tool and single run stitch.
This cute jumping mouse was created by professional digitizer, Erich Campbell using a similar method. He used Tatami fills, but he built his design up with multiple layers and finished it with freehand digitizing.
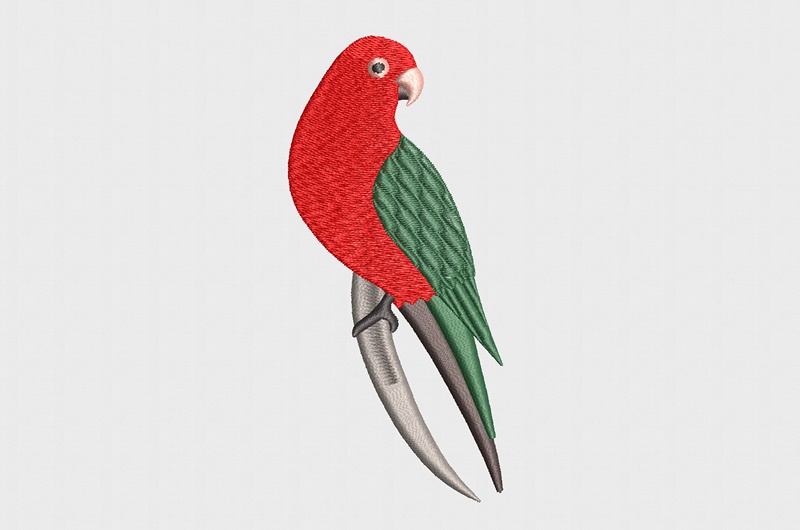
Another example of using Tatami fills to give the design more texture is this King Parrot design. I used Tatami 38 for the body to make it fuzzier and imitate the look of layers of fine feathers. There are 44 different types of Tatami fills in Hatch Embroidery Digitizer, so it is easy to find one to suit your design. I also applied the ‘Florentine’ effect so the stitches follow the curve of the body.
Embossed Fills
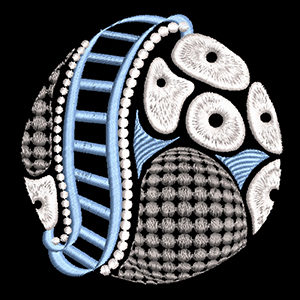
Rather than individually digitizing feathers on the wing of the king parrot, I used Embossed Oval3 fill, clicked the ‘Turn Pattern based on stitch angle(s)’ box and adjusted the stitch angles so the pattern suits the angle of the wing.
Hatch Embroidery software products are in popular use in over 120 countries. It is time to join the global trend and give Hatch a try! The 30-day Free Trial grants you unlimited use of all the amazing features and the 30-day Money Back Guarantee ensures that there is absolutely no risk involved.