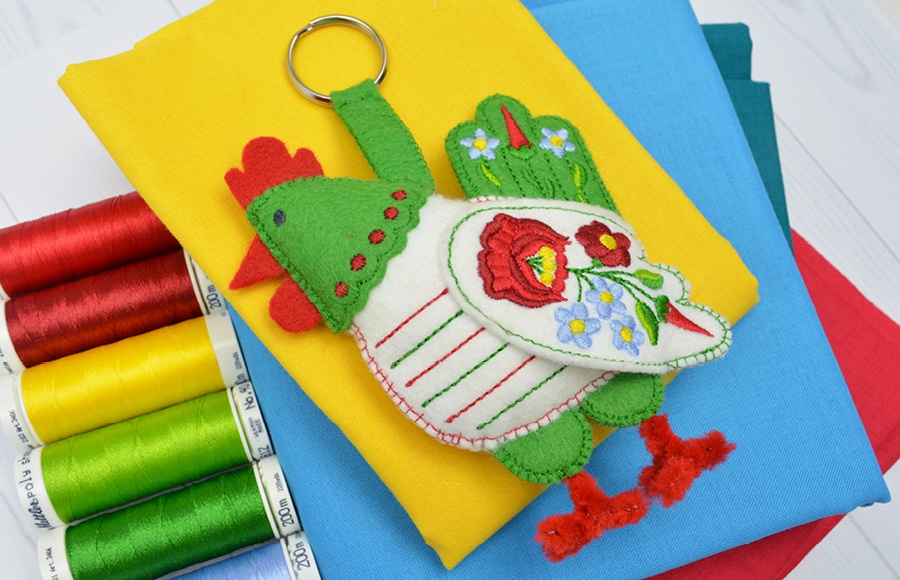
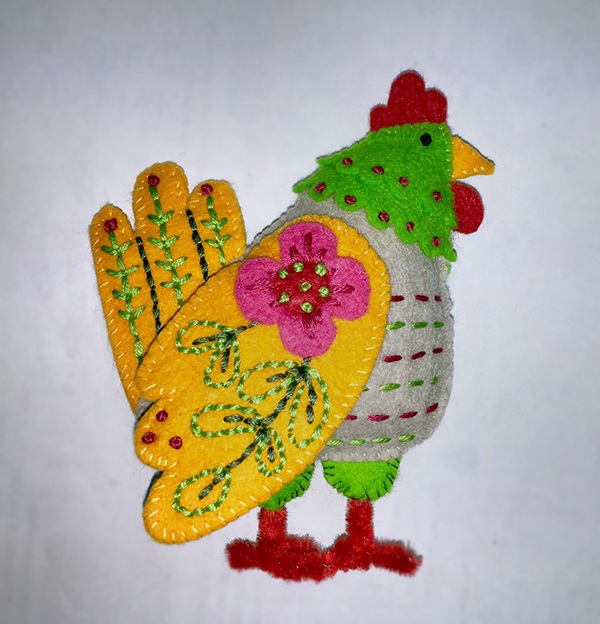
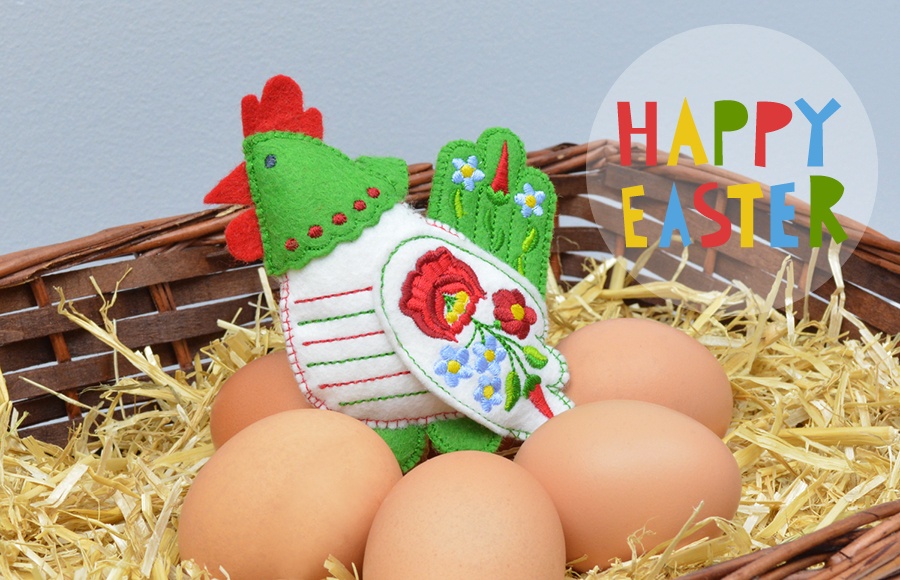
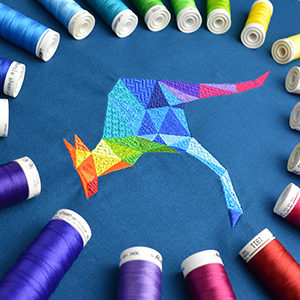
Learn how this beautiful hen was created and assembled
A while ago when I was browsing Craftsy, I came across this lovely French Hen design by MmmCrafts, and it was love at first sight! The design required hand embroidery and a bit of construction assembly work which was a lot fun, especially because I had not done any hand embroidery or hand sewing for a long time.
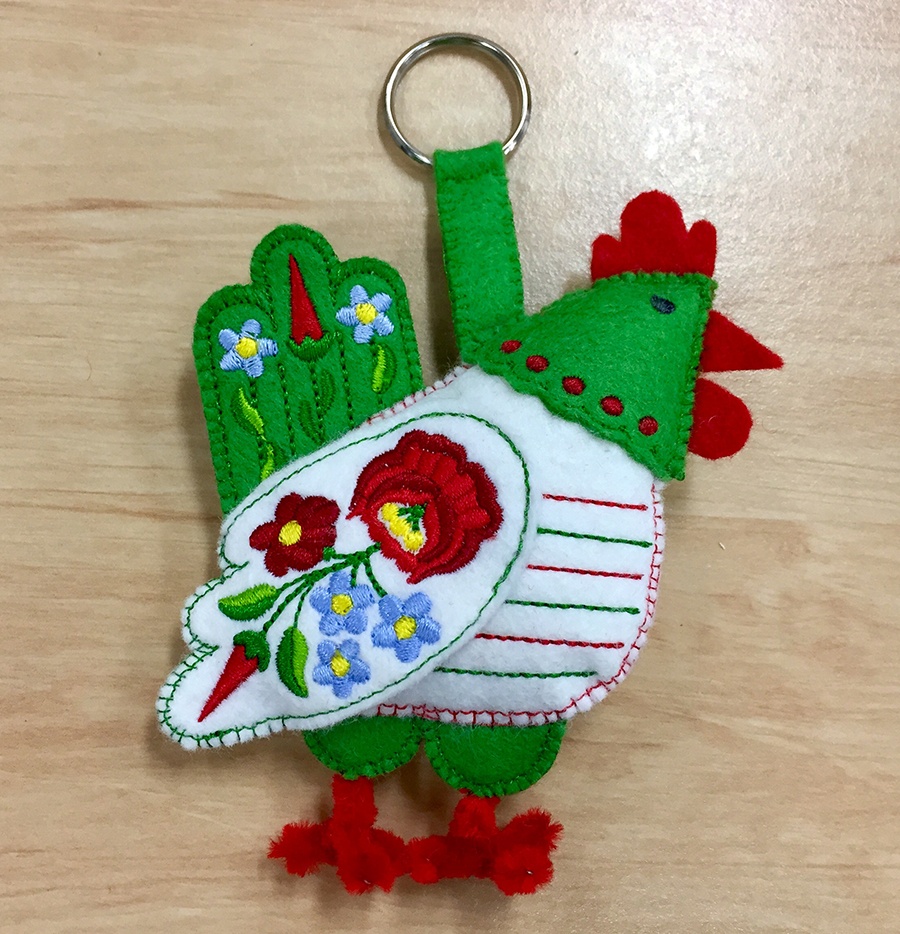
Once I created my hen, I was proudly showing it off in the office. One of our lovely business owners, Margit saw it, and asked if I could create a key ring version for her. I loved the idea! Since we are in the machine embroidery business, and Margit is originally from my own home country, Hungary, I thought it would be a nice touch to turn this hand embroidered French Hen into a machine embroidered Hungarian Folk Hen.
I started out by selecting the colors of the felt pieces required for my design. I picked the colors of the Hungarian flag: red, white and green, which worked really well.
Here are the steps I took to complete my project:
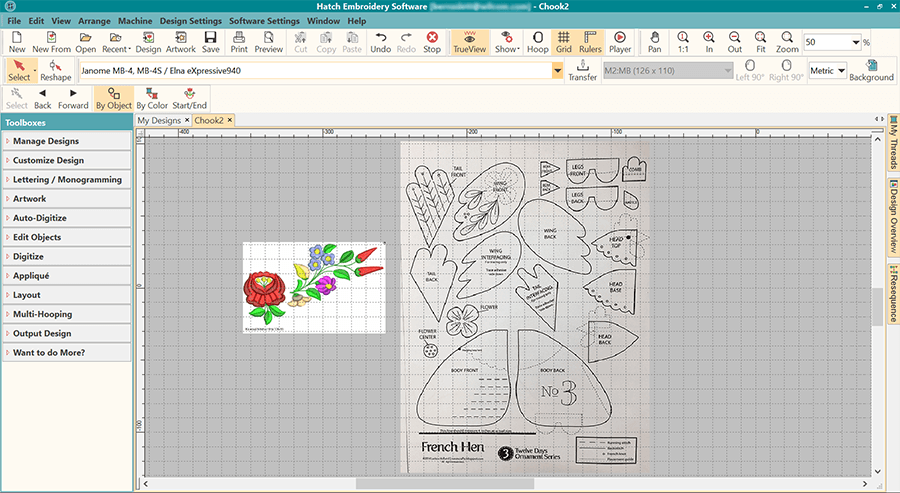
Resizing the Original Pattern
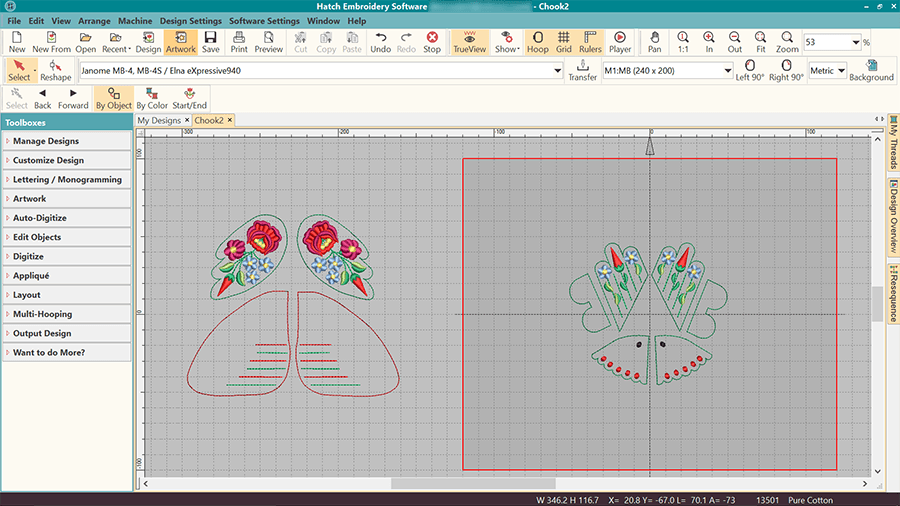
I scanned and saved the original PDF pattern as a jpg file, then inserted the artwork into Hatch Embroidery software. I decreased the size to 75% as I wanted the key fob to be smaller than the original design. I also inserted an image of old traditional Hungarian embroidery into my work area of the software. I used elements of this design to create my own that would fit the wing and tail of the hen.
Digitizing the Design
Once I had the artwork inserted in the software, I traced around the larger objects that I wanted to digitize and stitch out. I also digitized the elements of the Hungarian embroidery design that I would place on the wings and tail, resized them and moved them around to fill in the objects.
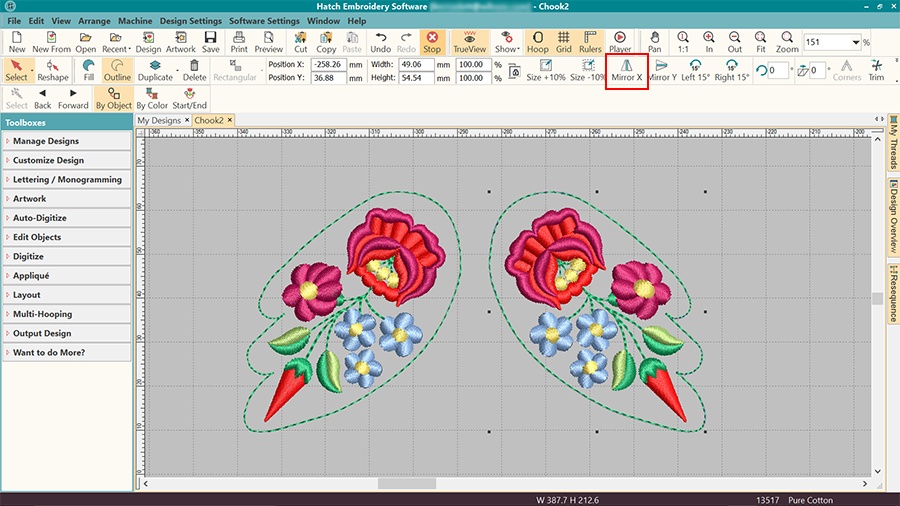
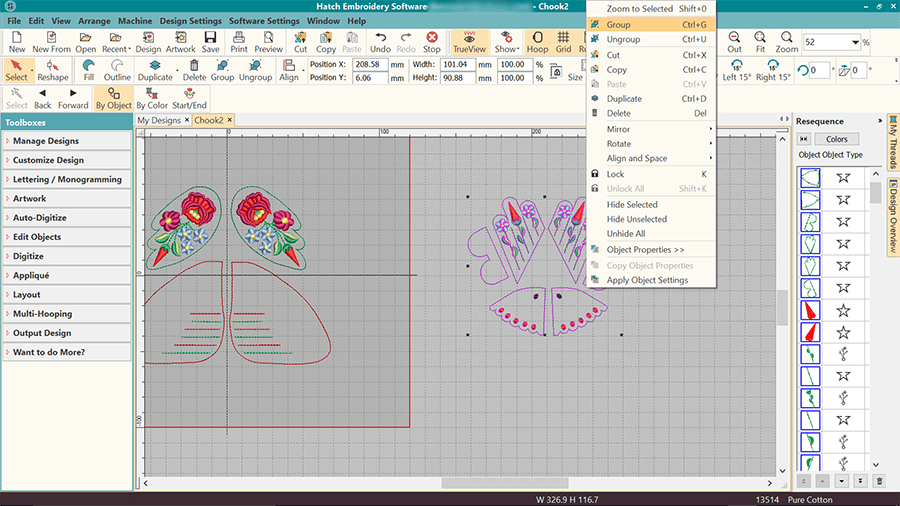
I only digitized one side of the head, body, tail, wings and legs. I grouped them together by selecting the individual objects and then pressing Ctrl+G on my keyboard. I then made copies by pressing Ctrl+D to duplicate them, and then clicked the ‘Mirror X’ tool to flip the copied objects horizontally.
I zoomed in on the wings below so you can see better:
Grouping the Objects for Stitch-out
Once I had all the objects I wanted to digitize, I needed to rearrange them to fit the pieces of felt I was going to stitch them out on. The felt pieces were not very big, so the work space was quite limited.
I created two groups of the objects. One group contained the ones that I would embroider on white felt: the two sides of the body and the two wings. (left)
The other group had all the bits in it that I would embroider on my green piece of felt: the two sides of the head and tail and the legs. (right)
Resequencing
This is a really important part, because by duplicating objects, the amount of color changes doubled up too. So I had to open the ‘Resequence’ docker and move the objects around making sure that the same color objects were going to stitch out one after the other and in the right order within both my “green felt” and “white felt” groups.
You have probably noticed by now that this project requires a lot of grouping, ungrouping and regrouping, but trust me, it sounds harder than it really is. On the upside, by the end you will definitely have improved your skills of selecting objects, grouping and ungrouping them! 🙂
Stitch Player and Test Stitch-out
It is very important to watch the Stitch Player to ensure that all the objects are in the right order. This can save you hours of time. Then you must do a test stitch out before finally stitching out on your felt pieces.
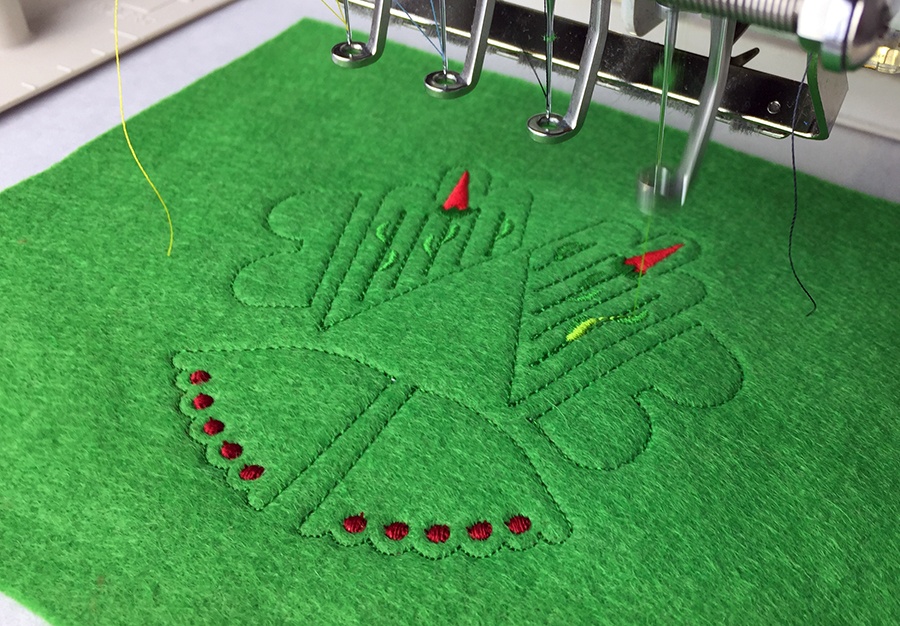
Stitching on the Green Felt Piece
After the test stitch out, I first moved all the objects I was going to embroider on the green piece of felt into my hoop in the software.
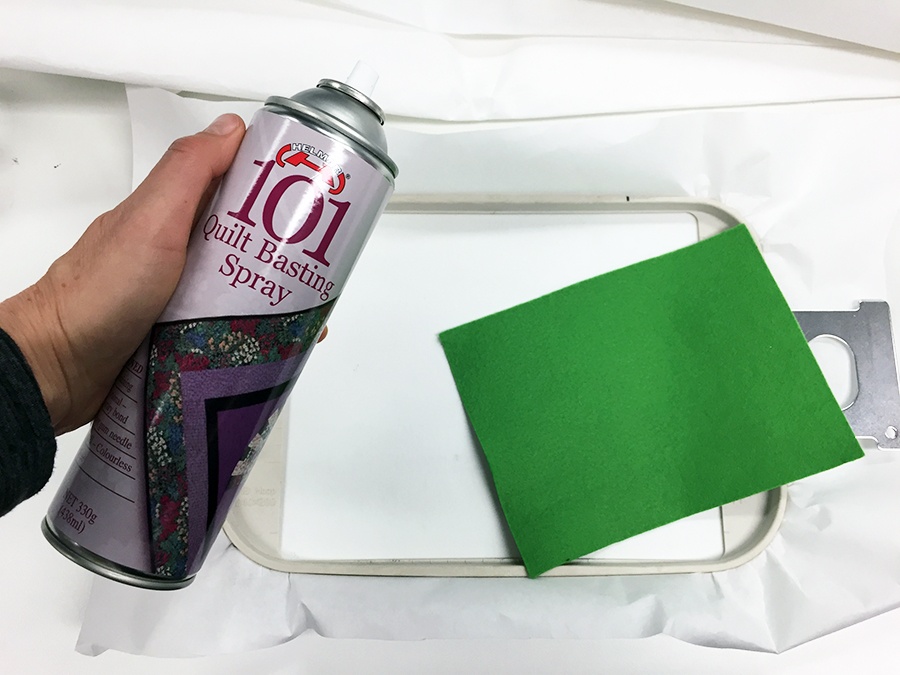
I exported my design to my file format, then moved onto setting up my machine and my embroidery hoop.
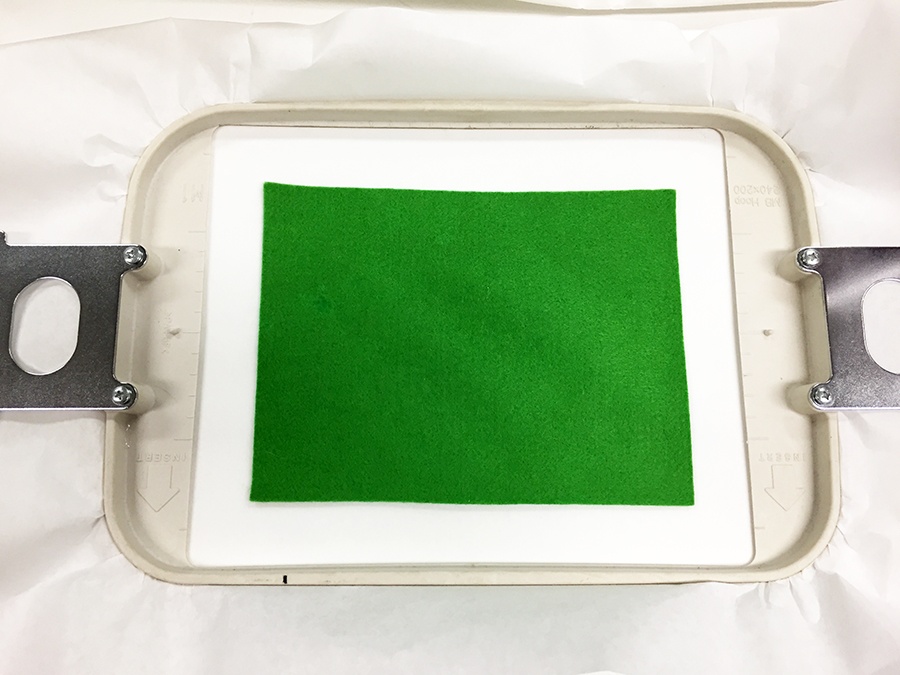
My felt piece was too small for the hoop I was using, so I hooped two layers of tearaway stabilizer, lightly sprayed the top layer with basting spray and then placed the felt on top.
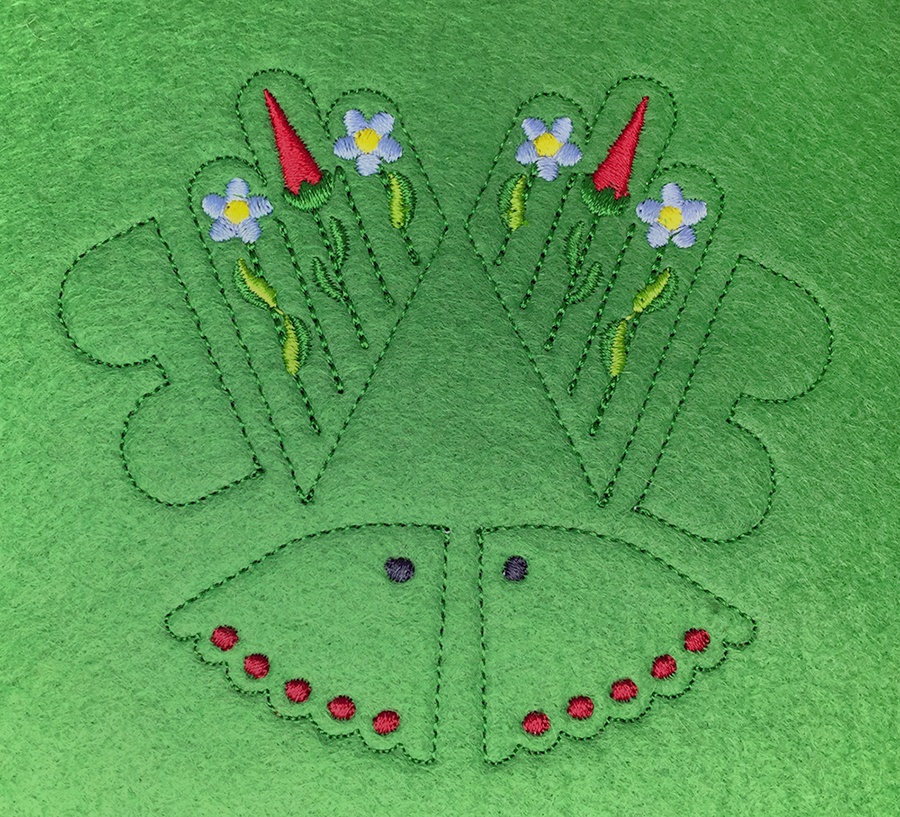
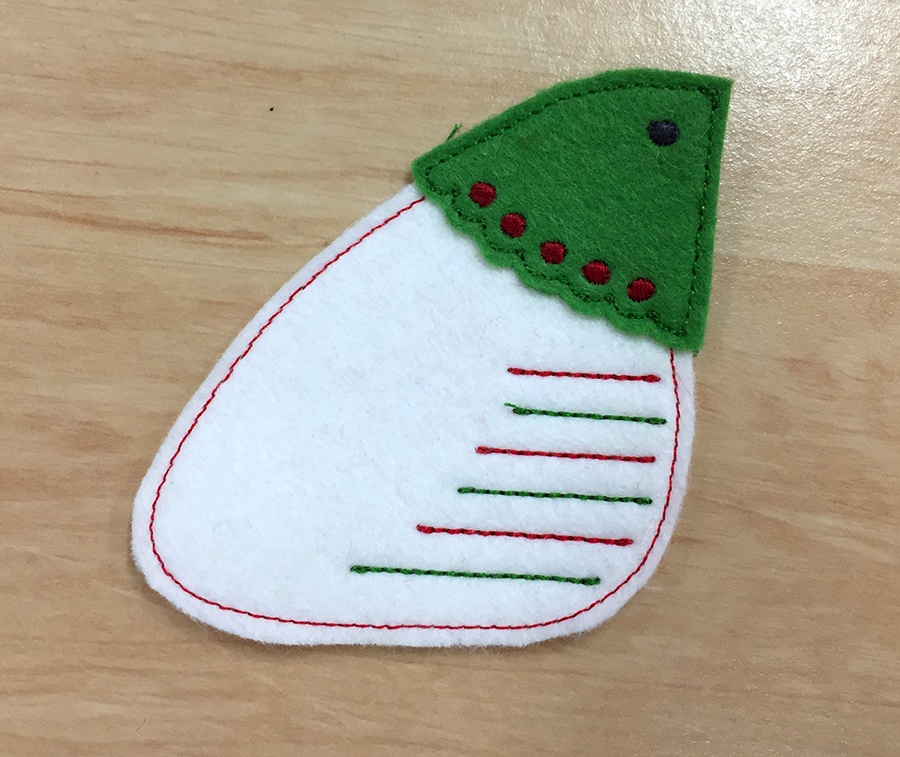
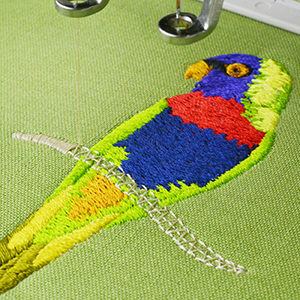
This what it looked like all stitched out:
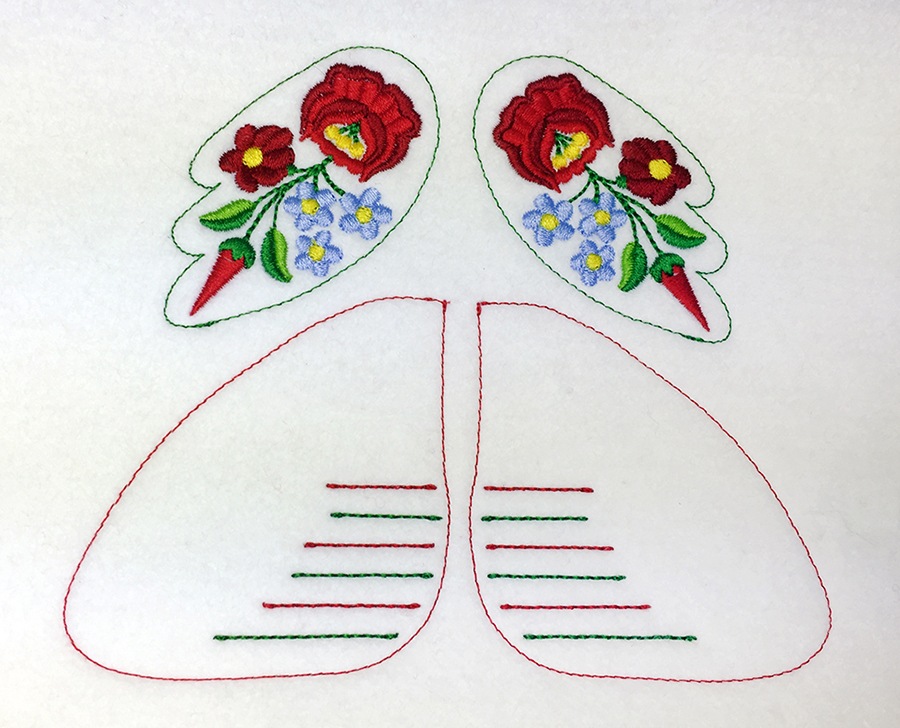
Stitching on the White Felt Piece
In order to stitch my design on the white piece of felt, I had to go back to Hatch Embroidery and move all the objects that I was going to embroider on the white felt into the hoop.
I again exported the design to my machine file format and after setting up my hoop the same way as before, I went on to stitch the design out.
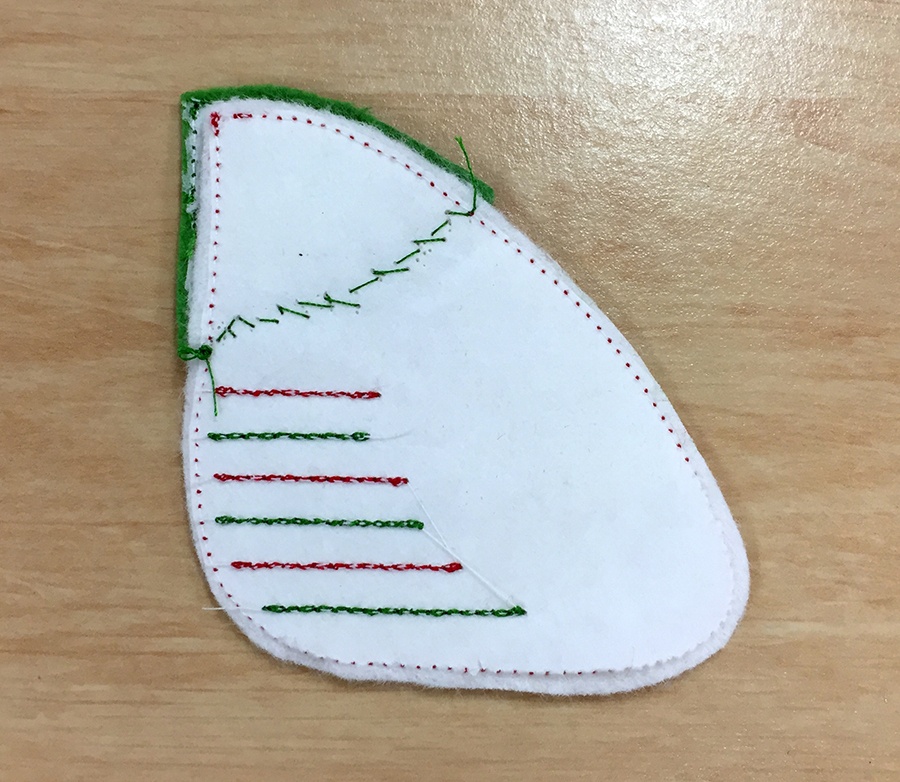
This what it looked like all stitched out:
Assembling the hen
When I had all the pieces stitched out, I cut the pieces out, leaving about 2mm fabric around the edges.
I then took out the original French Hen pattern by MmmCraft again and made a photocopy of it reducing the size to 75% to be able to cut out the beak, comb and wattle of the hen. I used a piece of red felt to do so.
I also needed it to follow the assembly instructions to create the feet using pipe cleaners.
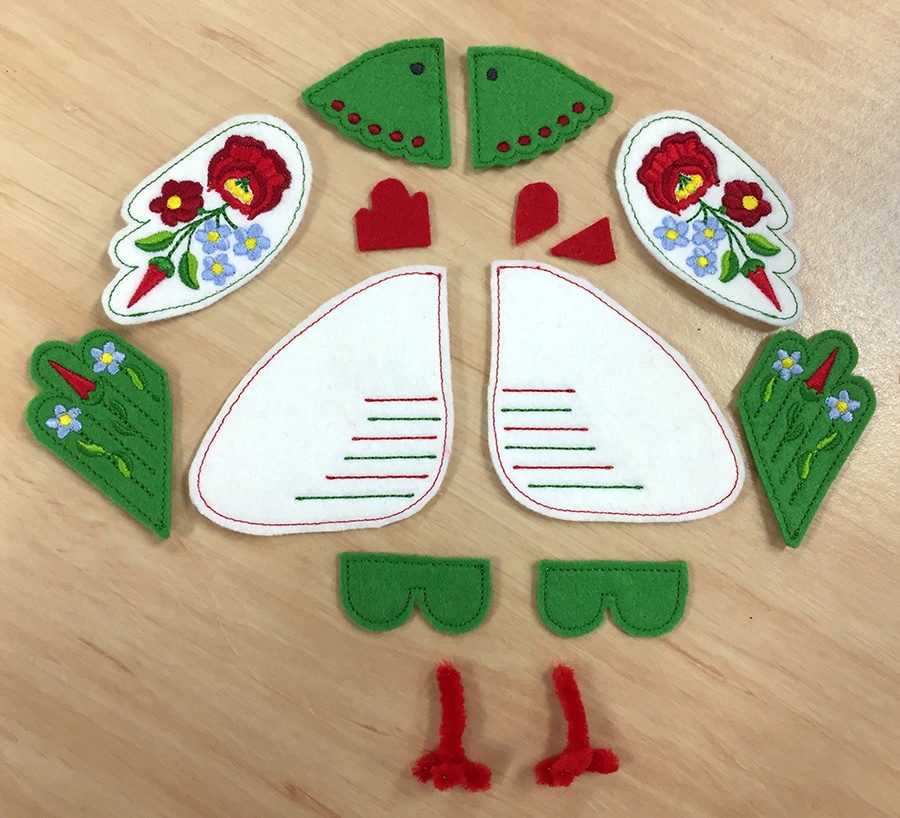
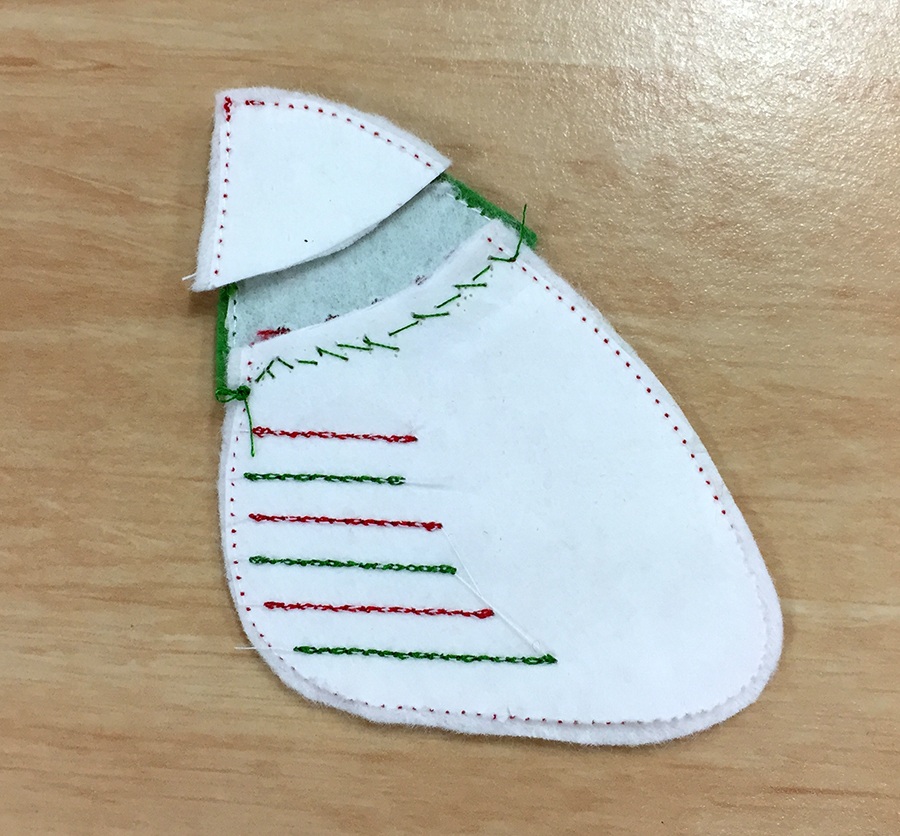
This is the exploded view of my hen:
I hand sewed the pieces together using blanket stitches, but you can do parts of this with an overlocker or a sewing machine too.
When I attached the head and the body together, I sewed small stitches along the embroidered run stitch on the neck.
After I sewed the body and the head together, I flipped it over and carefully cut off the overlap.
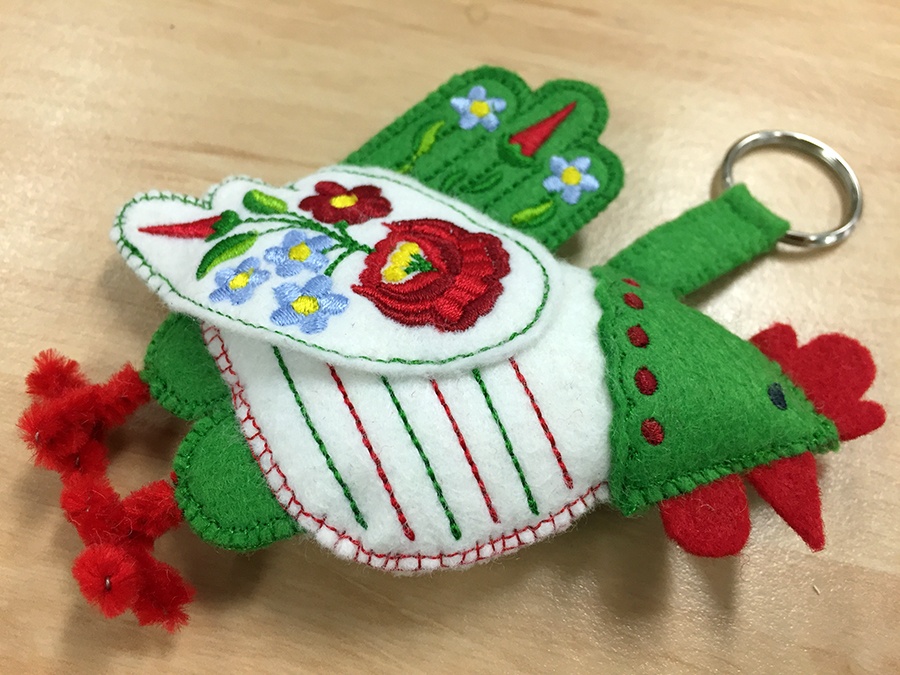
I hand sewed the wings on along the run stitch on the top of the wings.
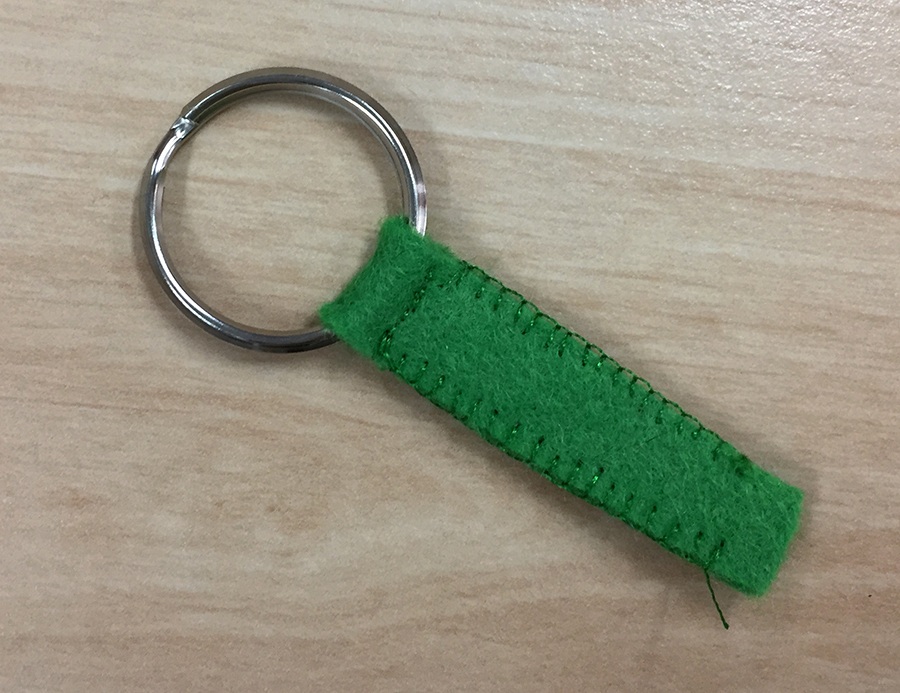
For the key fob part, I cut a long piece of the green felt, folded it over the ring and sewed the sides together and along the ring to hold it in place.
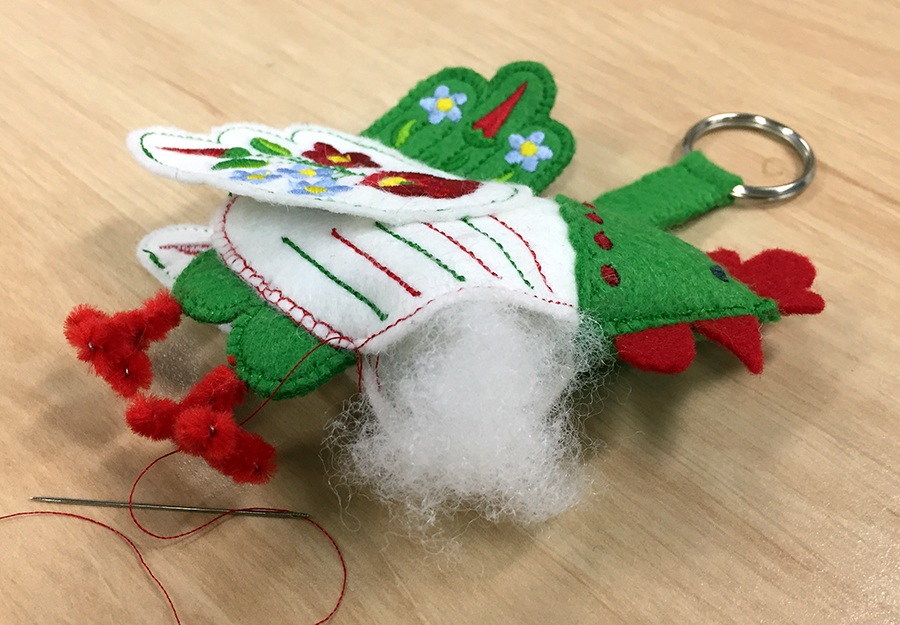
I used batting to fill the body and head. After I sewed all around the hen, I left a narrow opening on the belly and stuffed the batting in nice and tight, manipulating it around with a small fork.
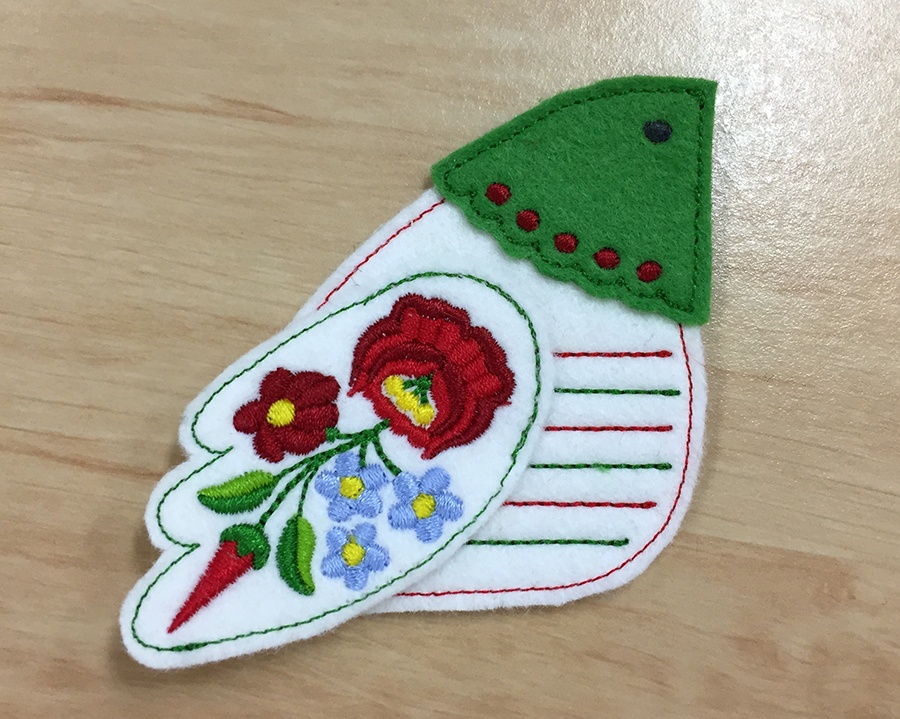
I then continued sewing along to close the opening and finish the hen.
Phew, that was a long article. If you are still with me, well done! Unfortunately I cannot give any free designs away with this one, because I could not get permission from the designer of the original pattern. I encourage you to create your own design and share it with us on the Hatch Embroidery Facebook page. We would love to see your creations!
Hatch Embroidery software products are in popular use in over 100 countries. It is time to join the global trend and give Hatch a try! The 30-day Free Trial grants you unlimited use of all the amazing features and the 30-day Money Back Guarantee ensures that there is absolutely no risk involved.