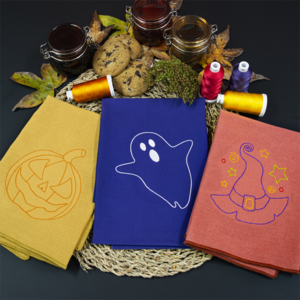
Learn about the different types of underlays and how to work with them for the best results
Embroidery appearance and quality depends a lot on the underlay which serves as a foundation for cover stitching. Without an underlay, embroidery lies flat on the underlying fabric which can often show through. New digitizers might be tempted to increase stitch density, but it is much more effective to apply underlay.
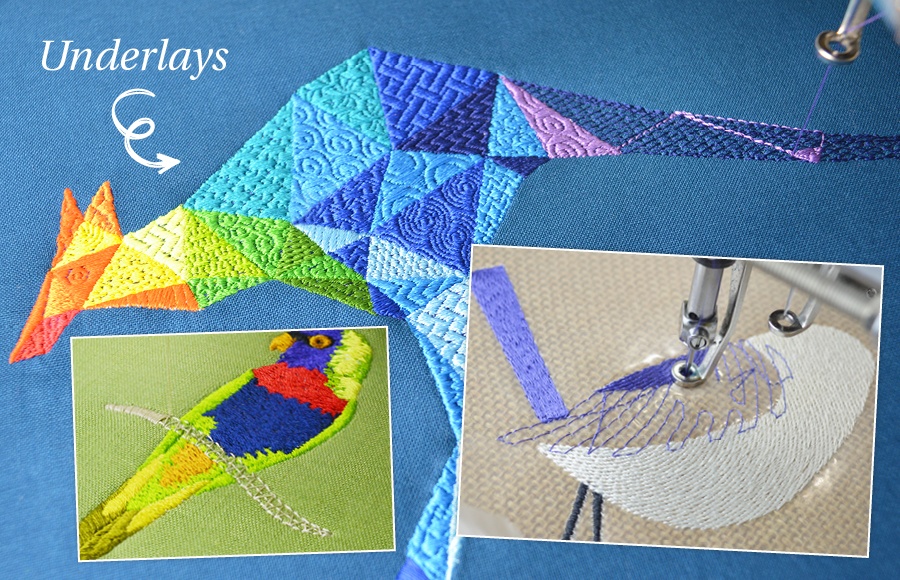
Although it increases the stitch count, underlays help stabilize fabrics and reduces puckering and pulling especially on larger designs. It also provides ‘loft’, raising cover stitches, and prevents them from sinking into soft fabrics. It is also used to prepare a napped fabric by flattening it.
Underlay Types and Purpose
Larger areas and stretchy fabrics such as knits and pique generally need more underlay than smaller areas and firm fabrics like drill or leather. At times, when you want a full design with extra lift under the stitches, a tatami underlay is preferable. On knits, edge runs are best.

Automatic Underlay
In Hatch Embroidery Digitizer the Underlay tool is a toggle button that allows you to apply automatic underlay to new or selected objects. Underlay is selected by default.
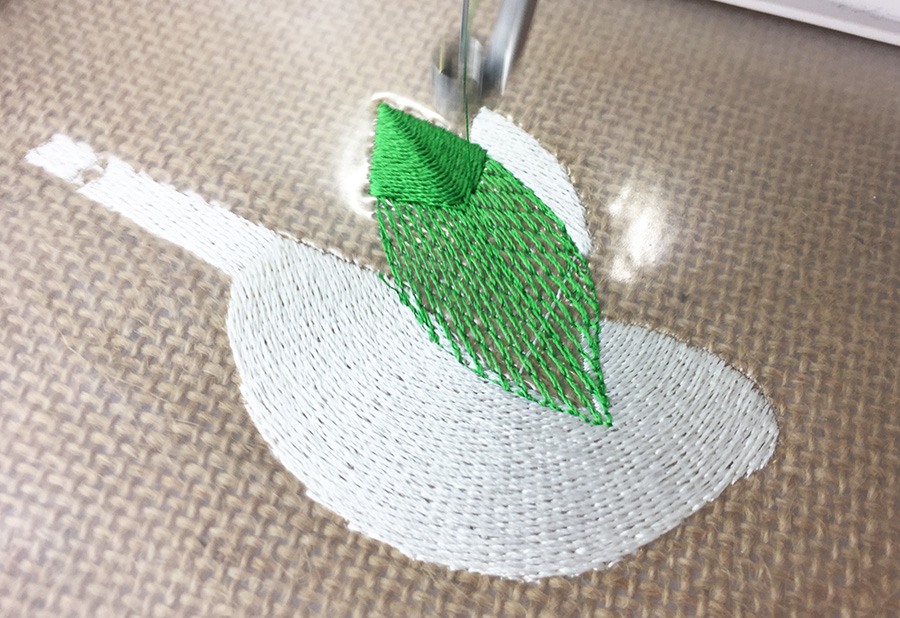
Underlay stitching has similar settings available for the cover stitch, but the default stitch spacing is much more open.
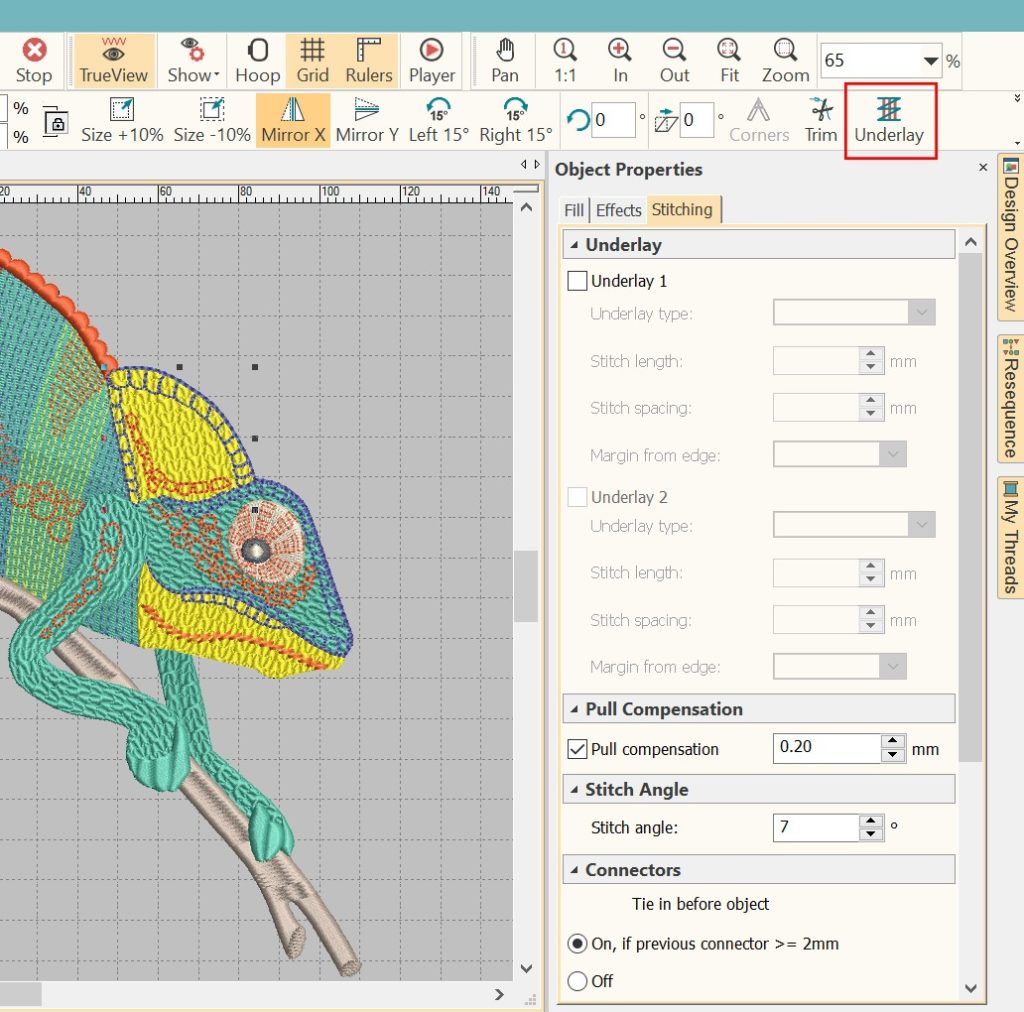
You can turn it off by clicking the Underlay toggle button or by unticking the boxes that are in front of ‘Underlay 1’ and ‘Underlay 2’
Underlay Settings
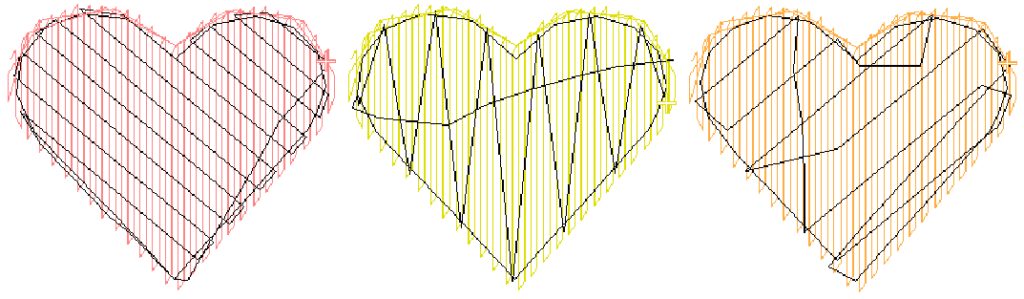
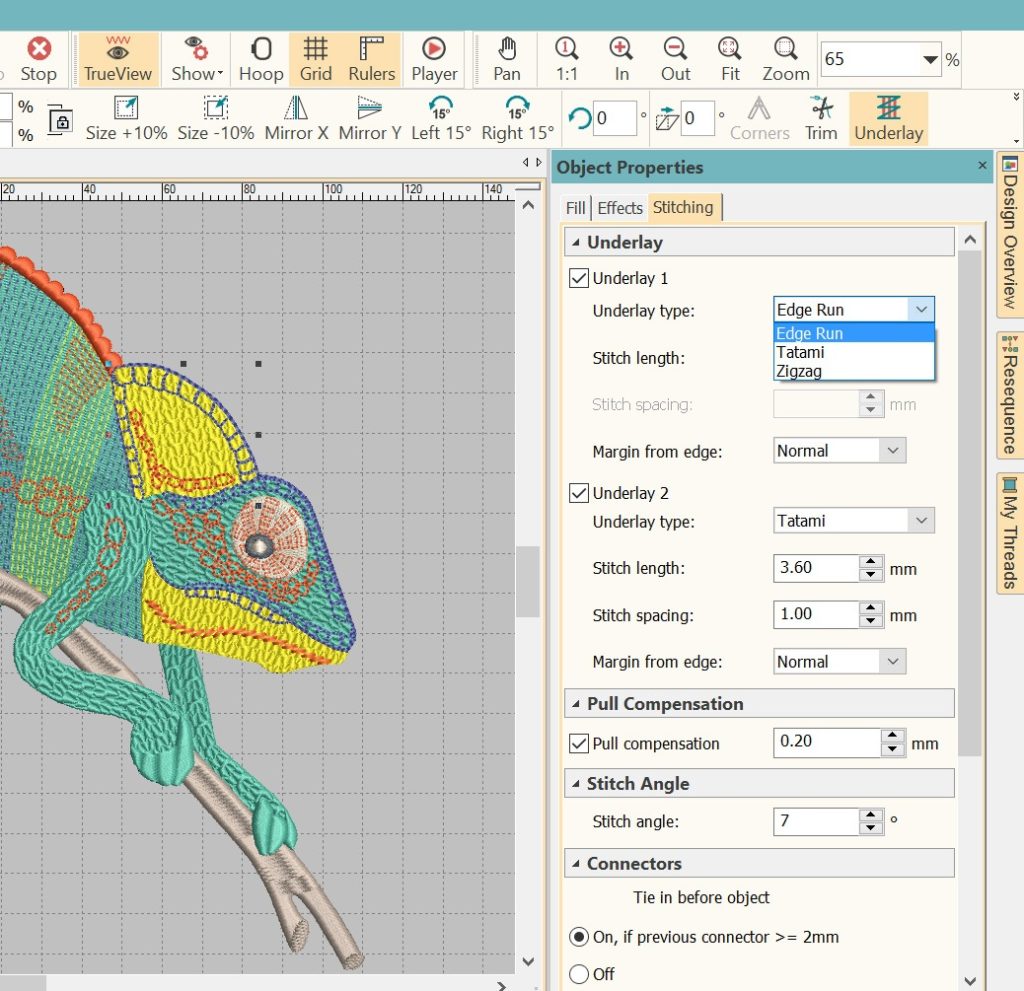
You can manually override the auto Underlay settings to suit your purpose and design (different fabrics, lettering appearance and size). You have the option to use one or combinations of two underlays and change settings such as Stitch Length, Stitch Spacing and Margin from Edge.
To change underlays, select and double-click a filled object and go to the Stitching tab. If not already checked, select the Underlay checkbox(es) and make a selection from the droplist(s).
Global Underlay
This kangaroo design has many objects and because I used Embossed fills for almost all of them, the stitch angles are all the same. This is not ideal from a push-pull perspective. You can read more about the push and pull effect here.
In order to reduce the push-pull effect in the design and avoid potential gaps between the objects, I used a different technique by digitizing a ‘global underlay’. I digitized a closed object in the shape of the kangaroo, chose the Tatami fill and increased the stitch spacing to 3mm. This gave me a good solid base to embroider all the objects on and avoided the fabric moving during the stitching. I switched off all underlay settings for this object, because it IS actually the underlay. I also manually changed the underlay setting for all the top objects to ‘Edge Run’.
You can read the full article on the kangaroo design here.

Hatch Embroidery software products are in popular use in over 100 countries. It is time to join the global trend and give Hatch a try! The 30-day Free Trial grants you unlimited use of all the amazing features and the 30-day Money Back Guarantee ensures that there is absolutely no risk involved.


Did you find this article useful? Please leave a comment below. We would love to hear your feedback!