Learn all about the Stitch Types, Fills, Tools and Techniques used to create this striking design
I am super excited to reveal this project I have been working on for quite some time. I was fortunate to collaborate with the beautiful Catherine Noel again, an amazing graphics artist from the Santa Cruz Mountains in California. You might still remember the Seahorse machine embroidery design I wrote a blog article on a while back. Catherine generously allowed me then to use her drawing as the base artwork for my embroidery design.
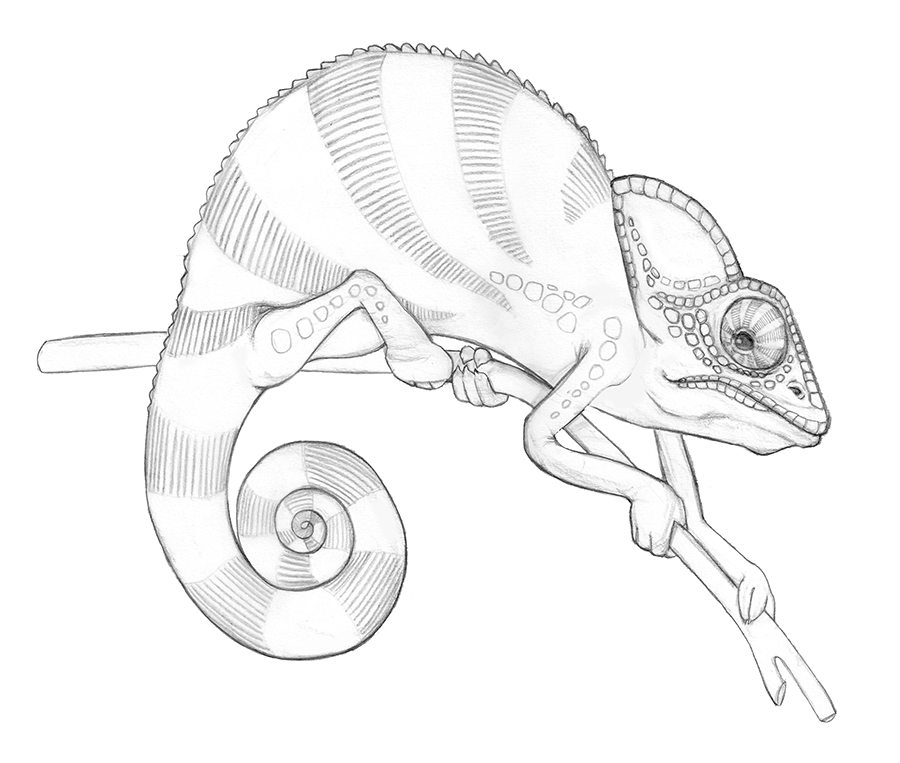
I had been thinking of creating a chameleon machine embroidery design for quite a while, so the idea of digitizing another one of Catherine’s artwork was too tempting to dismiss. Luckily Catherine was kind to come to the party again, and created this gorgeous drawing for me. It was love at first sight!
Needless to say, I could not wait to start working on him! I selected really bright colors and used a lot of different fills and layers to create a variety of textures and make him really striking. And of course I used Hatch Embroidery Digitizer loaded with amazing tools and features that allowed me to let my imagination run free.
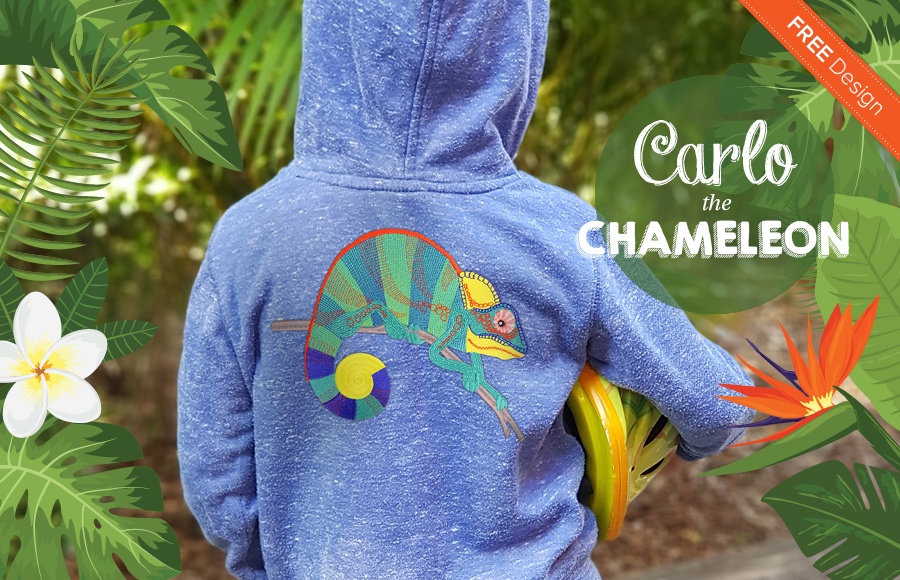
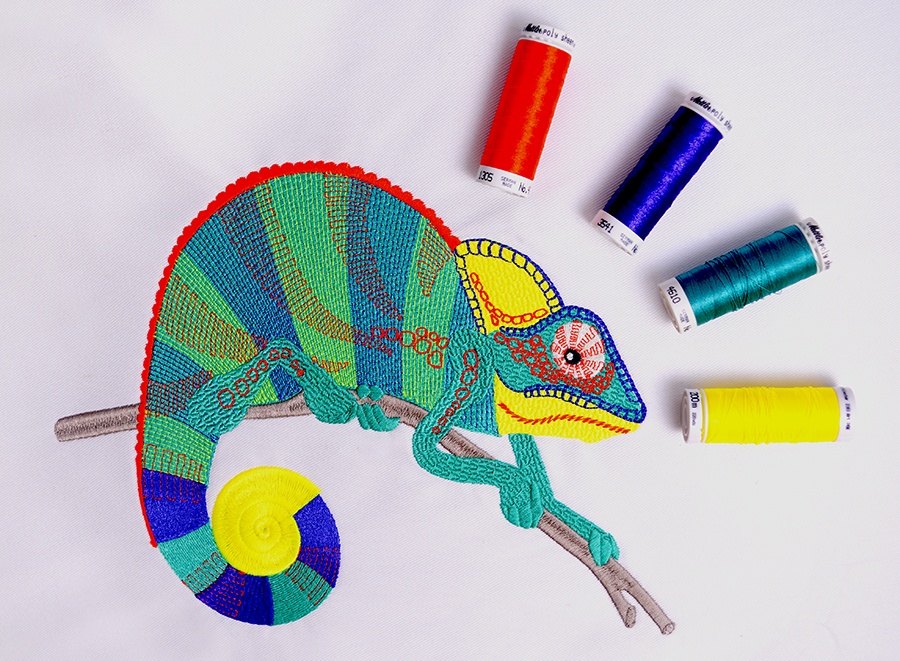
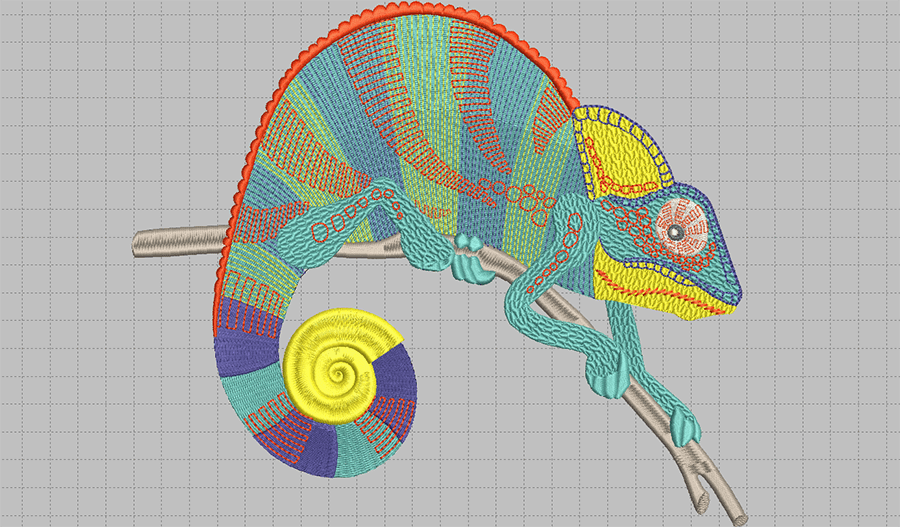
So, without further ado, let me introduce Carlo the Chameleon in his complete glory:
Colors Used:
Mettler Poly Sheen
5115 Baccarrat Green 0874 Gravel 0132 Dark Pewter 0870 Muslin 0501 Sun 3210 Blueberry 1305 Fax Fire
Fills Used:
Tatami 1 Satin Embossed – Squigle1 Contour
Run Stitch Types Used:
Single Run Triple Run Stemstitch
Tools Used:
Digitize Open Shape Digitize Closed Shape Remove Overlaps Branching
Effects Applied:
Radial Fill Florentine effect
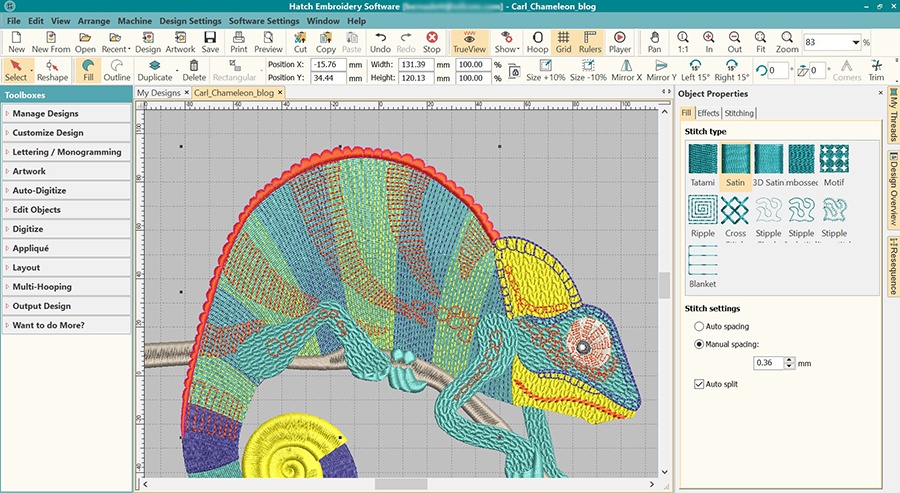
Digitizing Carlo the Chameleon Step-by-Step
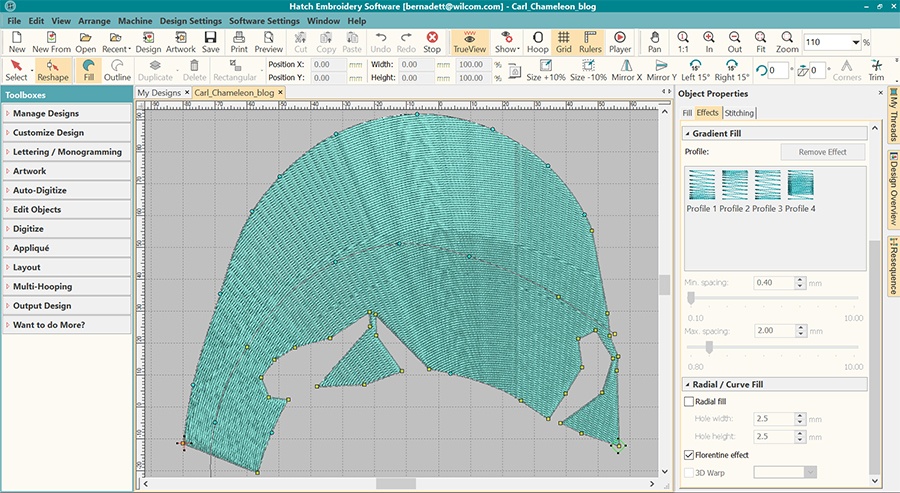
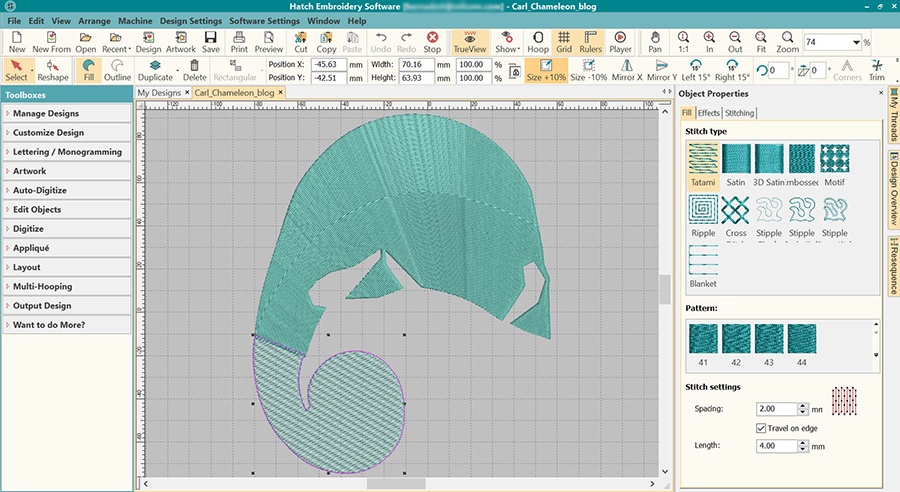
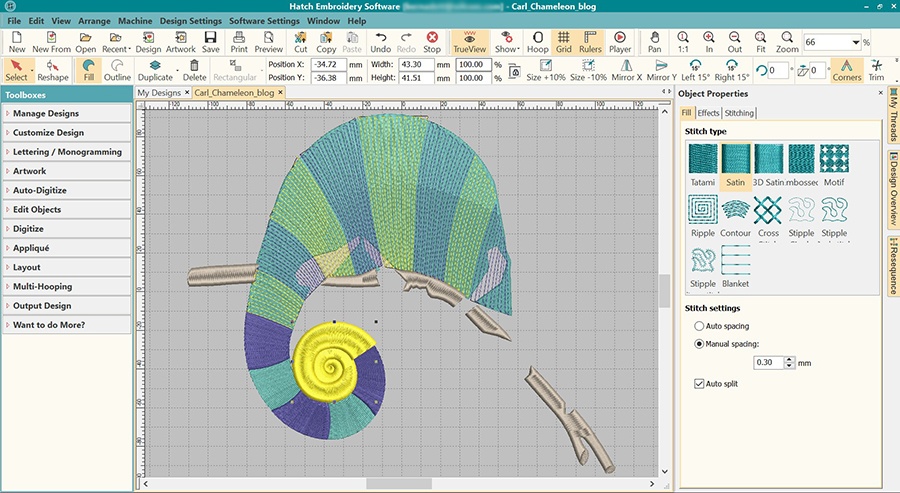
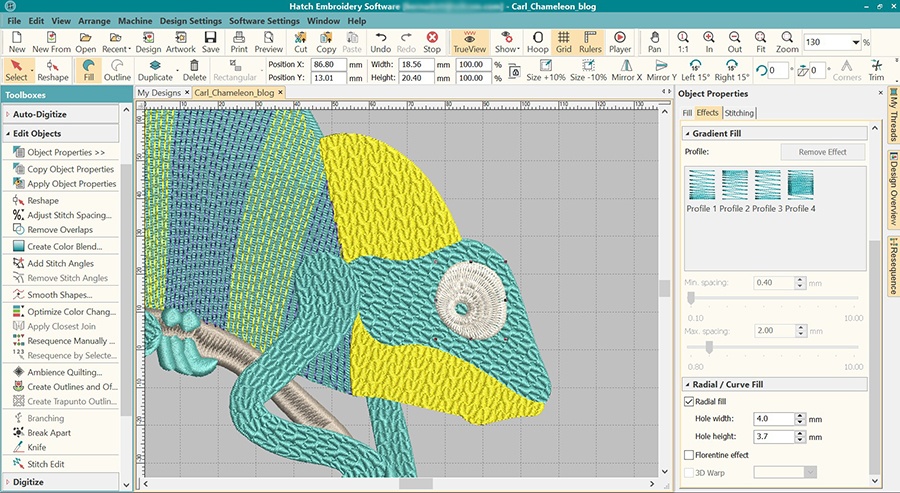
I started out by digitizing the first layer of the body. I used Tatami 1 fill and applied the Florentine effect to create a curve.
The tail area was prone to puckering, so to minimize that, I digitized a global underlay using Tatami fill. I increased the stitch spacing to 2 mm and removed all underlays from the object.
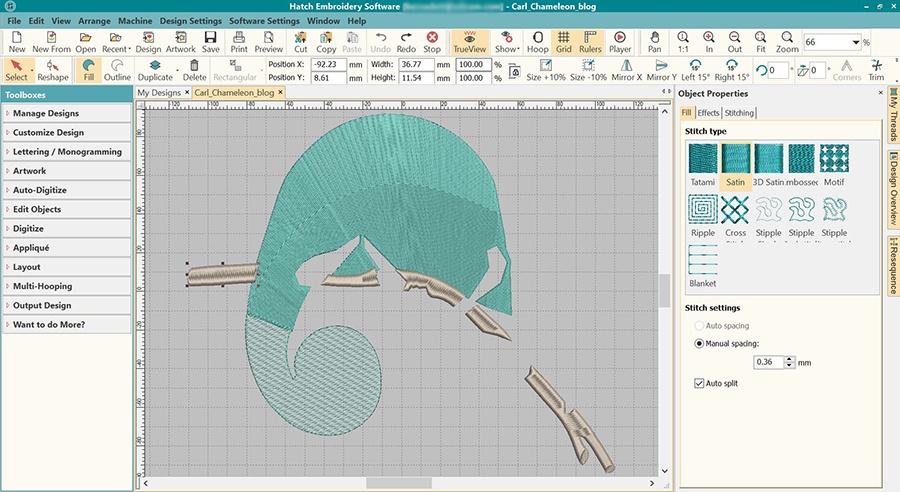
I digitized the pieces of the branch the chameleon is sitting on using Satin fill.
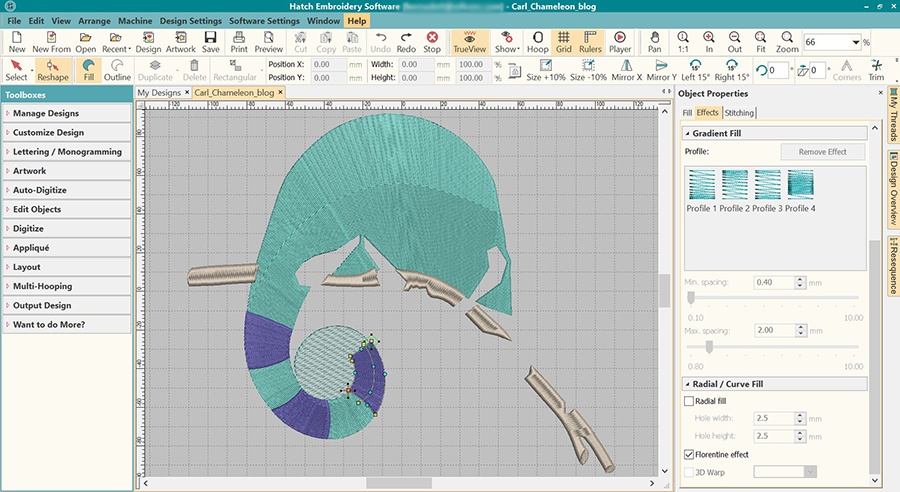
I digitized objects that make up the segments of the tail using Tatami 1 fill and applied the Florentine effect for curved stitches.
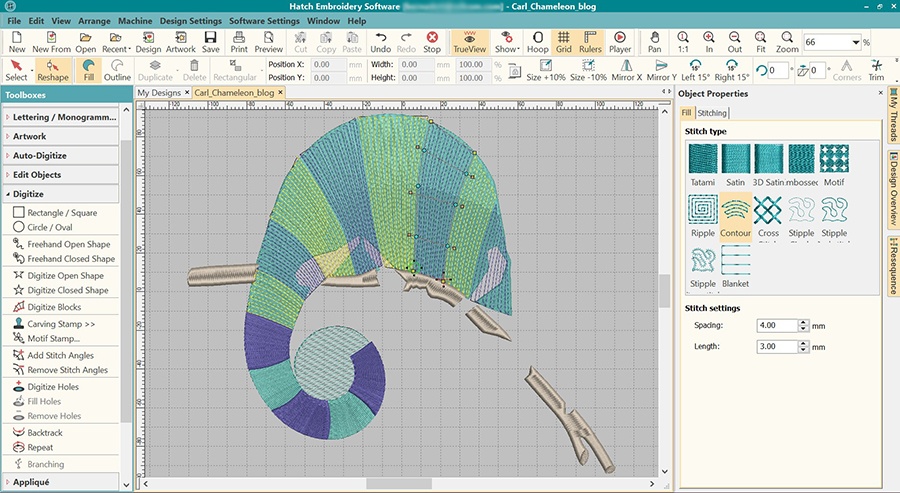
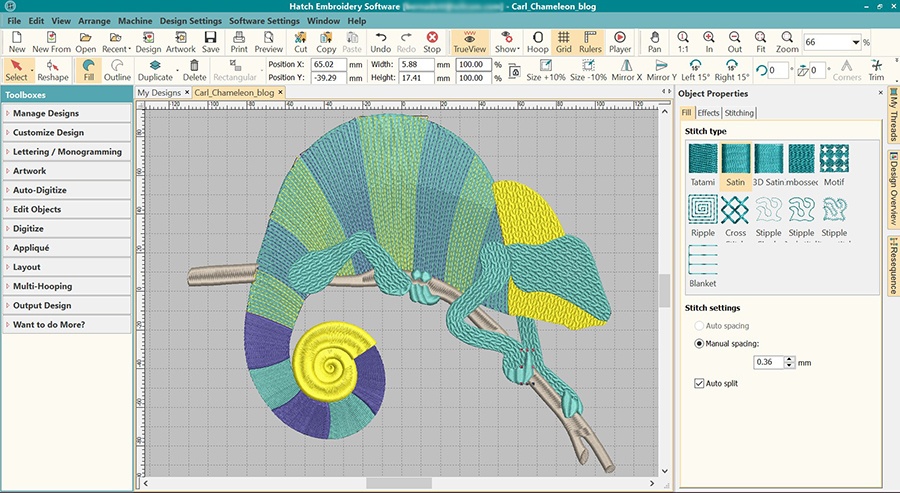
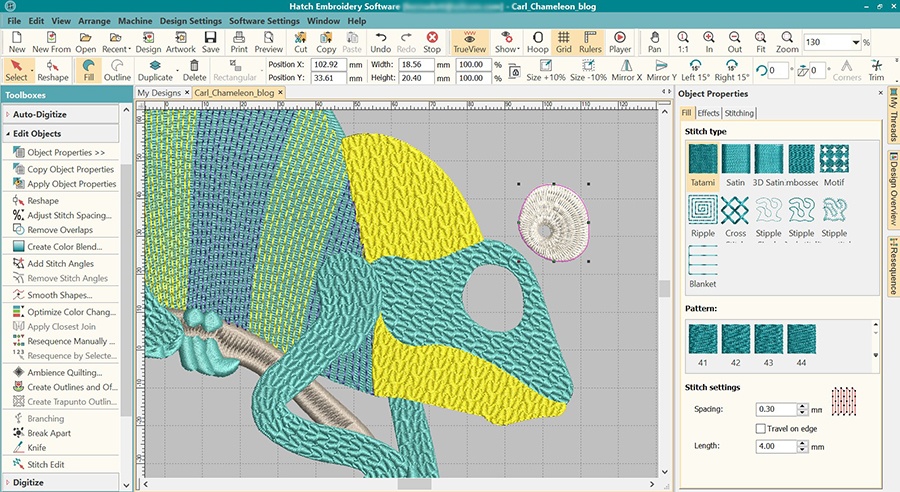
I used the Digitize Blocks tool to create the objects that make up the second layer of the body. I used Contour fill and increased the stitch spacing to 4 mm and decreased the stitch length to 3 mm.
I digitized the spiral object at the end of the tail using the Digitize Blocks tool. I decreased the stitch spacing on the Satin fill to 0.3 mm to avoid the color of the global underlay showing through.
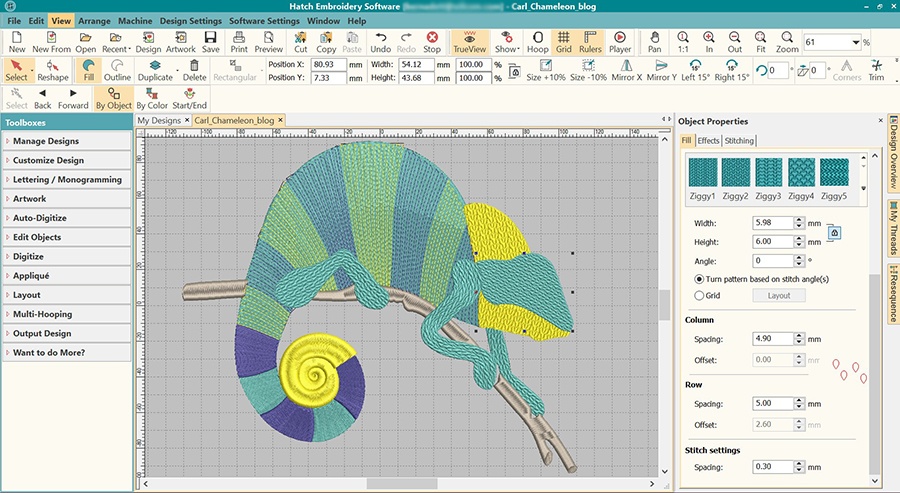
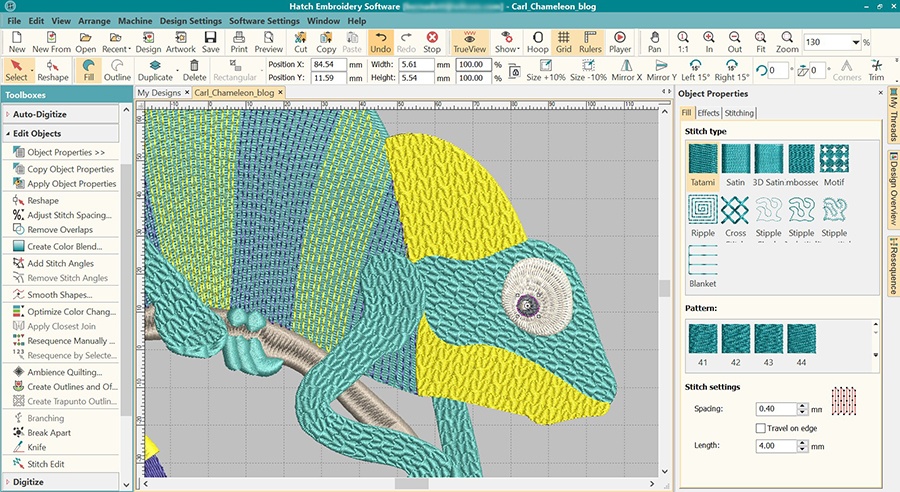
I really wanted to add a good texture to the head and the legs, so I chose the Squigle1 Embossed fill. I wanted the pattern to follow the shape of the objects, so I selected ‘Turn pattern based on stitch angle(s)’, and made sure all my stitch angles were right.
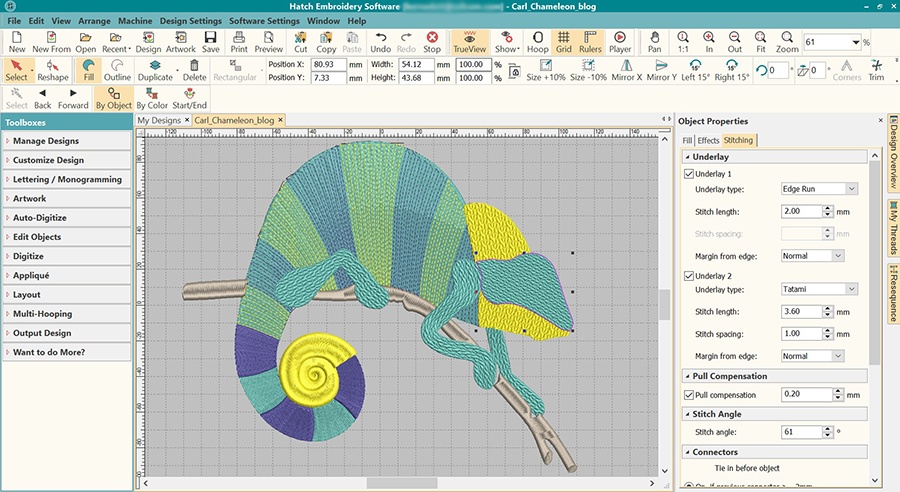
When I did my first test stitch out, the fabric was slightly showing through the fill on the head and legs, so I needed to adjust the stitch spacing and the underlays. I decreased the density to 0.3 mm and halved the stitch spacing of Underlay 2 from 2 mm to 1 mm.
I used Satin fill or the fingers.
The eye is one of the most important part of this design. I wanted it to be really expressive. I used Satin fill and applied the Radial fill effect.
I then used the Remove Overlaps tool to create the hole on the head underneath the eye. I wanted to avoid having too many layers.
I used the Tatami fill for the pupil of the eye and applied the Radial fill effect. I used Satin fill for the white circle object on the top of the pupil.
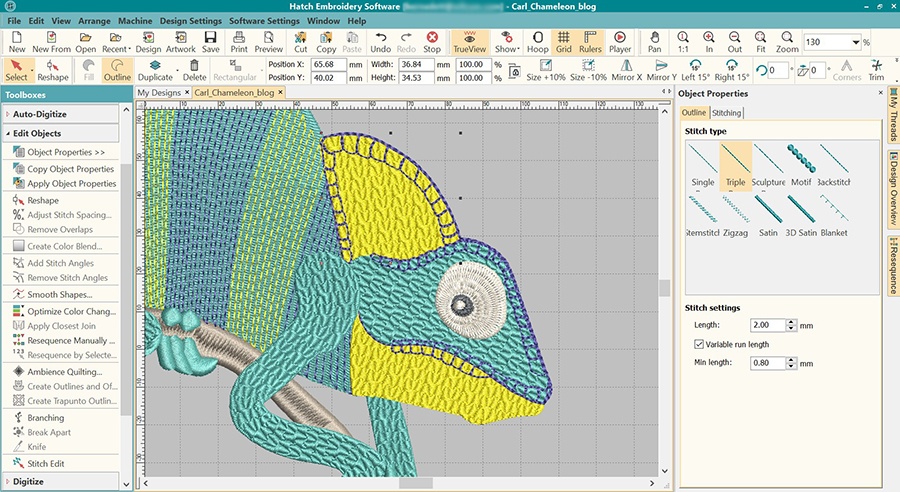
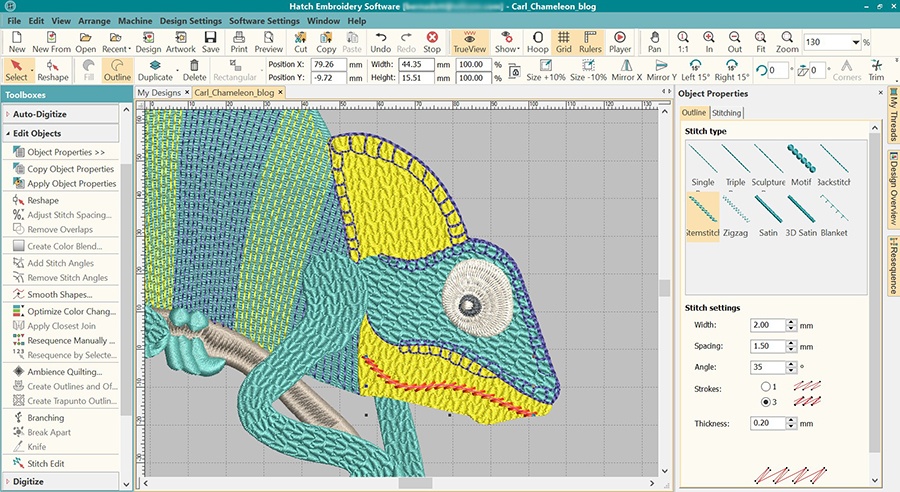
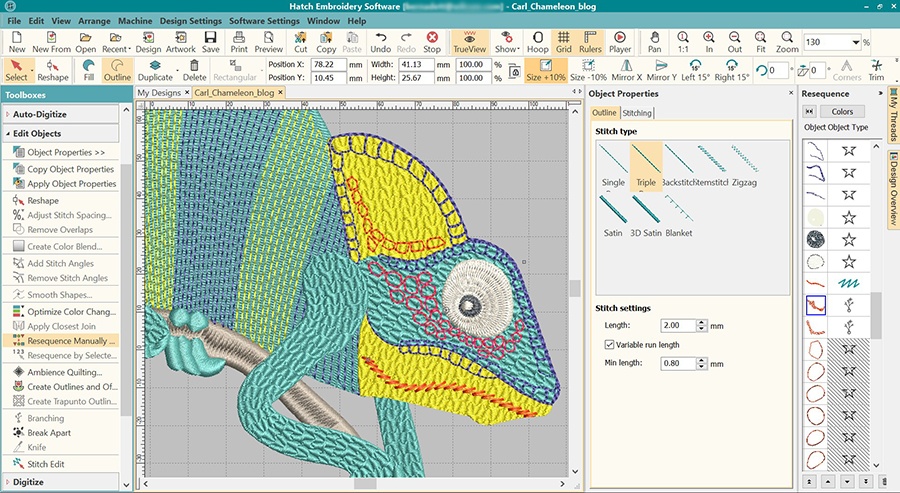
I digitized the dark blue details on the head and crest and around the mouth as a continuous line with the Digitize Open Shape tool and used the Triple Run stitch.
I applied this technique previously on my Seahorse design. You can watch a tutorial video here to see how it was done.
I used Stemstitch to create the line on the chin and changed the number of Strokes from 1 to 3 to make it thicker.
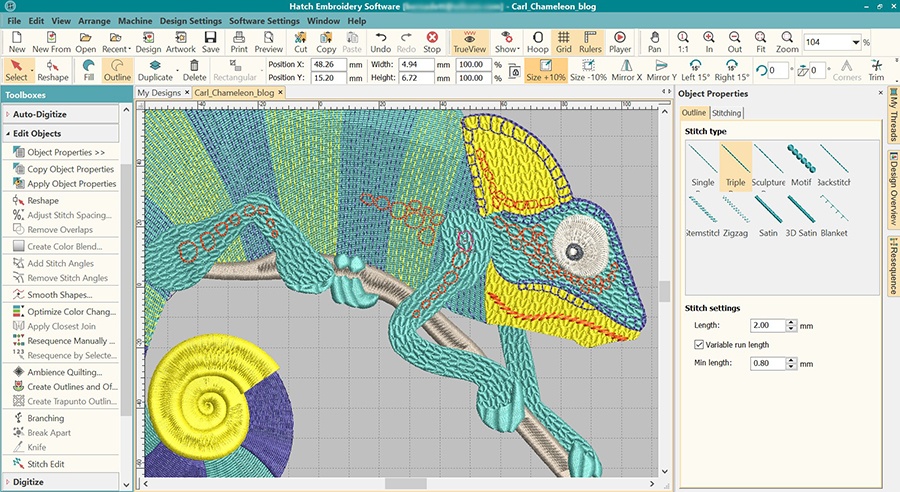
I digitized the circles on the face and crest individually and then used the Branching tool to branch them together. I created one branched object of the circles on the crest and one of the ones of the face.
The circles on the body and leg are individual objects.
The zigzag objects on the eye and body were created with the Digitize Open Shape tool. I used Single Run stitch for the objects on the eye and Triple run stitch for the ones on the body.
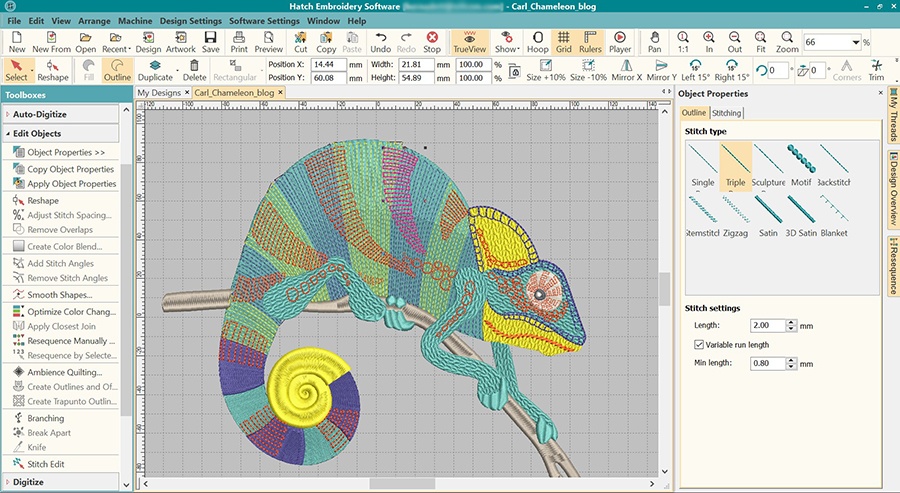
I used the Digitize Closed Shape tool and Satin fill for the crest on the back.
And here he is, ready to be stitched out!
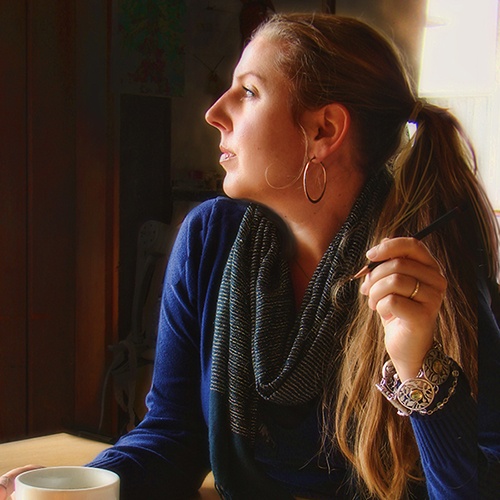
Meet the artist behind the beautiful chameleon drawing
Catherine Noel is a freelance illustrator and graphic designer from the San Francisco Bay Area, now living and working in the Santa Cruz Mountains in California. She earned her BFA in Traditional Illustration from the Academy of Art University in San Francisco, California.
Her work encompasses intricate drawings of flora and fauna, watercolors of North American wildlife, illustrated typography, and the occasional famous face. Nature’s subtleties and organic compositions inspire her most, and her work typically incorporates soft colors, flowing arrangements of organic forms, and meticulous detail.
You can buy her beautiful designs printed on various items here.
Please note: You will need to sign in or register a free account to be able to download the free designs.
Once you registered an account, you will have unlimited access to ALL the free designs that are currently on the Hatch Embroidery website and future ones two. You will also automatically receive our newsletter about free projects and designs. You will NOT be requested to download the software. Having an account does not come with any obligations to you at all.
Did you find this article helpful or interesting? Please leave a comment below. We would love to hear your feedback!
Hatch Embroidery software products are in popular use in over 100 countries. It is time to join the global trend and give Hatch a try! The 30-day Free Trial grants you unlimited use of all the amazing features and the 30-day Money Back Guarantee ensures that there is absolutely no risk involved.
Did you enjoy this article? Please leave a comment below. We would love to hear your feedback!