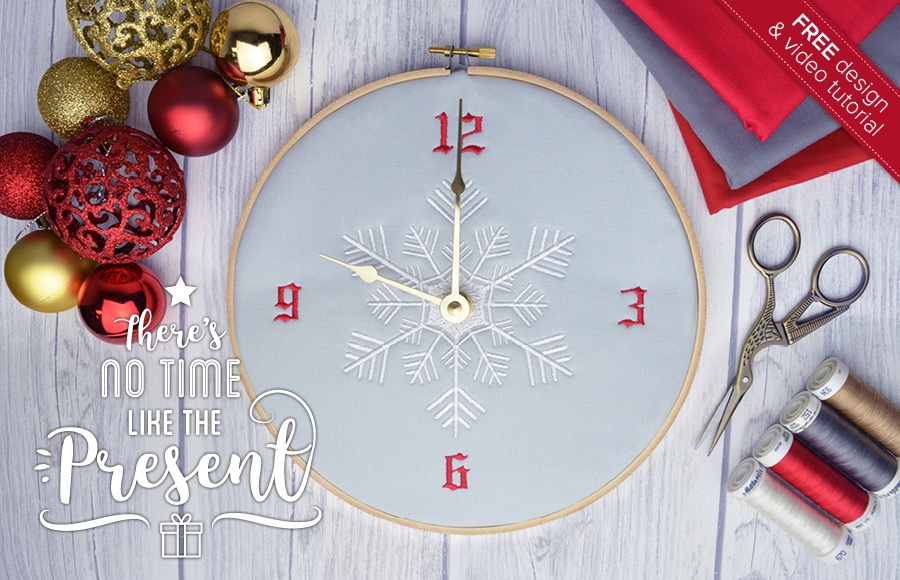
When time is running out, you need a quick project. I made this clock using the snowflake design that came with Hatch Embroidery, added lettering (numbers) and digitized a hole in the middle of the snowflake. I bought the quartz clock movement and the hands online.
You can use the free design that you can access by clicking the button at the bottom of this article to create the same clock or you can experiment with digitizing your own with Hatch Embroidery Digitizer.
In the video below I’ll show you how easy it is!
Supplies Needed
21 cm hand embroidery hoop
Fabric to embroider on
2 pieces of cut-away stabilizer
Assorted machine embroidery thread
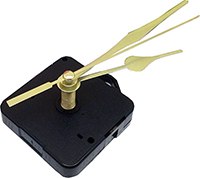
Clock movement & hands
Techniques Used
Creating a tackdown stitch and changing stitch length
Copy and Paste objects from one design to the other
Branching / Break Apart
Digitizing circles
Digitizing a hole
Adding lettering
Aligning objects
Grouping and Ungrouping objects
Changing the color of an object
Please note: You will need to sign in or register a free account to be able to download the free designs.
Once you registered an account, you will have unlimited access to ALL the free designs that are currently on the Hatch Embroidery website and future ones two. You will also automatically receive our newsletter about free projects and designs. You will NOT be requested to download the software. Having an account does not come with any obligations to you at all.
Hatch Embroidery software products are in popular use in over 100 countries. It is time to join the global trend and give Hatch a try! The 30-day Free Trial grants you unlimited use of all the amazing features and the 30-day Money Back Guarantee ensures that there is absolutely no risk involved.
Did you enjoy this article? We’d love to hear your feedback!