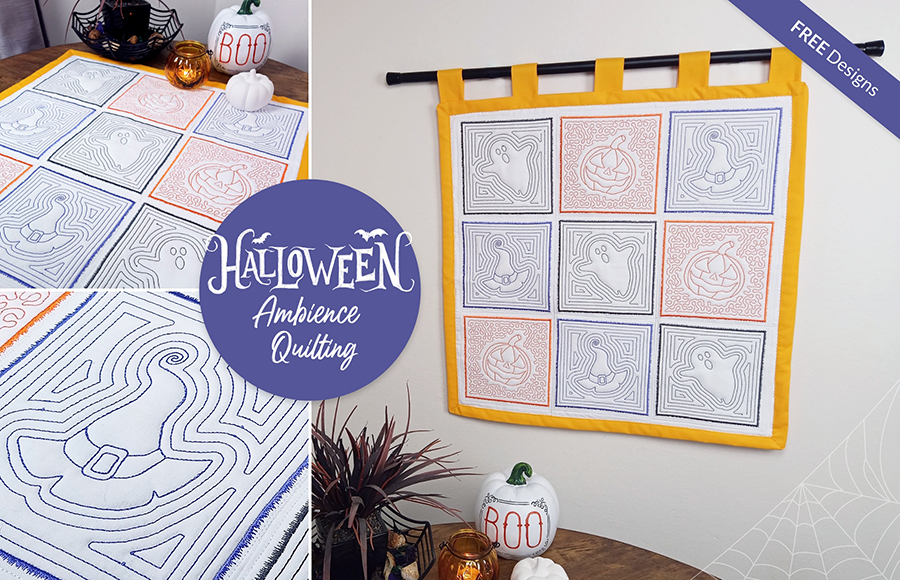
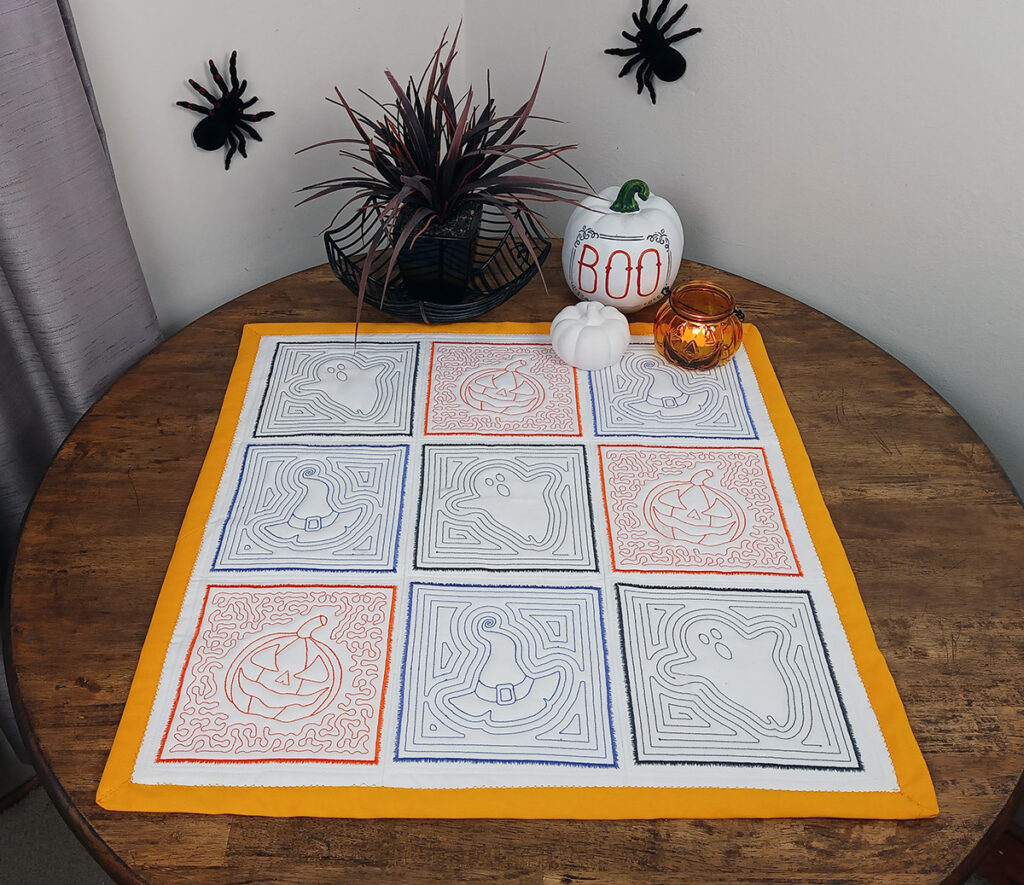
Get ready to spice up your Halloween with this super fun project using the Ambience Quilting tool. Crafting a cute quilt with Hatch Embroidery Digitizer and some basic sewing skills has never been easier! Whether you’re a seasoned quilter or just curious, this post will spark your creative spirit.
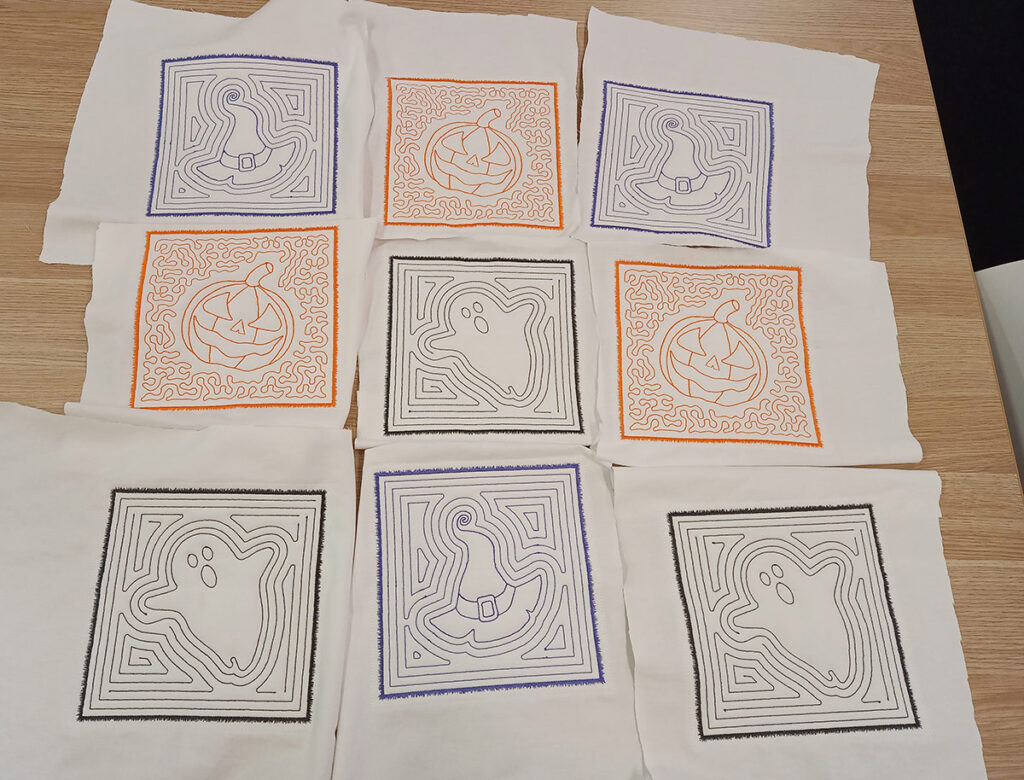
Size: 3 x 3 panels (can be any number of panels you like)
Versatile Uses: Table decoration, wall hanging, mug rug, larger version as a throw or blanket, and a longer version for a table runner.
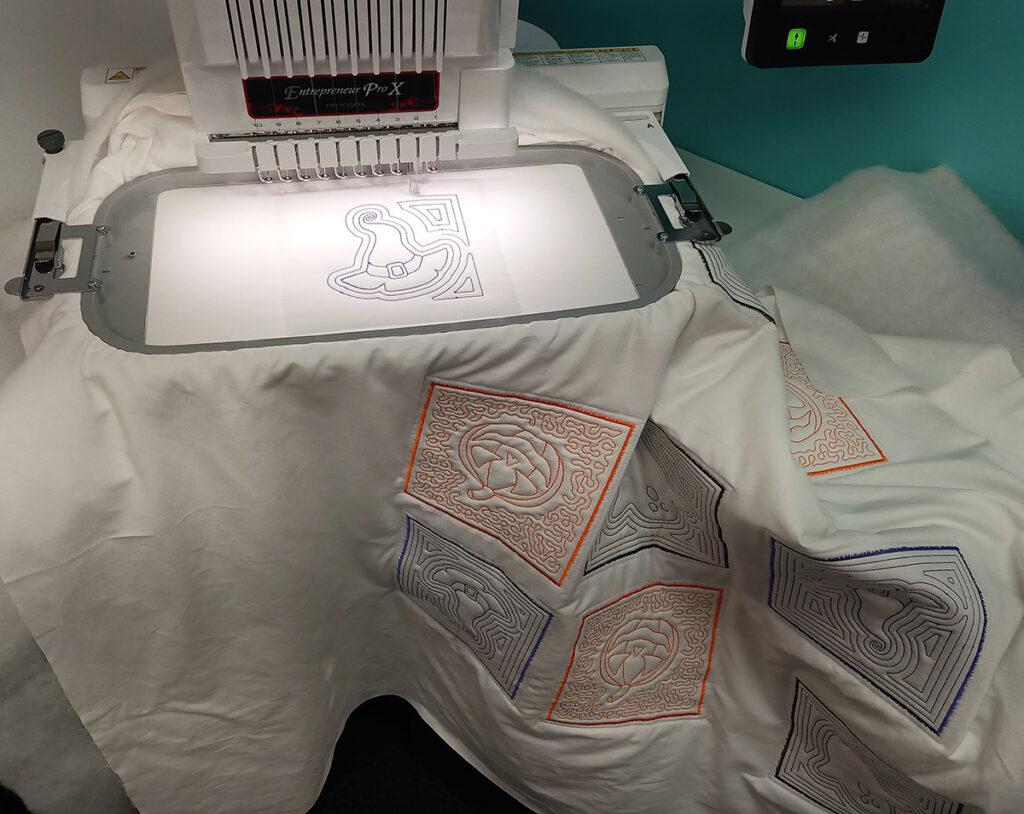
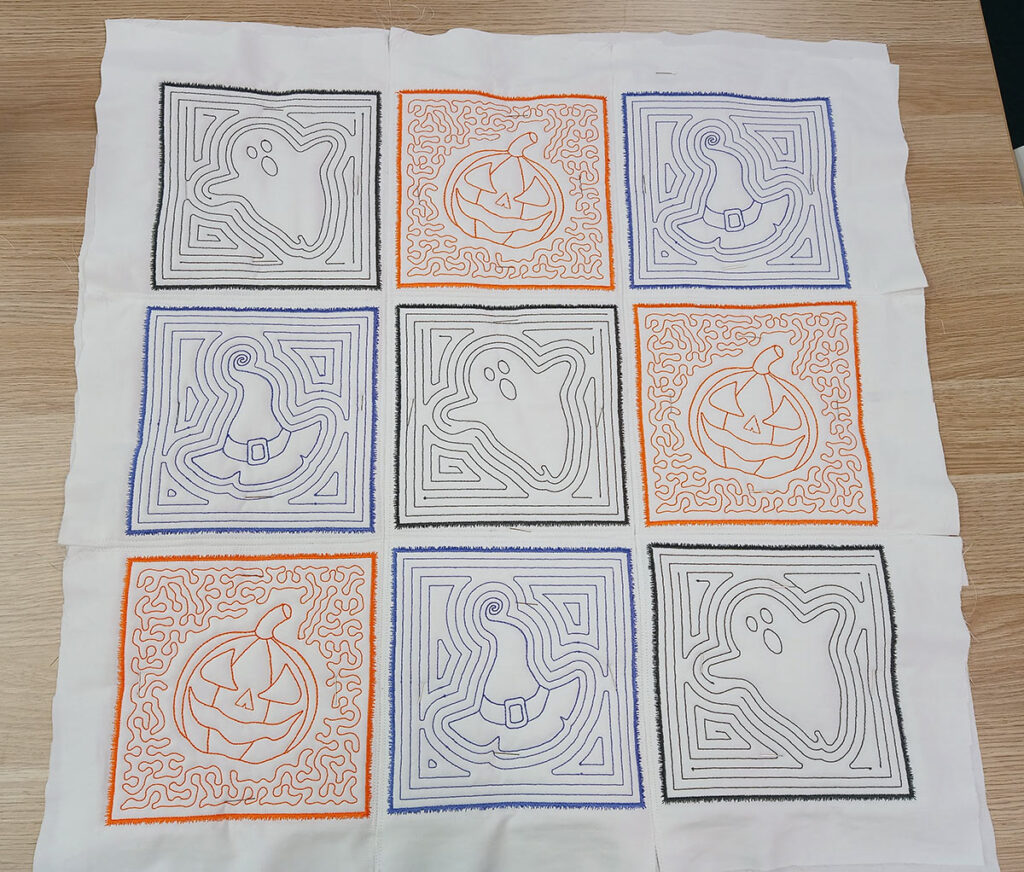
Step 1: Create Quilt Blocks
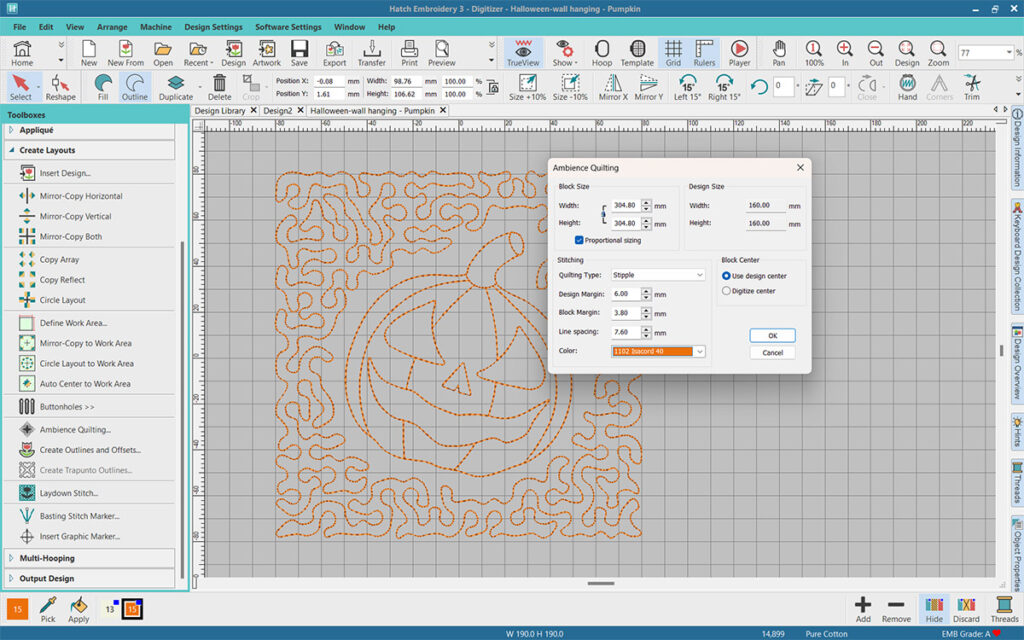
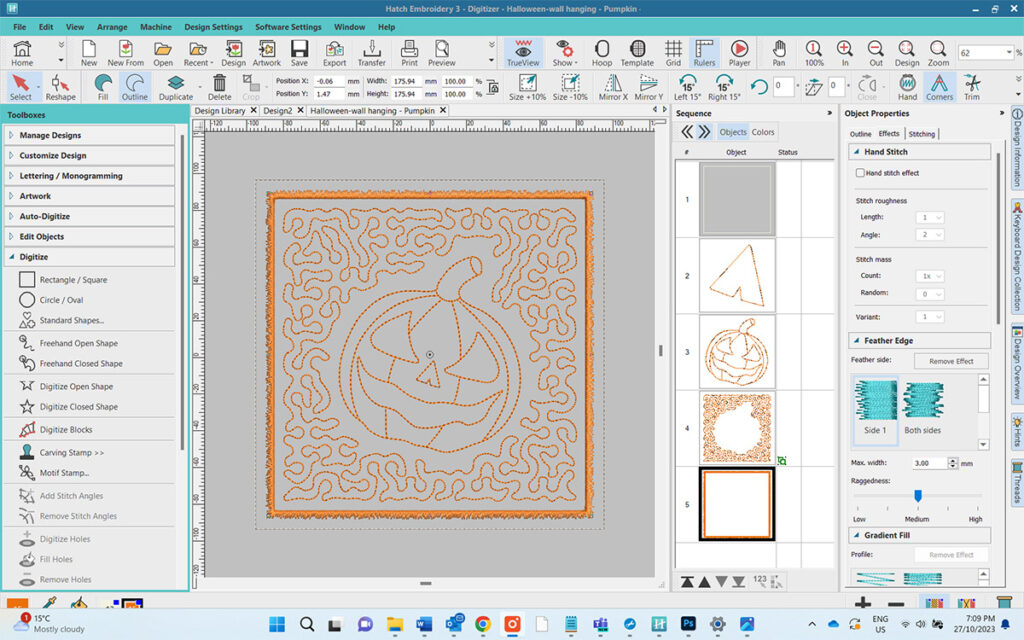
Get your creative gears turning by crafting unique quilt blocks. For the center design you can either use an existing design or create a brand-new one. Open your design you want in the center of your block. Click it to select it, then click on the Ambience Quilting tool. In the pop-up select your desired block size and pick from a variety of patterns to fill the space around your design.
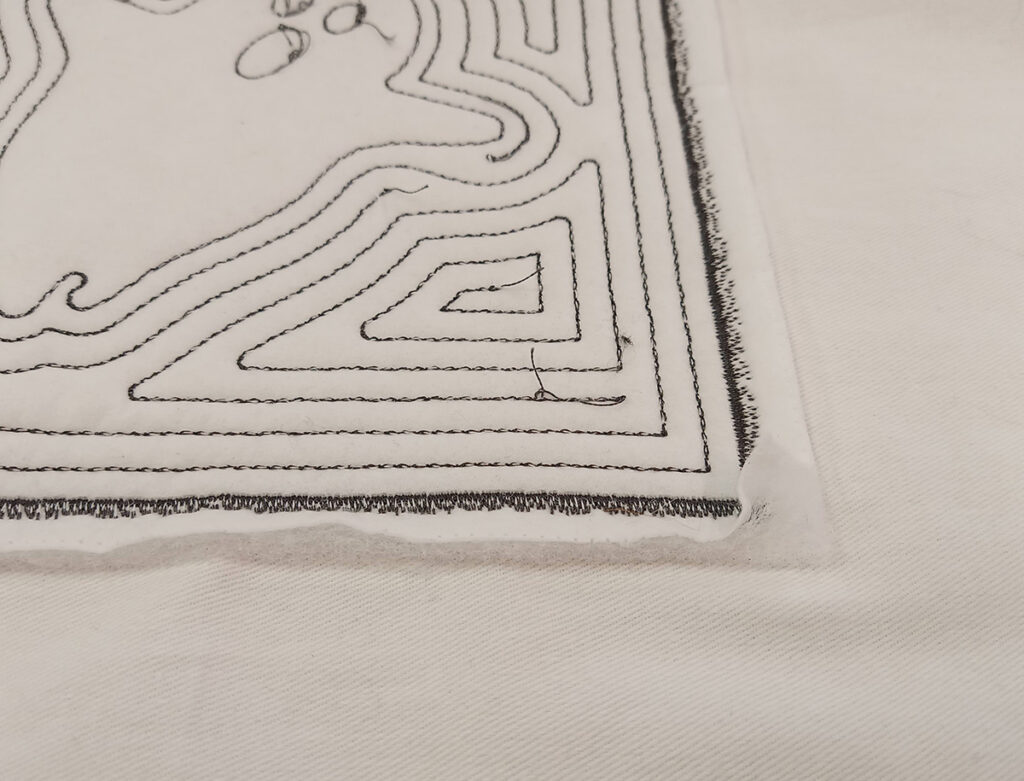
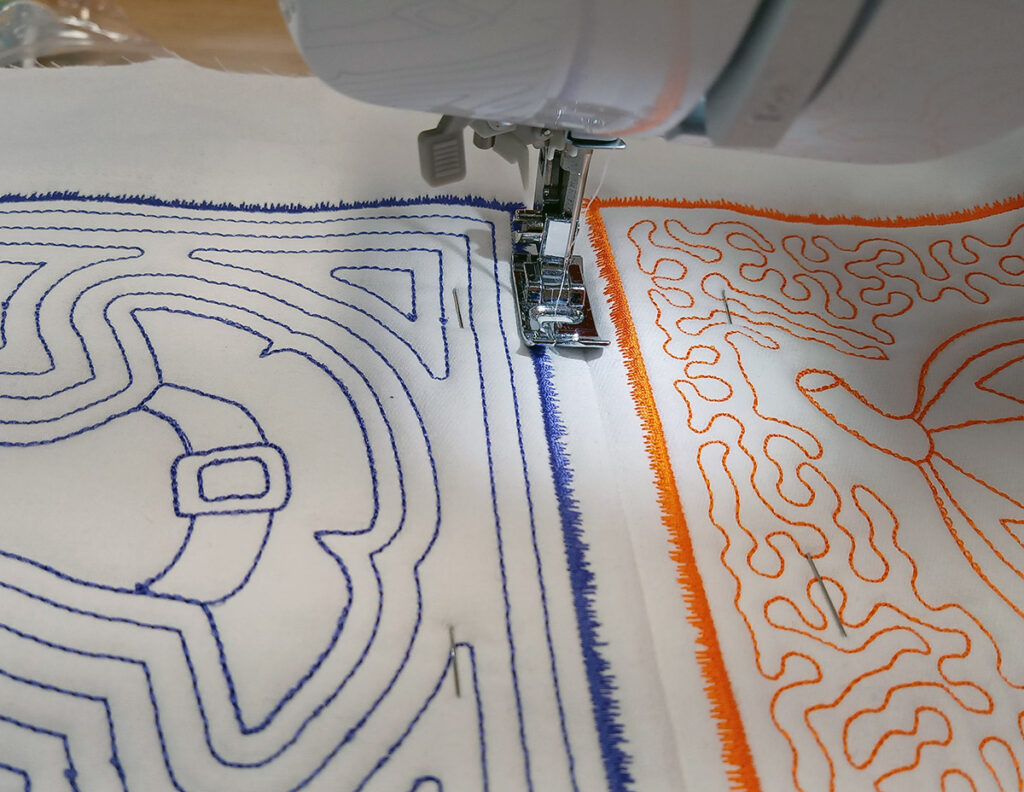
To give your quilt block a polished look, digitize a square border around it. In our design we used the Satin Outline stitch and the Feather Edge effect (Side 1). Also include a basting run stitch around your block, about 5 mm away from the border.
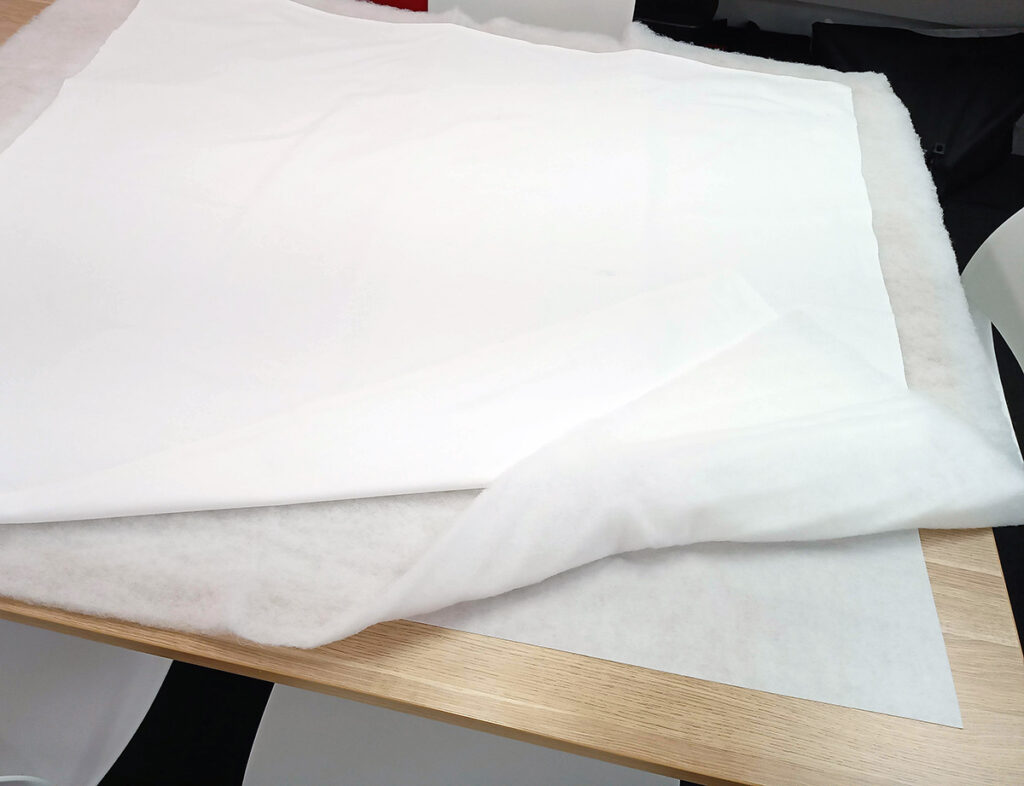
Step 2: Prepare Your Quilt "Sandwich"
Lay the groundwork for your masterpiece by stacking your fabric, batting, and a sheet of cutaway stabilizer. Think of it as creating a delicious quilt “sandwich.” Ensure you have at least 4 centimeters of excess fabric around each of your designs.
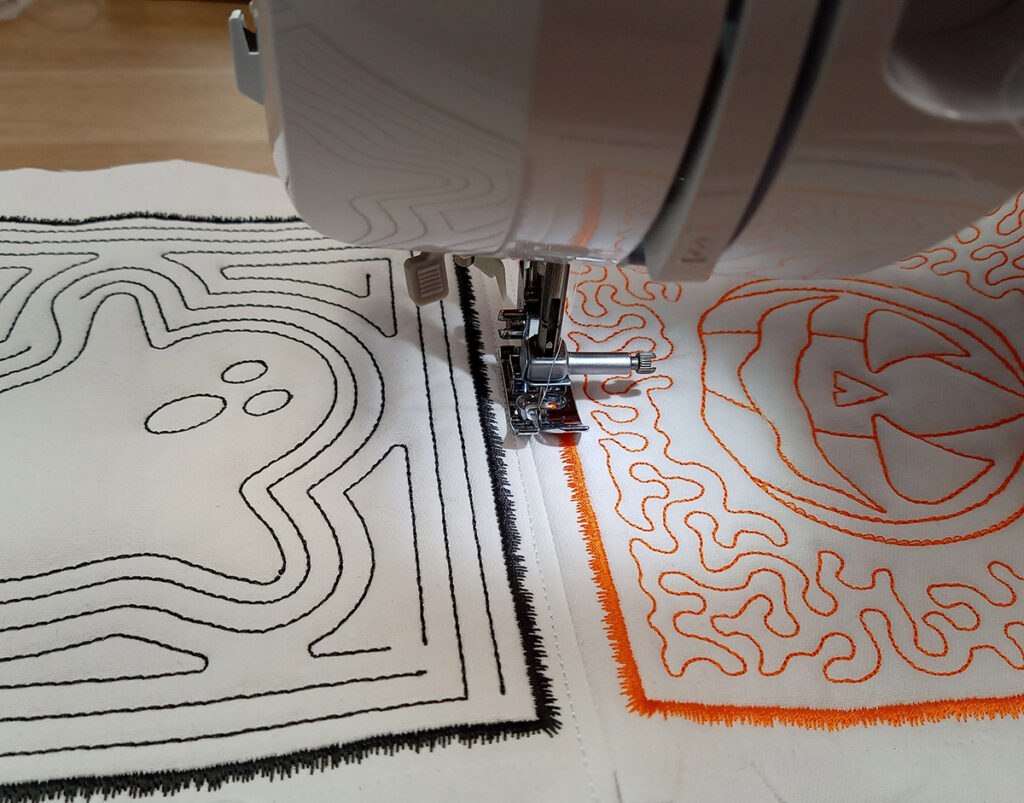
Step 3: Stitch Out Your Blocks
Watch your design come to life as you stitch out your quilt blocks. The magic is in the details!.
Step 4: Trim and Prepare
After your stitching is complete, trim the fabric approximately 4 centimeters from your basting stitch. On the backside, carefully trim the stabilizer and batting back to the basting stitch.
Step 5: Remove the Basting Stitch
Remove the basting stitch, it’s no longer needed.
Step 6: Lay out Your Blocks
Now it’s time to assemble your quilt blocks. You will first sew them together by the columns. Then, you will connect the columns to create your final quilt.
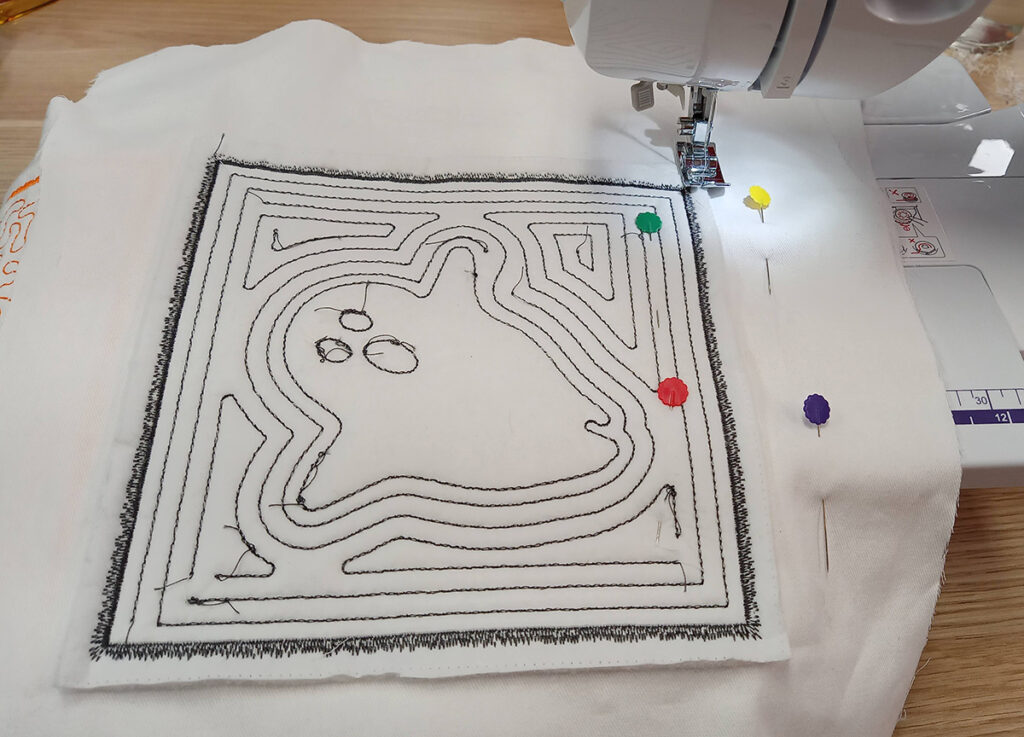
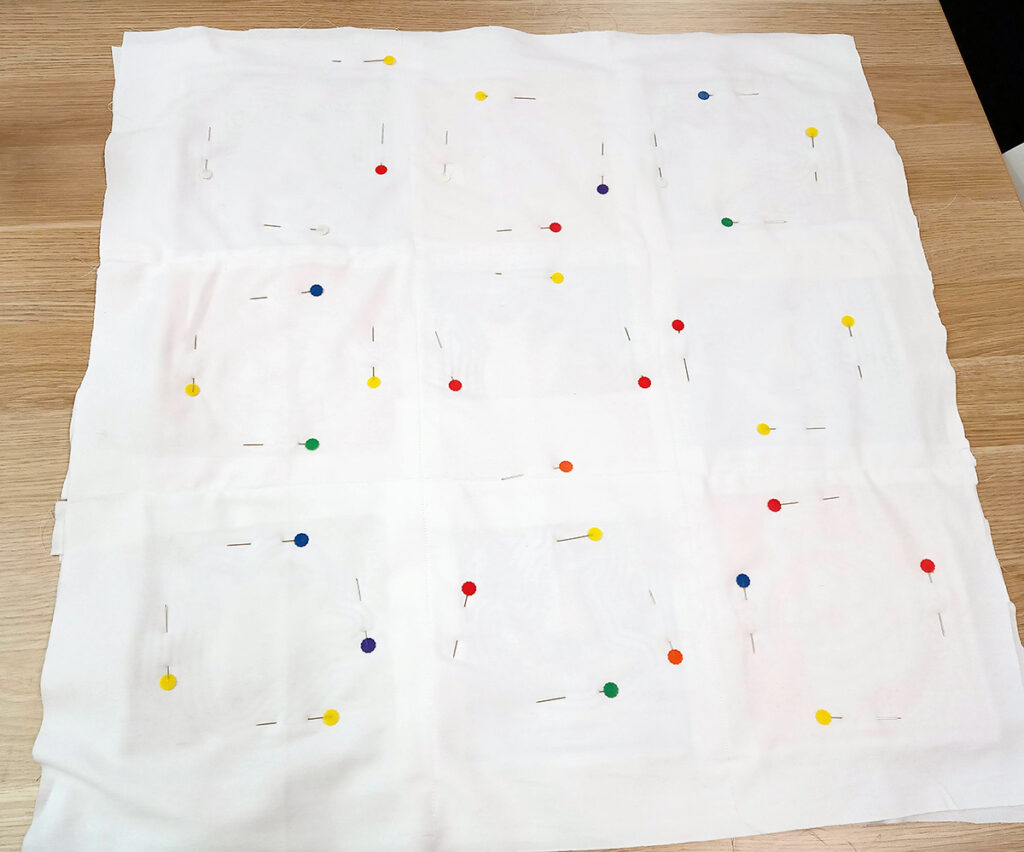
Step 7: Pin and Sew
Take two blocks and pin them together with their fronts facing each other. Ensure the designs are oriented correctly, then sew them together along the line where you trimmed the stabilizer and batting.
Step 8: Add Horizontal Lines
Once you have a column ready, sew horizontal lines on the front of the fabric between the border of the design and where the two blocks meet.
Step 9: Stitch Your Columns Together
Take two columns and pin them together with their fronts facing each other. Ensure the designs are oriented correctly. Stitch your columns together. Sew vertical lines on the front of the fabric between the border of the designs and where the two columns meet.
Step 10: Secure the Backing
Flip your quilt over and cut a piece of fabric the same size as the quilt. Pin the two fabrics together.
Step 11: Sew to Secure
Flip your quilt back to the right side and sew vertical and horizontal lines along the meeting lines between the columns and rows to secure the backing fabric.
Step 12: Add the Final Touch
Sew two lines around the quilt to give it a finished, professional look.
Step 13: Bind Your Quilt
To complete your quilt, follow the instructions in this helpful video. The back-to-front method is recommended if you plan to use a sewing machine for the binding.
We hope you enjoyed this spooktacular project! Your Halloween celebrations are about to get a whole lot cozier with your newly crafted Halloween quilt.
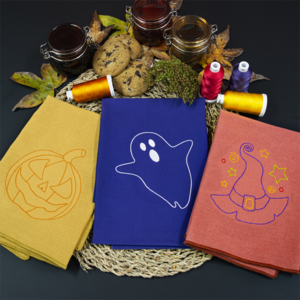
You can access the free designs of the quilt blocks and other great Halloween designs by clicking the button below.
Have a fantastic Halloween!
Hatch Embroidery software products are in popular use in over 120 countries. It is time to join the global trend and give Hatch a try! The 30-day Free Trial grants you unlimited use of all the amazing features and the 30-day Money Back Guarantee ensures that there is absolutely no risk involved.