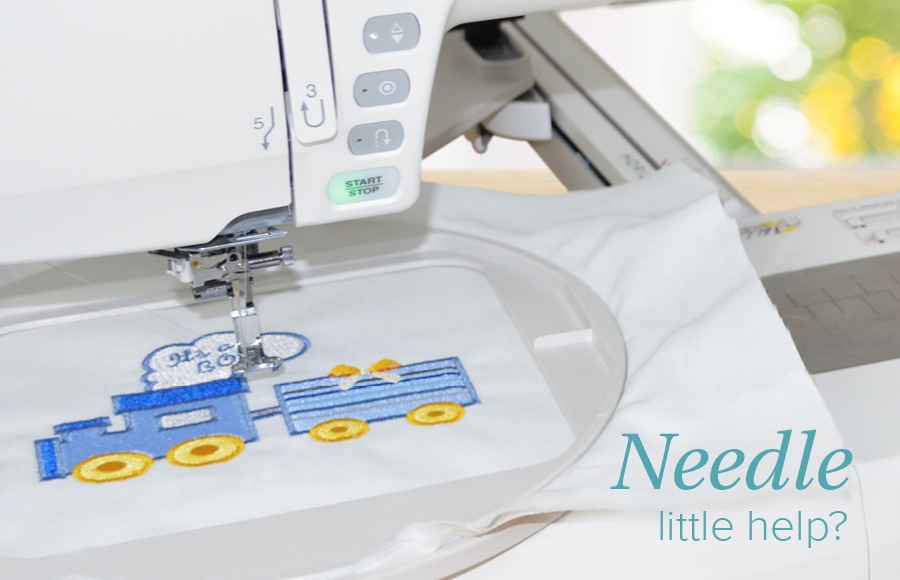
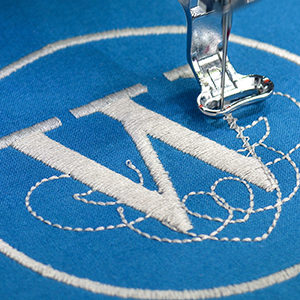
All the basics you need to know about machine embroidery needles
It goes without saying that needles are an absolutely pivotal aspect of machine embroidery. Choosing the right needle out of a seemingly endless amount of choice and confusing information on the internet gets overwhelming very quickly! We put together a quick guide to give you a clear picture of the most important things you need to consider when shopping for embroidery needles for your projects.
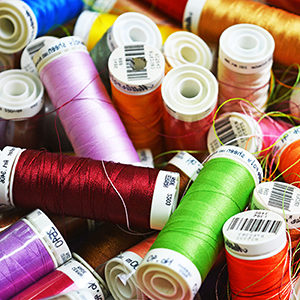
Before buying your machine embroidery needles you need to look at the specifications of your embroidery machine and consider the type of fabric, stabilizer and thread you are going to be working with. These are the main factors that determine the size and the point of the embroidery needle for your project. By using the right needle you will eliminate thread breaks and your embroidery design will run smoother and look cleaner and crisper.
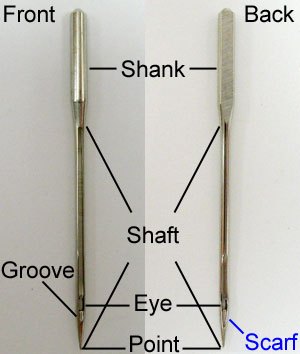
The Anatomy of Machine Embroidery Needles
Machine embroidery needles have a flat side and a round side so that they fit properly into the machine.
The various parts of the needle are called shank, shaft, eye, groove and point. It is useful to take into consideration the different parts of a needle, and how each part works, when deciding which needle to use for a specific project.
What to Look out for When Researching for Information on the Internet?
There is a lot of information available on the internet on needles. What we noticed the most when browsing around, how difficult it was to clearly differentiate which part of the article was talking about needles in general, machine embroidery needles or sewing machine needles.
So it is essential that when you are making decisions about what size needle to buy, you always check that the advice given is purely for machine embroidery needles.
So What is the Difference Between Machine Embroidery Needles and Sewing Needles?
When it comes to machine embroidery, there are needles made specifically for machine embroidery, we will refer to those as embroidery needles or needles throughout this article, and there are sewing machine needles that can also be used for machine embroidery if needed. More on this later.
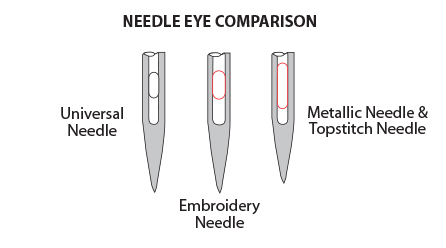
Although both can be used for machine embroidery, the main difference between embroidery and sewing machine needles is the shape of the eye and scarf. Machine embroidery needles have a longer eye and a specially-shaped scarf to suit the more delicate embroidery threads and not to break or fray them.
More on Machine Embroidery Needles
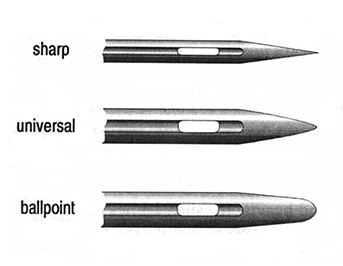
Point
The most commonly used embroidery needles have a universal point, which means a slightly rounded tip that sits between the sharp and ballpoint type points. The universal point suits most kinds of fabrics and stabilizers in general. One of the exceptions to this is, if you are using a very fine stabilizer such as the water soluble stabilizer that looks like a plastic film, you need to use a sharp point needle, so it can penetrate easily through the stabilizer, without ripping it.
Size
Embroidery needles vary in size between 7-11 (US) or 70-110 mm. The lower the number, the finer the needle. The size of the needle you will need to go for depends on the kind of fabric, stabilizer and thread you are using for your project and the stitch density of your embroidery design.
Type
If your project requires heavy duty needles, your best bet is titanium. If you are using dense or tough materials or embroidering large designs, these needles can penetrate through the fabric without the point and surface quickly losing their original shape and dimensions. They on average last 3 to 5 times longer than regular chromium plated needles.
Choosing the Right Needle Type for Your Machine
The very first thing you need to do before you start shopping for embroidery needles is to look at the user manual of your embroidery machine and find out what type of needle it will fit. The shape of the shank of the required needle can vary depending on the brand of your machine, so checking this first is very important.
Choosing the Right Needle for your Embroidery Project
Before embroidering you need to consider the specifications of your embroidery machine for the needle, the weight and the weave of the fabric, the type of the stabilizer and thread you are going to be working with and also the density of your embroidery design.
A few examples:
The general rule is to use a larger needle for heavier fabric such as canvas and a smaller for lighter fabric such as batiste.
Small letters would require smaller needle with a sharp point.
Embroidering on dense fabric such as leather or suede would require a sharp point titanium needle.
What If My Project Requires a Ballpoint or a Sharp Point, but I Cannot find Such Embroidery Needle?
As I mentioned before, you can use sewing machine needles for machine embroidery too. But because the eye on sewing needles are shorter, what we usually recommend is going up a size. So if your embroidery project requires a size 70 embroidery machine needle, you can use a size 80 sewing machine needle instead. It is all about ensuring that the thread fits “comfortably” through the eye.
Important Things to Take Into Consideration
When you change:
The needle size or the eye size of the needle, you are changing the tension on the top thread.
The needle size, you are changing the relationship of the needle scarf to the hook point.
The needle point, you are changing the way the needle penetrates the fabric.
Best Advice
As there are hundreds of variations to embroidery projects depending on the factors you need to take into consideration (fabric, stabilizer, thread and stitch density as discussed above), there are no exact rules as to which needle is the best for your specific project. The best advice is to keep a variety of needles on hand to experiment and always do a test run before embroidering.
Hatch Embroidery software products are in popular use in over 120 countries. It is time to join the global trend and give Hatch a try! The 30-Day Free Trial grants you unlimited use of all the amazing features and the 30-Day Money-Back Guarantee ensures that there is absolutely no risk involved.