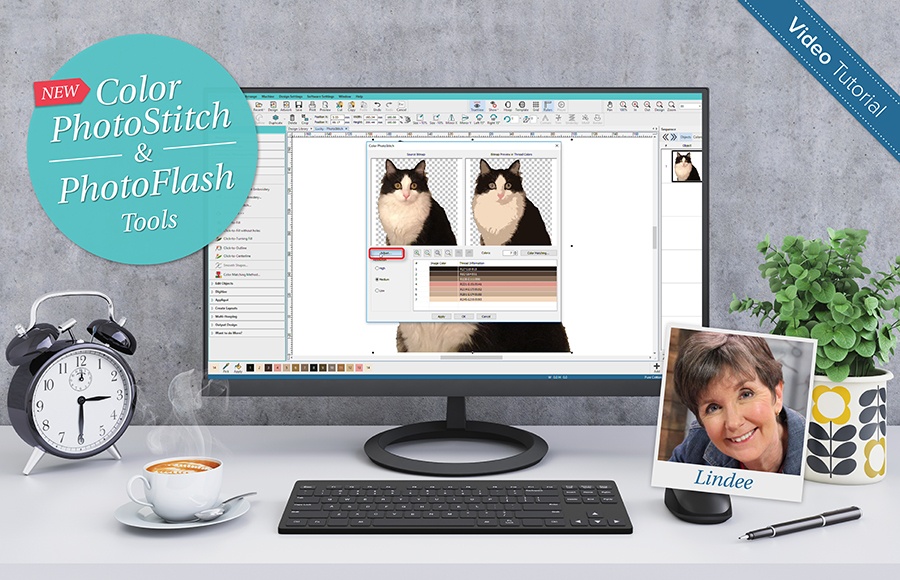
The Color PhotoStitch and PhotoFlash tools are used for auto-digitizing photographs and are located in the Auto-Digitize toolbox.
Both colored and gray scale photos can be used. Color PhotoStitch produces variegated stitching using multiple thread colors. The PhotoFlash effect resembles the output of a line printer.
Tip: You can print design images directly onto a special fabric or transfer via your inkjet printer. Printed images can then be combined with Color PhotoStitch to produce stitch highlights on the image. For improved results, you may need to edit images using an image editing tool such as CorelDRAW, Photo-Paint or Adobe Photoshop.
Auto-digitizing with Color PhotoStitch
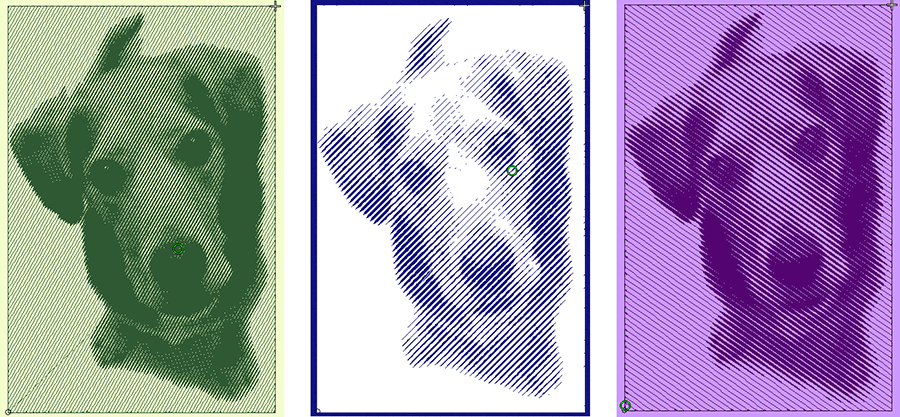
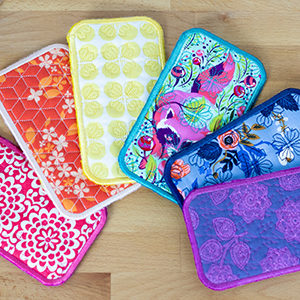
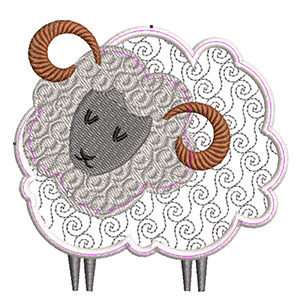
Use Color PhotoStitch to create embroidery from photographs and other images. The overall effect is like multi-colored stippling. For best results, use crisp images with well-defined subjects and constantly varying shades.
Preparing the Photo Image
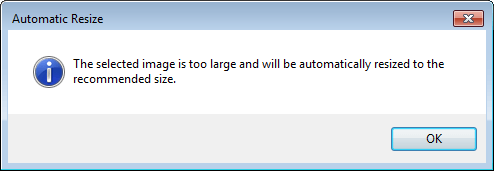
Scan or insert the image you want to use. For best stitching results, photos are better imported via Graphics Mode. Size the image for its intended purpose. Optimal size is 150mm x 150mm or about 6″ x 6″. 210mm is the limit.
Alternatively, you will be prompted to resize when you run Color PhotoStitch.
With Color PhotoStitch, thread count is limited to 15 colors. Results greatly depend on image quality. Edit your image for best results. Crop it to get rid of excess areas. Adjust basic lightness and contrast, reduce color depth – e.g. 24 bit and save as PNG to reduce file size.
You can also pre-process the image Within Hatch using the Prepare Artwork for Embroidery tool. Experiment to find the best method for the particular image.
If you cannot see the image in the work area of the software, turn on Show Bitmap Artwork.
Processing the Image
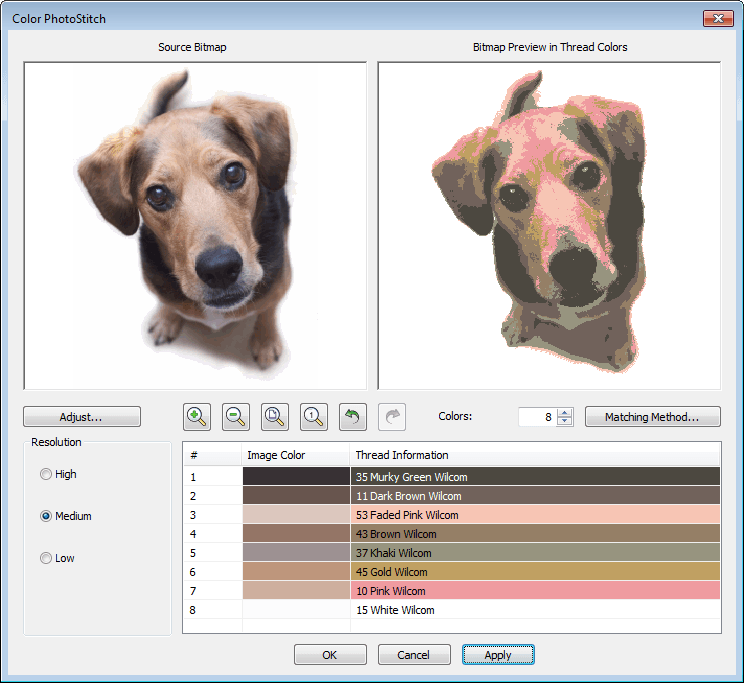
Use Auto-Digitize > Color PhotoStitch. Select the image, then click Color PhotoStitch.
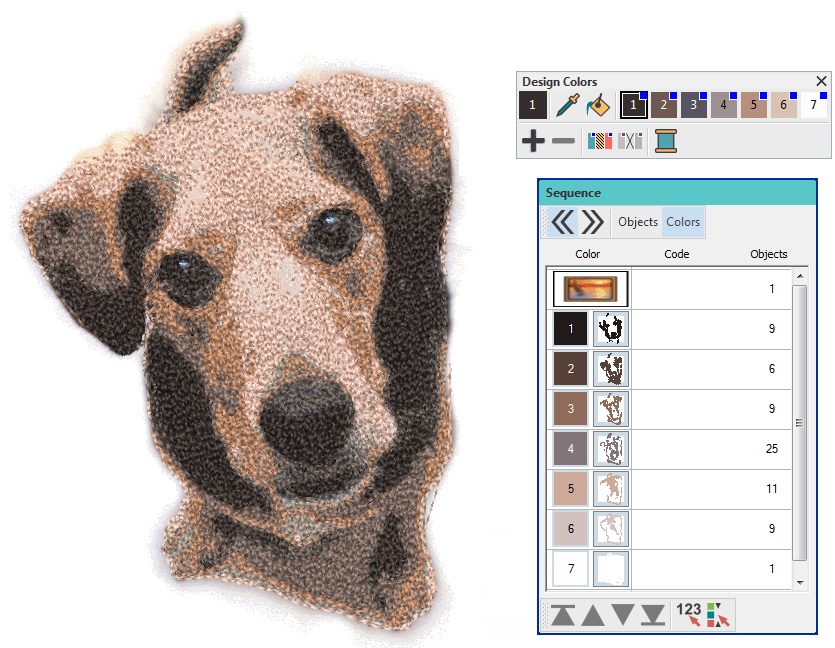
Set the number of thread colors. More colors do not always result in greater design clarity or stitchability. Usually 7 to 10 colors produce the best results.
Use the zoom buttons to examine the previews in detail. You can also zoom in and out with the mouse wheel. Optionally, adjust stitching resolution to high, medium, or low. High resolution allows greater detail but with a higher stitch count.
Click ‘Adjust’ for further options.
Sepia: In photographic terms, ‘sepia’ refers to the dark-brown color of old-fashioned prints.
Gray: Grayscale images are ones composed exclusively of shades of gray, varying from black at the weakest intensity to white at the strongest.
Optionally, adjust basic lightness and contrast if you haven’t already done so.
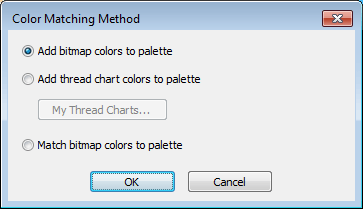
Use Color Matching to assign image colors to the color palette for manual thread matching. This ensures the best representation. Alternatively, automatically match them to the current color palette or current thread chart. Select one or more available thread charts to match to.
Click OK to process the image.
Editing the Results
If you are unsatisfied with the results, click Undo and try again. Try different settings and check the previews. You may need to touch up the image in PHOTO-PAINT if none of the results is good enough.
Edit the results and manually merge thread colors as desired using the Sequence docker.
If you have added RGB colors to the color palette, open the Sequence docker and Threads dockers side-by-side, and select the thread charts you have available from the Thread Charts dialog.
Select each color block in turn, check the closest match in Threads docker, and manually choose a thread. Sometimes the closest match may not be the best or be unavailable. Choosing the correct thread is key to getting a good result.
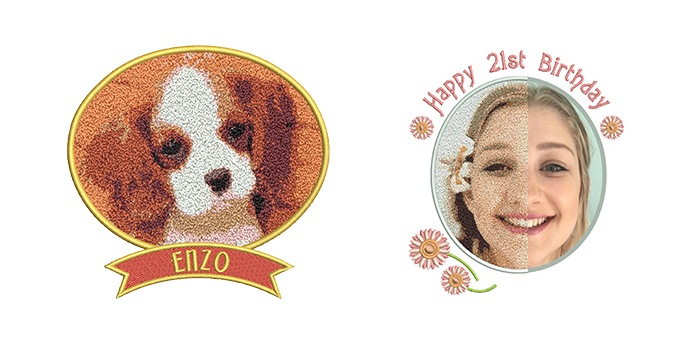
Add some lettering to further personalize your embroidery.
Auto-digitizing with PhotoFlash
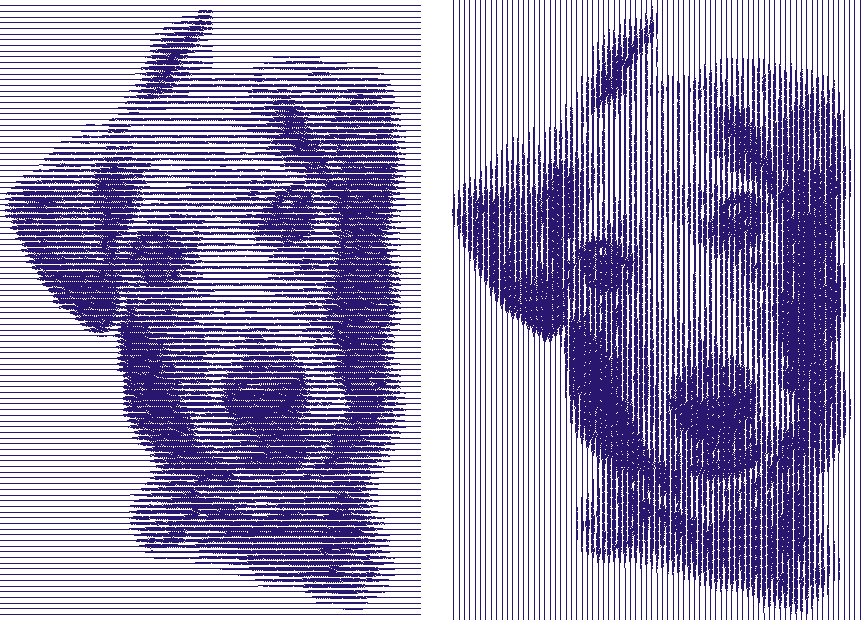
Use PhotoFlash to create embroidery from photographs or other images, color or grayscale. Color images are automatically converted to grayscale. PhotoFlash designs consist of rows of stitches of varying spacing settings. The effect resembles the output of a line printer. For best results, use images with well-defined subjects or constantly varying shades.
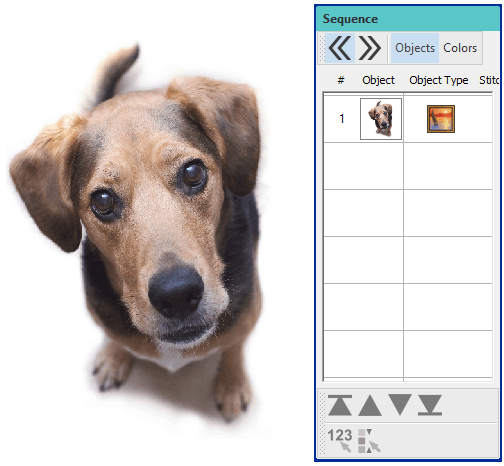
Insert a photo in Hatch Embroidery.
Select a thread color.
With the image selected, click the PhotoFlash icon.
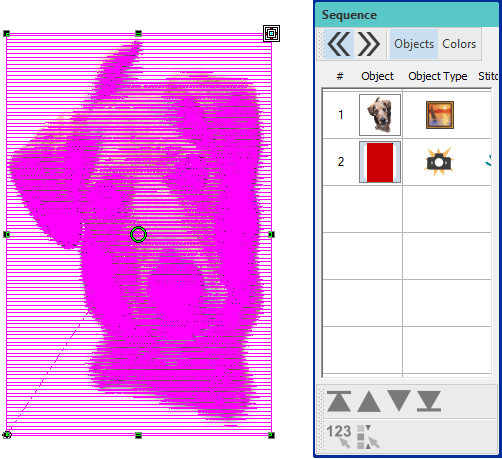
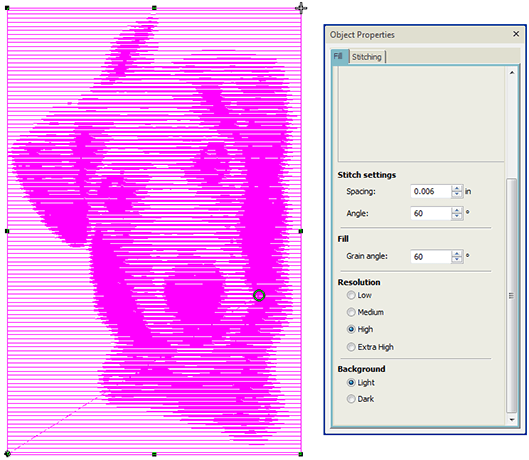
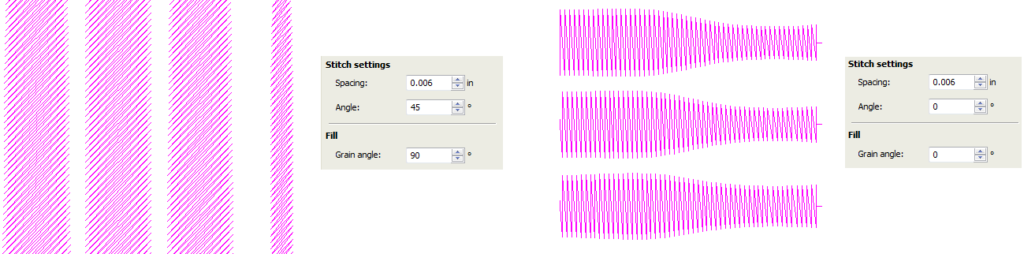
The Object Properties > Fill tab gives you control over settings such as grain or orientation, stitch angle, density or resolution, as well as background contrast.
Turn off the image – press <D> – for a better view. Experiment with settings for optimum effect against your chosen background.
Select a resolution – Low, Medium, High, or Extra High. The coarser the resolution, the more spacing between rows.
Select a background option:
Light: applies the maximum row width to the lightest part of the image. Dark: applies the maximum row width to the darkest part of the image.
The option you select usually depends on whether the fabric is light or dark. The dark option produces a negative of the image.
Adjust the grain angle to set the overall angle of stitch lines.
Adjust the stitch angle to run in a complementary direction to the grain angle.
Watch Lindee Goodall’s overview of the PhotoStitch and PhotoFlash tools
Would you like to get the most of out your Hatch Embroidery software? You will find a wealth of information in the online Product Documentation and the User Guide.
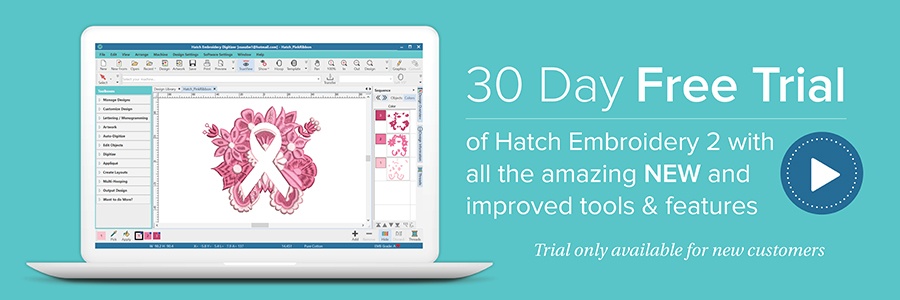
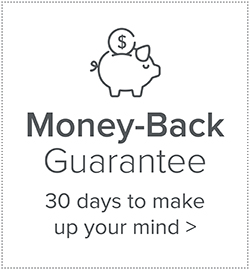
Hatch Embroidery software products are in popular use in over 100 countries. It is time to join the global trend and give Hatch a try! The 30-day Free Trial grants you unlimited use of all the amazing features and the 30-day Money Back Guarantee ensures that there is absolutely no risk involved.
Did you find this article useful? We’d love to hear your feedback!