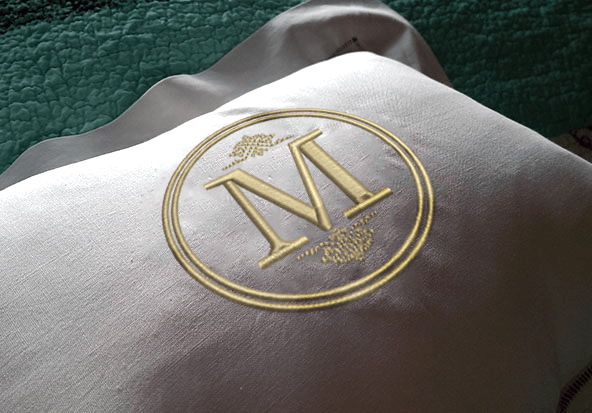
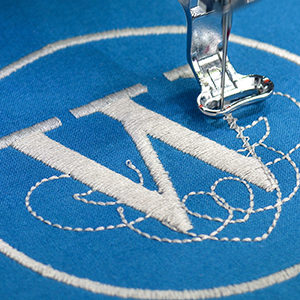
Try this fantastic monogram project for your household pillows
The possibilities are endless with Hatch and sometimes this can get a little overwhelming, that’s why we’ve got a couple of inspirational pieces here for you.
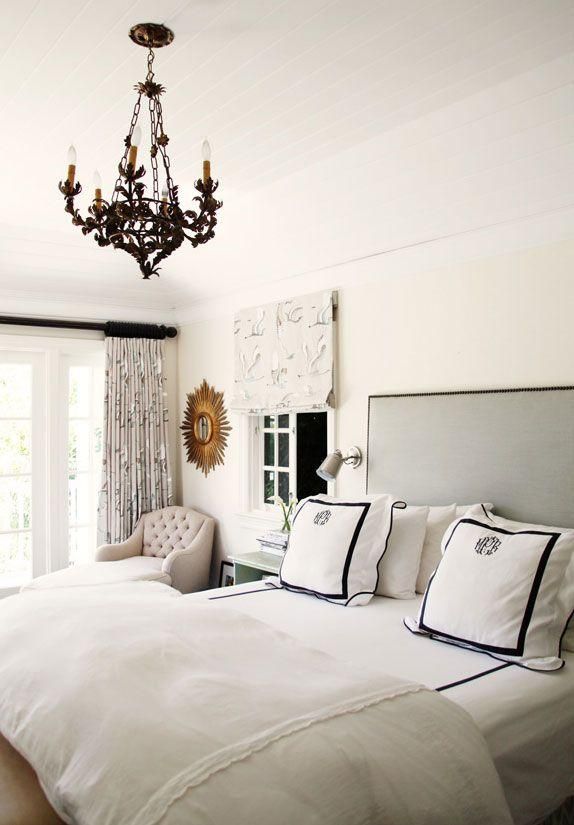
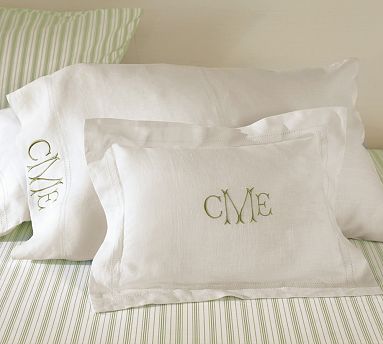
This week we’ve got a monogrammed pillow project that you can easily re-create at home. In addition to this, we’ve picked out some of our favorite monogrammed pillow cases for embroidery inspiration!
But first, take a look at this step-by-step guide to creating your personalized embroidered monogram pillow. Anyone with Hatch Embroidery Basics can attempt this project, simply read on to find out how!
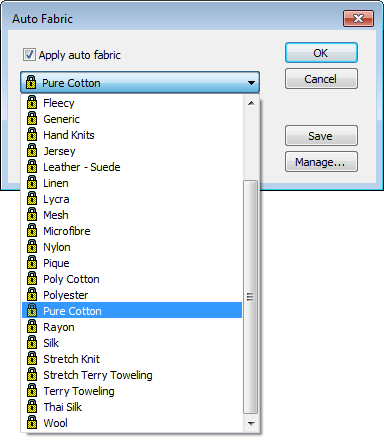
1. Choose your fabric type and machine
To ensure the best quality, change the stitch settings to suit the fabric the pillow is made from. This can be done automatically using “Auto Fabric” in the “Custom Design” toolbox – which you can see displayed on the left. Simply select your fabric from the drop-down menu and your software will do the rest for you!
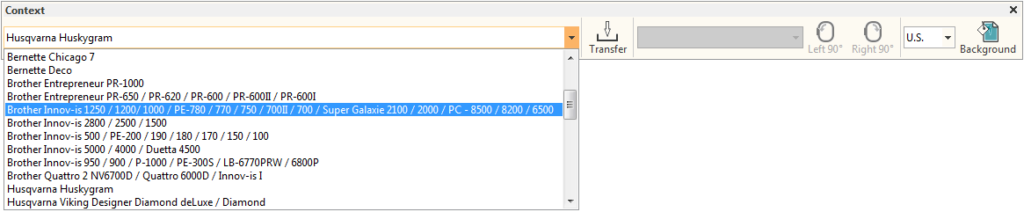
Once you’ve finished this, select your machine from the drop down menu. Some machines come with specific add-ons that need to be installed first, so make sure you check whether your machine requires any additional steps. Take a look at the image below to see where you can choose your machine.
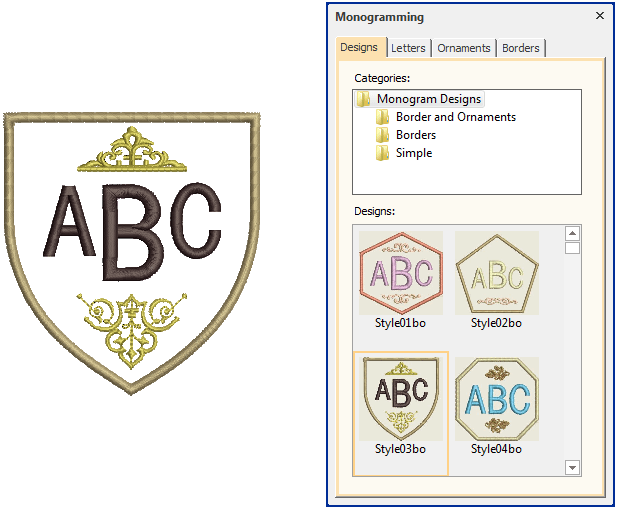
2. Create your monogram design and letter
First, you need to choose your monogram design. You can either design it yourself or start with a pre-made design (this option is probably best for beginners) from the designs tab. Once you’ve selected your design, type in the letters you want your monogram to contain and then select your font – this can be done via the letters tab.
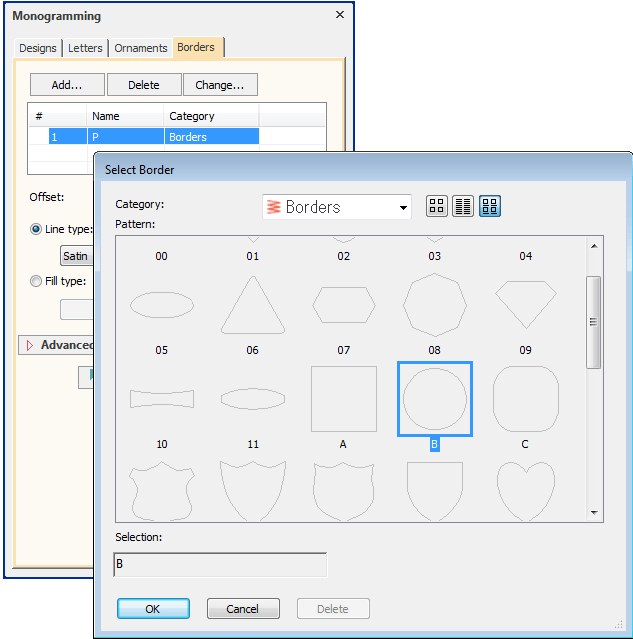
3. Customize your monogram borders and ornaments
Once the basics have been laid down, you can start customizing. Go to the borders tab (see the image below) and choose from a range of different types of borders available in the Hatch software. This will show you the basic style of the border. From here, you can customize the width and stitch type of your border.
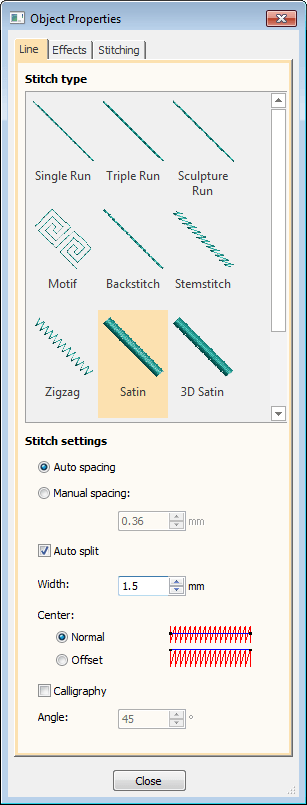
Using “Object Properties” you can control how you customize your borders. Choose different stitch types, patterns, styles and effects.
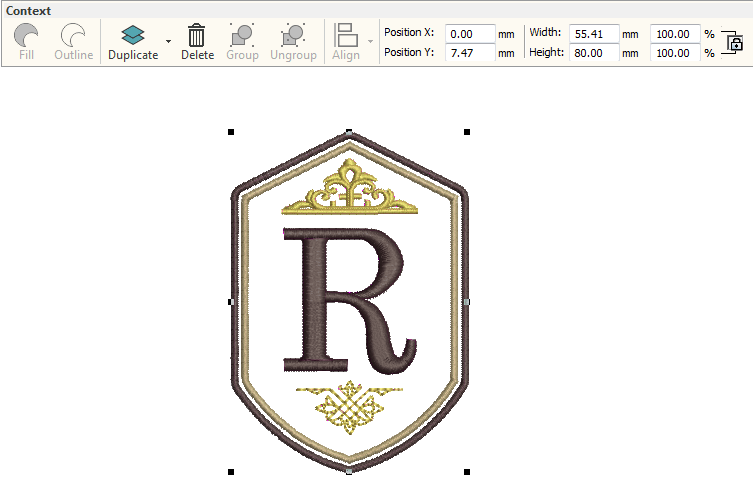
4. Resize your monogram and visualize it against a backdrop
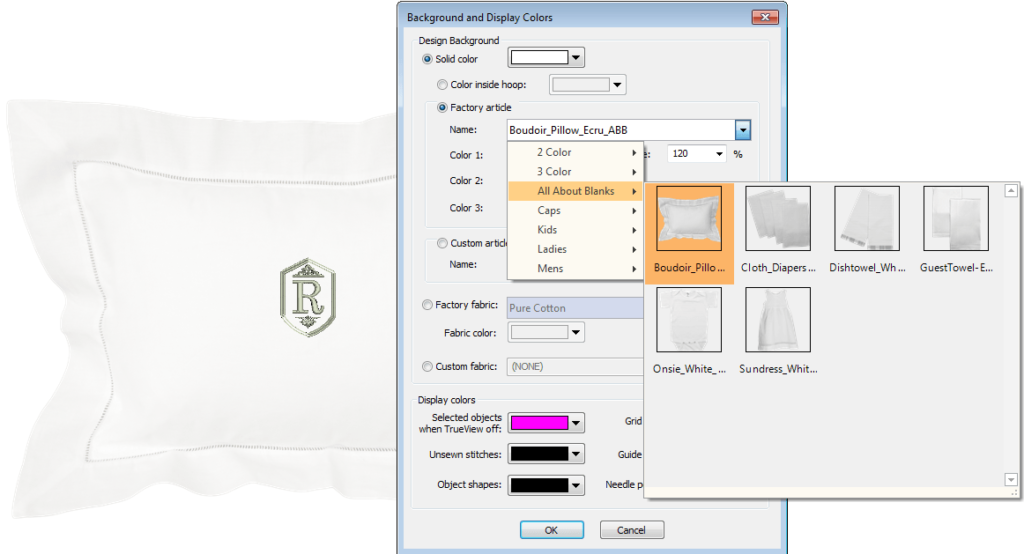
Once you’ve customized everything to your liking, you can move to resizing the entire design. The size you decide to stick with should correspond to the size of your pillow. After you’ve gotten it to the perfect size, you can start to customize thread colors (via “My Threads Docker”) and visualize your design against the backdrop of your choice.
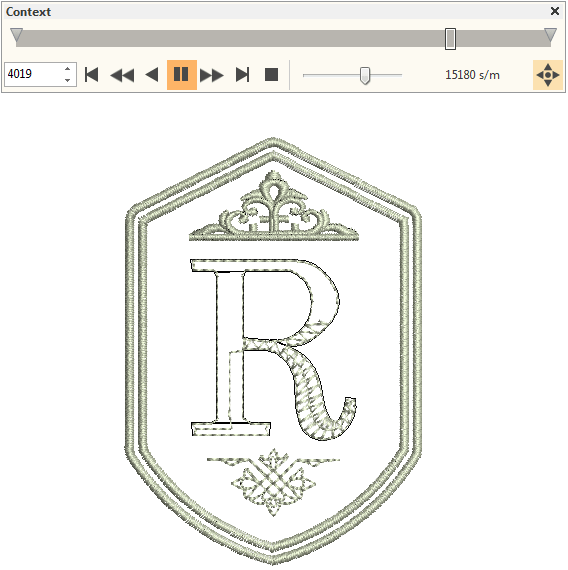
5. Simulate your design
Now that you’re almost finished, it’s time to see how the final design will look in person, with a realistic simulation. This simulation (right) re-creates the process your design goes through in its final stitch-out. You can preview everything and watch the simulation using the Stitch Player.
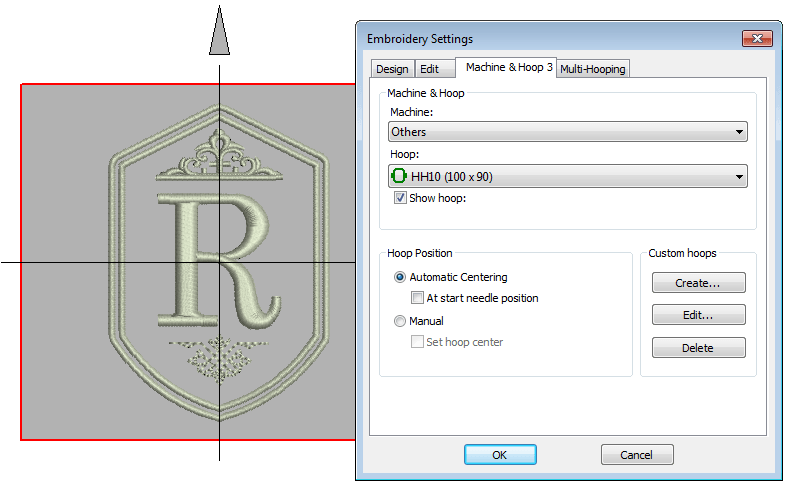
6. Output the final design to the embroidery machine
If you’re happy with everything, it’s time to pick a hoop size and output the design! Do this by right-clicking (as in the image below). This will show the hoop tool, then select the size that suits your design and machine. Once this is done you can send your design straight to your machine by using “output design” and clicking “save design as”.
And now you’ve got your own monogram design!
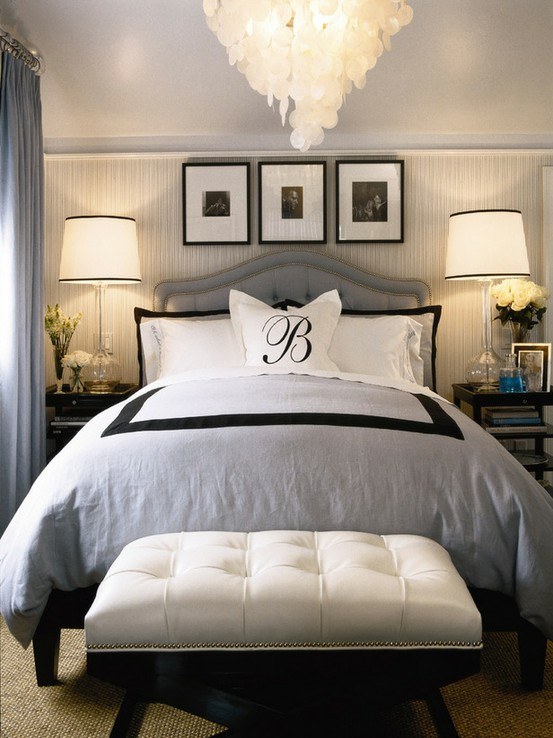
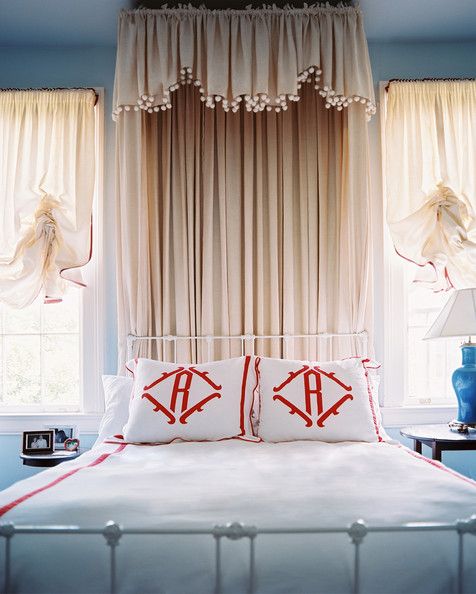
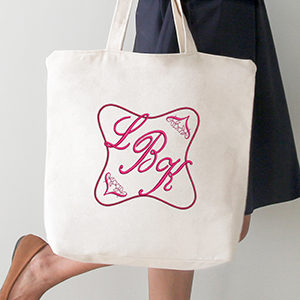
Not ready to attempt your own design yet? No problem! Why not first take a look at some of these pieces for monogramming and homeware inspiration?
Are you interested in giving it a go for yourself? Why not try our new lettering bundle? With the combination of Hatch Basics and Monogrammer, this lettering bundle is everything you need to get brilliant and original designs!
If you’ve attempted any designs of your own, we would love to see them! Comment with your Hatch designs on our Facebook page and we’ll pick some to feature!