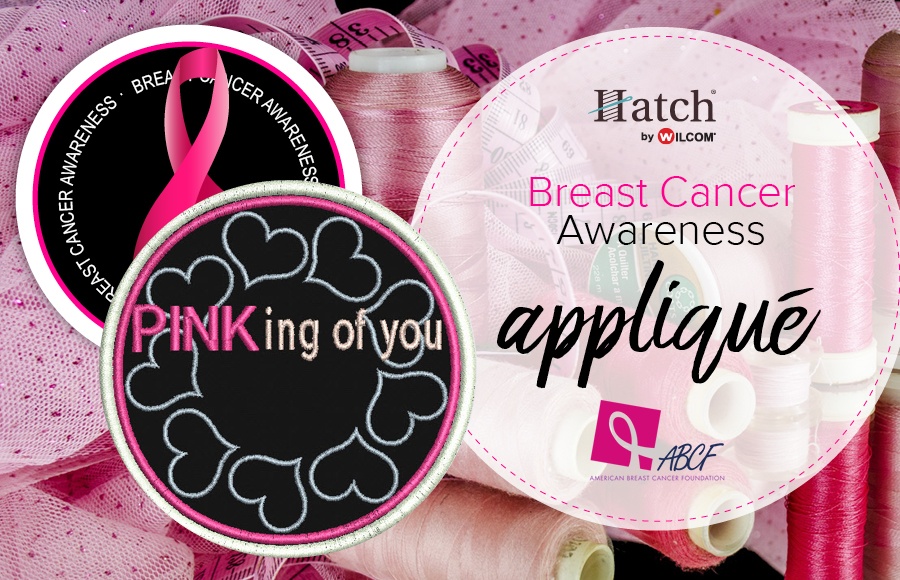
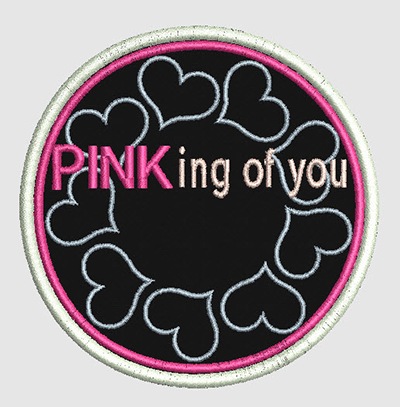
Supporting the Breast Cancer Awareness Campaign by the American Breast Cancer Foundation
We continue to find ways to help you promote Breast Cancer Awareness month. Last week we gave you several pink ribbon designs to stitch out in embroidery. This week we found a fun and effective campaign run by the American Breast Cancer Foundation.
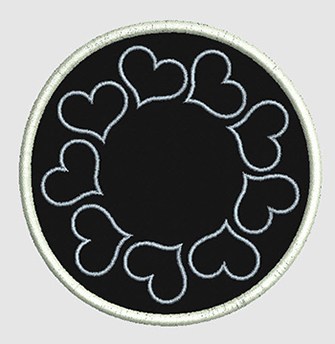
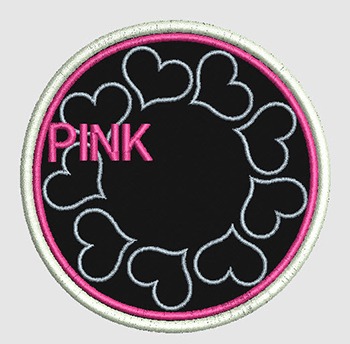
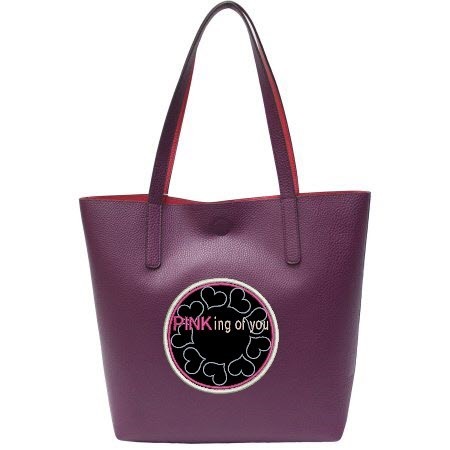
We contacted them to see if we could digitize the campaign logo and they gladly gave us permission. We have created this design as an appliqué. It is quick and easy to stitch out on any machine and can be used on many different items. Be sure to check out the bonus at the end of this blog on how to turn this appliqué into a badge!
This is what the American Breast Cancer Foundation said about their campaign:
The PINKing of You campaign is a way to get involved and show support for Breast Cancer Awareness Month in just 60 seconds. By downloading the free app VideoFizz and selecting the PINKing of You campaign, you can create a powerful support video to share on social media.
Across the nation, people are getting into the “PINKing of You” spirit. The Fox Valley Metro Police Department in Wisconsin showed they are “PINKing” of those affected with this awesome video. Elementary schoolers in Baltimore, Md. have joined in as well. Watch their video here.
If you are as inspired by these powerful videos as we are, please visit the PINKing of You web page here to learn more, and download VideoFizz to record your special message to those affected by breast cancer this October.
You can find out more about the American Breast Cancer Foundation here. Check out their website as they have lots of education on breast cancer that is very helpful.
GETTING STARTED
The design we have created for you is ready to stitch out. You will find a button at the end of this article that will take you to the page where you can download the zip file of the Free design.
This blog will focus on how to use this “ready-to-stitch” design. We suggest you read the entire instructions before you begin.
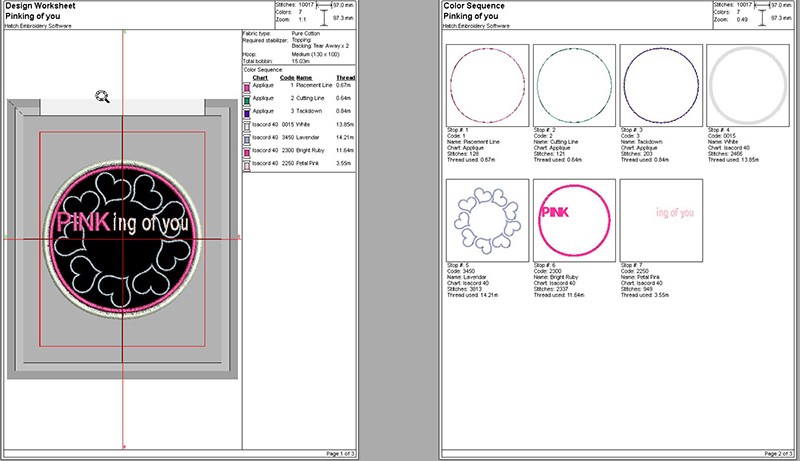
What is included in the zip file? The original .EMB, and a variety of different embroidery machine file formats. It also contains the worksheet that shows color order, suggested thread colors, sequence order and placement of the design using the start and end stitch points.
Supplies Needed
Appliqué patch fabric (black is used for this design)
Tear-away or Cut-away Stabilizer – We used 2 layers of heavyweight cut-away stabilizer in our sample.
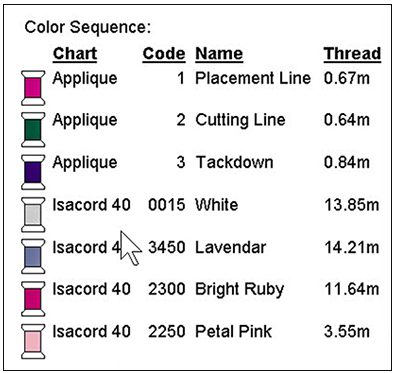
Embroidery thread (White, Dark Pink, Lavender & Light Pink). See the worksheet for thread color numbers.
We used ISACORD thread for this design.
Machine, hoops of choice, scissors and other embroidery notions
Stitching the Design
Click the button at the end of this article. Download the zip file of the Free design.
Unzip the downloaded file and save to a location on your computer
Print the worksheet or open and refer to it on your computer screen.
Save the design format to a USB drive that works with your machine.
Stitch your design.
Example of the worksheet from Hatch Embroidery Software. This PDF is included in your download zip file.
STITCHING THE DESIGN
Changing Size and Colors, Adding a Name, or Converting the Design to Your Machine Format using Hatch Embroidery Software
Download the design. You will find a button at the end of this article.
Unzip the downloaded file and save it on your computer.
Open the design in your Hatch Software.
Rename the design and save to .EMB format (so you keep the original file untouched).
Make desired changes on the renamed design
Save the changed design to a .EMB file format
Export the design to your machine format
Print your new worksheet or open and refer to it on your computer screen
Save to a USB drive and stitch out on your machine.
Stitching Order of the Appliqué Design
In this appliqué we have used the stitch in place method. In this method you will trim your appliqué fabric after tacking it down rather than pre-cut the appliqué fabric to the patch shape.
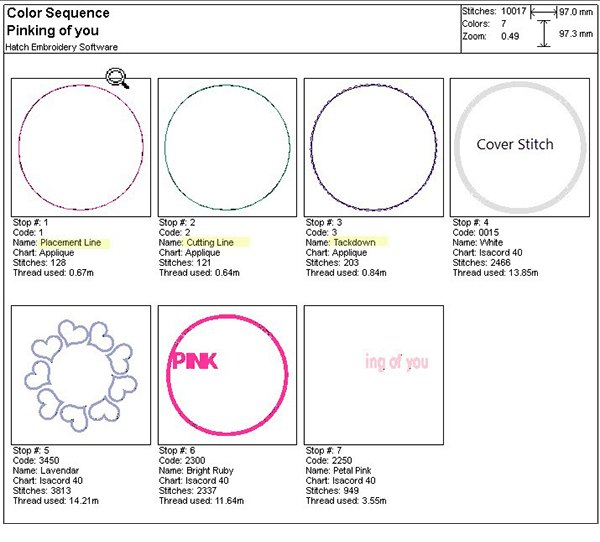
Below is the stitching order when using the “trim in place” appliqué method:
1. Placement line 2. Cutting line 3. Tackdown 4. Cover Stitch 5. Remaining colors in the design
Color Sequence from Hatch Software Worksheet
Here is what the worksheet looks like showing the color sequence and stitching order. You will also find the suggested thread colors, stitches, size and a lot of other useful information. Be sure to print out the worksheet included in your downloaded zip file.
Instructions for Using the “Trim-in-Place” Appliqué Method
1. Hooping the Fabric
Hoop the fabric that you will stitch the appliqué on. Use the stabilizer according to the appliqué patch fabric that you will use. Most likely tear-away or cut-away stabilizer will be used.
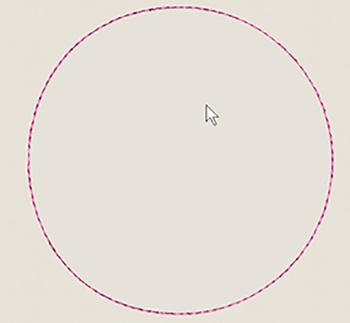
2. Stitching the Placement Line
Use the color that you will use for your cover stitch. For this design the cover stitch will be white. Your machine will stop as if it is a color change. However, you do not change the color. A color change is placed within the appliqué components only to force the machine to stop. Color 1. The machine will stop. This will allow you to easily place the appliqué fabric (patch).
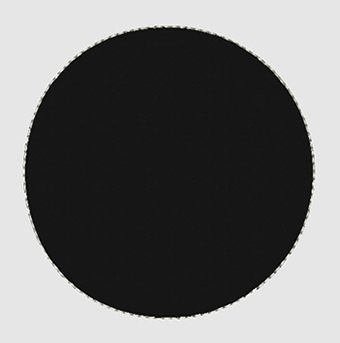
3. Laying Down the Appliqué Patch Fabric
Lay a piece of fabric over the placement line, making sure it covers the complete placement line. This will be your appliqué fabric (patch).
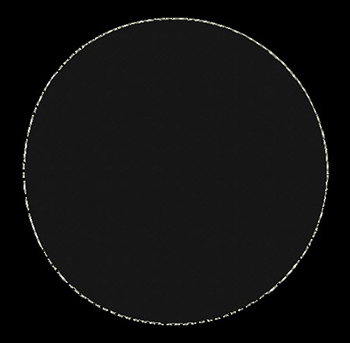
4. Stitching the Cutting Line
Color 2. The machine will stitch a second run-stitch to give you a cutting line. The machine will stop. This will allow you to easily trim the appliqué fabric (patch).
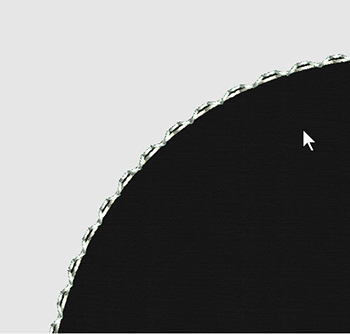
5. Trimming the Patch
Remove the hoop from the machine to trim the appliqué Fabric. But DO NOT unhoop the fabric. Trim the appliqué patch fabric close to the tack-down stitch being careful not to cut into the stitching.
6. Stitching the Tackdown
Color 3. The machine will stitch a tackdown stitch. We have used a zig-zag stitch type for this design. The Hatch Software also gives you the choice of a blanket stitch. Single run stitch, or no tack-down.
7. Stitching the Cover Stitch
Color 4. The machine will now stitch the cover-stitch with the underlay as needed. This is your cover stitch which is a satin stitch around the outside edge of your appliqué. This stitch is used to cover the stitches that were used to place, trim and tack down your appliqué fabric.
8. Stitching the Rest of the Design
Colors 5,6,7. Change the color according to the worksheet. You are now ready to stitch color 5. Then stitch the remaining colors in the design referring to the worksheet for the sewing order and recommended colors.
9. Removing from the Hoop
Remove the hoop from the machine. Remove the fabric from the hoop. Remove excess stabilizer.
Tip: You can use this embroidery design to decorate various items.
BONUS
Bonus 1
How to Make a “Badge” of this Appliqué
Stitch on two layers of heavy weight cutaway stabilizer. Use either white or black depending which color works best with the appliqué being used. When finished remove from the hoop and trim cutaway stabilizer close to the outer stitching. Place a badge pin to the back.
Bonus 2
How to Digitize Your Own Appliqués Using Hatch Embroidery Software
We have included a video in case you would like to create your own appliqué’ using the Hatch Embroidery Software.
Please note: You will need to sign in or register a free account to be able to download the free design.
Once you registered an account, you will have unlimited access to ALL the free designs that are currently on the Hatch Embroidery website and future ones two. You will also automatically receive our newsletter about free projects and designs. You will NOT be requested to download the software. Having an account does not come with any obligations to you at all.
Hatch Embroidery software products are in popular use in over 100 countries. It is time to join the global trend and give Hatch a try! The 30-day Free Trial grants you unlimited use of all the amazing features and the 30-day Money Back Guarantee ensures that there is absolutely no risk involved.
Let us know in a comment below how useful you found this article and please do share your embroidery on our Facebook page. We love to see your work!