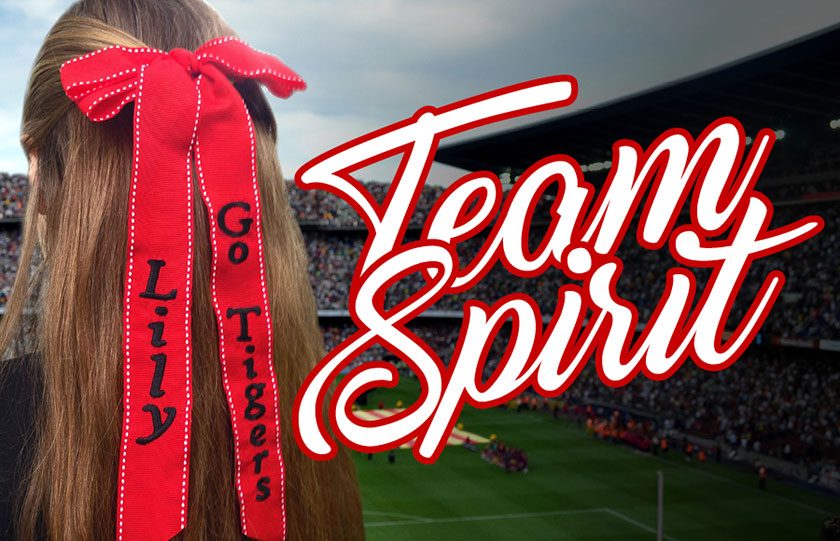
Show your team your support with personalized ribbons by Kristie J. Smith
Nothing says team spirit like customized team clothing and accessories. Cheerleaders, students and fans of all ages love supporting their team with team-related gear and these hair bows add detail to accessorize any team attire. Enjoy this easy lesson in embroidering ribbons by the wonderful Kristie J. Smith. The result is sure to impress and cheer on your team.
You will find a button at the end of this article to access your FREE Instructions and embroidery design.
Supplies Needed
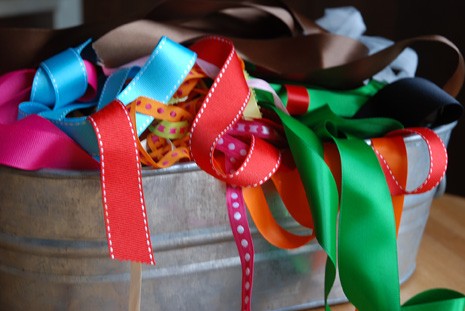
Ribbon of choice, 1.5” wide x 32”-36” length per bow depending on desired length of tails (Sample was done using 32” of 1.5” wide grosgrain-type ribbon)
This is a very easy project and a beginner can complete the project.
Features & Techniques Used
Renaming new design files, setting up your machine, hooping, grid lines, single line digitizing, cloning, lettering and vertical baselines.
How to Choose Your Ribbon
Weight and How the Ribbon Will Be Used
Our project uses a medium weight ribbon to provide a drape for the tails of the bow. A lightweight ribbon may provide an airier bow. You may need to adjust the stitch density and/or add additional stabilizer to accommodate the weight of the ribbon.
Density of the Ribbon
In choosing a ribbon, you need to make sure your embroidery needle can penetrate through it with ease to ensure good stitch quality. There are also special needles that can be used on particular types of ribbons.
Textile Make-up of the Ribbon
It is important to know what kind of fabric/textiles make up the ribbon. Can the ribbon be washed, dampened, ironed, or does it need special care? Stabilizer, needle and thread may need to be adjusted for the ribbon make-up.
Test It First
Consider purchasing an extra piece of ribbon and doing some test stitching to determine the stitch density, amount of stabilizer and any other adjustments that needed to be made to produce professional results.
Let's Embroider!
After you have all your supplies ready including your ribbon, you will need to download the instructions and FREE embroidery design we included with this project. You can also digitize your own embroidery design if you feel adventurous or experienced enough.
Please note: You will need to sign in or register a free account to be able to download the free project.
Once you registered an account, you will have unlimited access to ALL the free projects that are currently on the Hatch Embroidery website and future ones two. You will also automatically receive our newsletter about free projects and designs. You will NOT be requested to download the software. Having an account does not come with any obligations to you at all.
Hatch Embroidery software products are in popular use in over 100 countries. It is time to join the global trend and give Hatch a try! The 30-day Free Trial grants you unlimited use of all the amazing features and the 30-day Money Back Guarantee ensures that there is absolutely no risk involved.
Let us know in a comment below how useful you found this article and please do share your embroidery on our Facebook page. We love to see your work!