FREE 3D Puffy Foam Tulip design
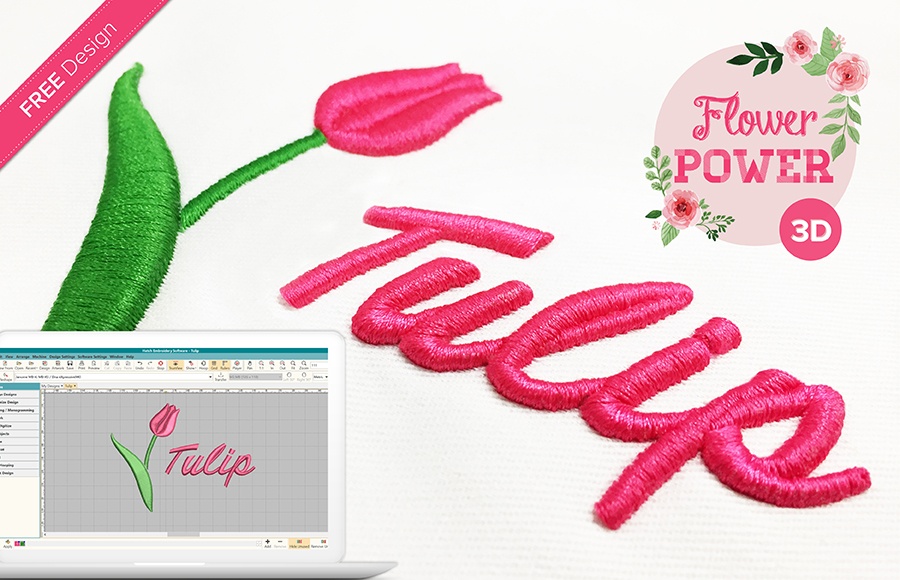
Puffy foam is commonly used to achieve 3D like raised embroidery. It is very popular for logos on caps and backpacks commercially, but as you can see in the tulip design I created for this article, you can also use it in decorative machine embroidery to give your design an extra dimension.
Digitizing for puffy foam might be a bit more technical that your every day digitizing, but if make sure you follow a few rules, it is actually not that complicated at all. It can easily done with Hatch Embroidery Digitizer.
Key points:
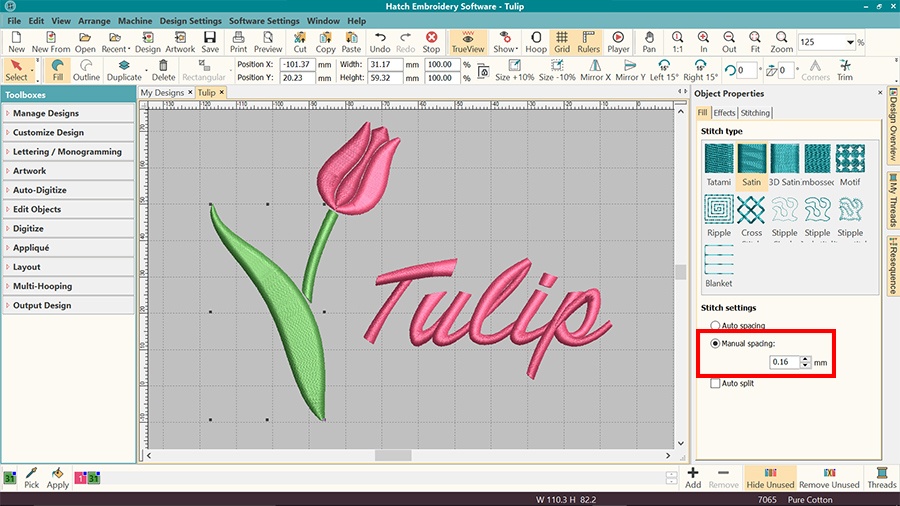
- Puffy foam embroidery is always done with Satin fill
- Stitch spacing must be set at 0.16 mm
- No underlays are used
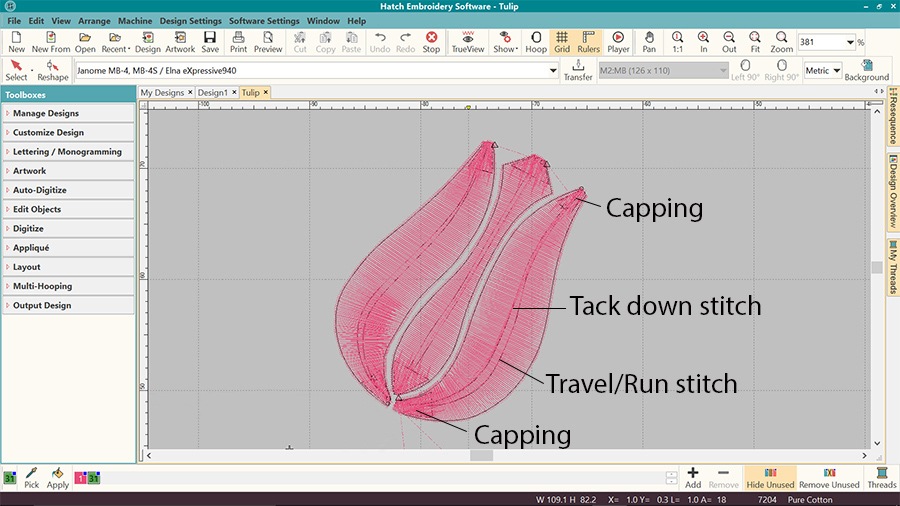
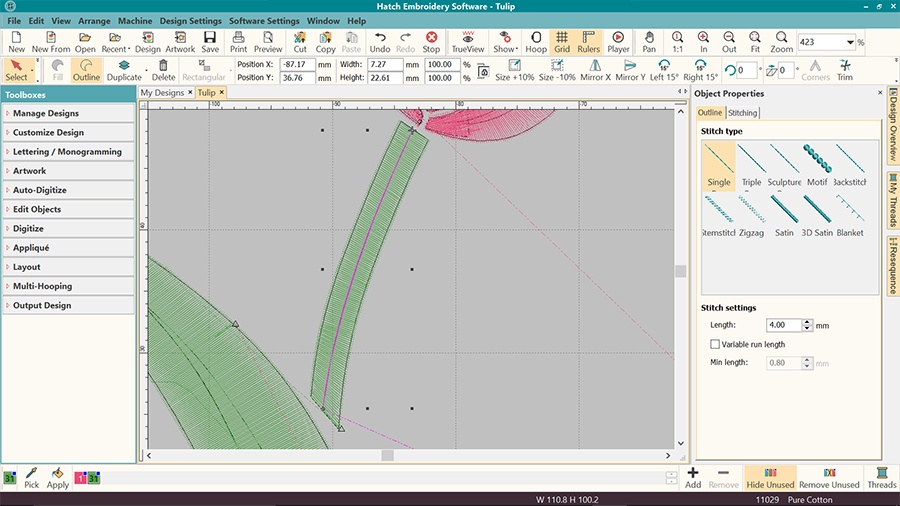
- Tack down stitches are added to hold the foam in place
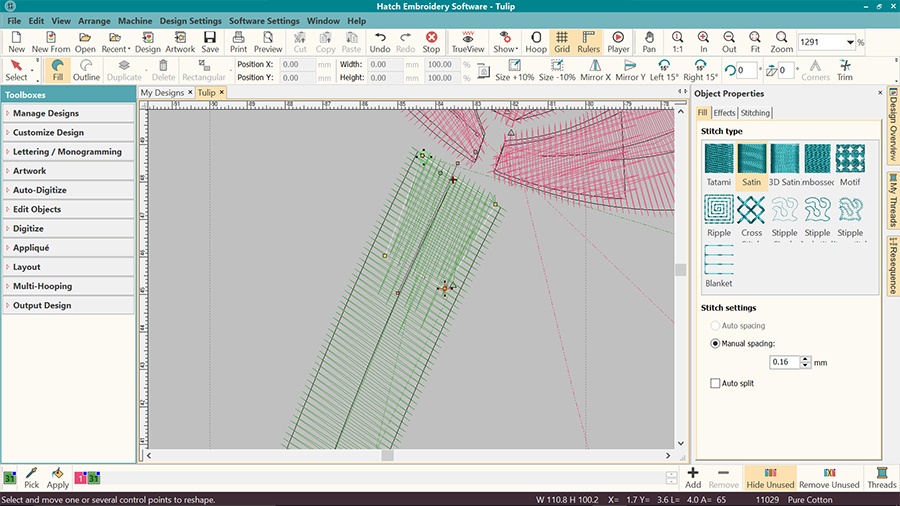
- Capping the edges to cover the edges and to stop the thread unravelling is necessary
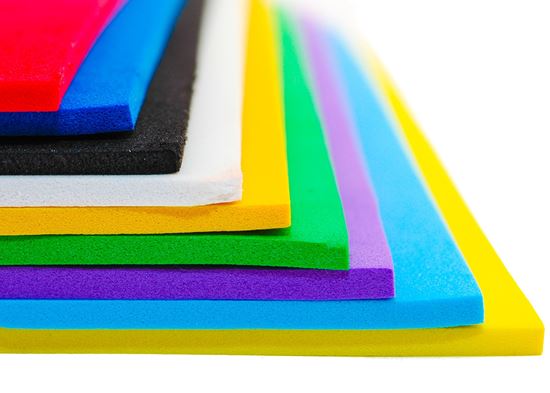
- Match foam color to thread color for best results
- Loosen top thread when stitching out design
Why Satin Fill?
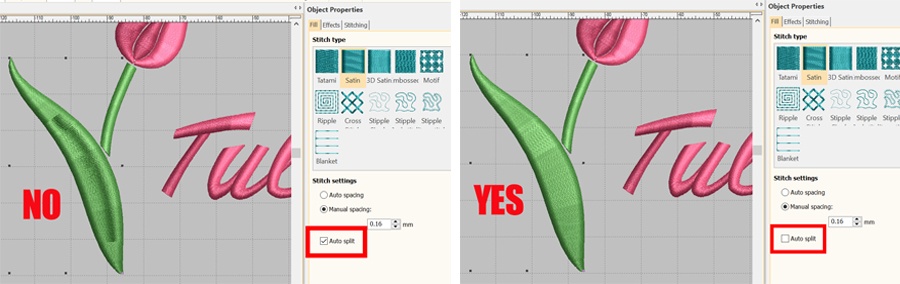
The way puffy foam embroidery works is that as the needle stitches going from one side to the other along reasonably narrow objects, it cuts the foam with every penetration point. The foam should not be pushed down with stitches within the object. Satin fill is the only one that has no stitches inside the object.
The objects in your design should not be much wider than 7 mm, which is just a bit over the width where the Satin fill would start to split if you have the Auto split box ticked. If you have a slightly wider object, make sure you turn the Auto split off to avoid stitches in the middle of your object.
Stitch Spacing
The default stitch spacing in Hatch Embroidery is 0.36 mm. This distance of the stitches is too high for puffy foam embroidery. The penetration points must be much closer for the foam to be cut properly, so at the end you can just pull the excess foam away easily. The standard stitch spacing value for puffy foam embroidery is 0.16 mm, so the penetration points are much closer to each other.
No Underlays
Stitching underlays would push the foam down, therefore they need to be switched off. The tack down stitch will hold the foam sufficiently in place.

Digitizing Tack Down Stitches
Digitize a Single run stitch in the middle of your object and set the stitch length to 4 mm. By increasing the stitch length you ensure that the stitched will not push down the foam too much. You want the foam to be able to do its job and hold the Satin stitches that will cover it nice and high.
Capping
Capping objects at the ends of your Satin objects will hold the foam down and also ensure that the foam does not stick out at the ends. The positioning is very important. The capping objects needs to sit exactly on the edge of the Satin object, should be narrower further in and should have feathered edge that points inwards. The stitch spacing is to be set at 0.16 mm and underlays removed.
Matching Foam Color
Machine embroidery foam comes in all the colours of the rainbow and easy to shop for on Amazon or eBay. For best embroidery results, it is advised to match the color of the foam to that of the embroidery thread. That way the tiny bits that remain after the removal of the foam will not be very visible, and your embroidery will look tidier. Use tweezers to remove any smaller pieces of foam or a heat gun on low setting.
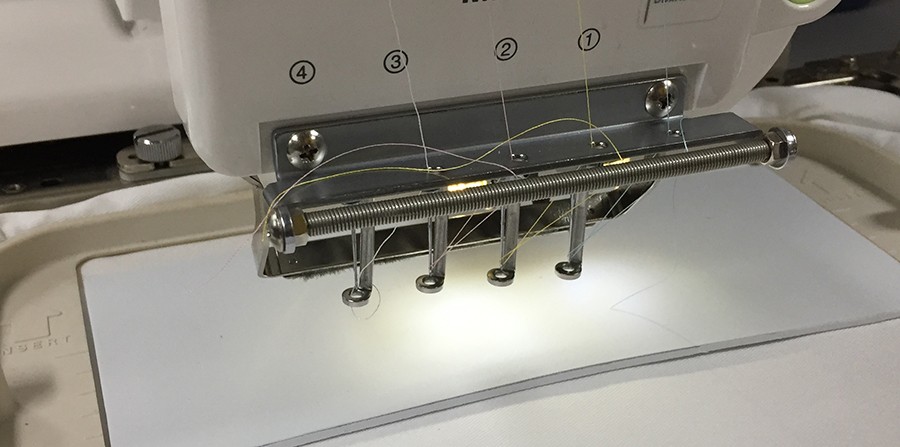
Embroidering on Puffy Foam
Hoop your fabric and stabilizer as usual. Cut a piece of foam to fit your hoop and float it on the top of the fabric. Use adhesive spray on the corners to hold the foam in place, and loosen the top thread on your embroidery machine to ensure that the stitching does not push the foam down. This way you will achieve the best 3D raised embroidery effect.
After embroidering, gently pull the foam away from your embroidery design. It should come away without much force.
https://youtu.be/G-0haApZDK0

Hatch Embroidery software products are in popular use in over 120 countries. It is time to join the global trend and give Hatch a try! The 30-Day Free Trial grants you unlimited use of all the amazing features and the 30-Day Money-Back Guarantee ensures that there is absolutely no risk involved.

Hatch Academy
over 200 FREE Lessons

30-Day FREE Trial
all the tools & features

Money-Back Guarantee
ease of mind

FlexPay
monthly instalments