Video tutorial and step-by-step sewing instructions by Caroline Critchfield
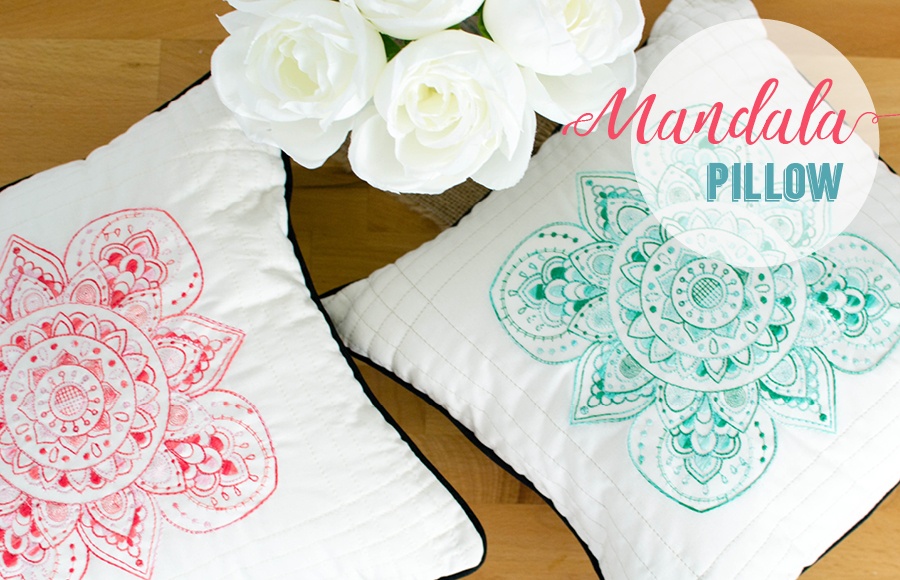
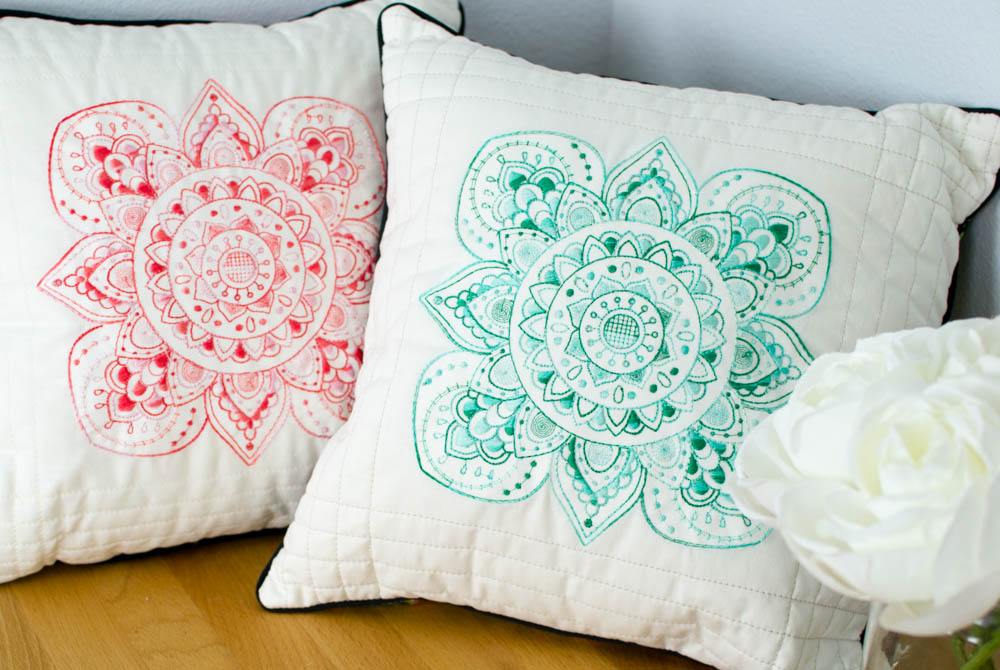
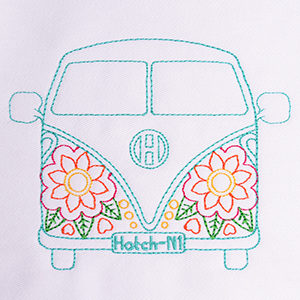
Hi! This is Caroline from SewCanShe.com. I’m so excited to be a guest on the Hatch blog today sharing how I used Hatch Embroidery Digitizer to turn a coloring book design into these beautiful pillows! Please note that almost all coloring book images are copyright protected, so the embroidery files that you create are for personal use only and cannot be distributed or sold.
You’ll need to start with a coloring page image. These can be downloaded from the web (there are lots of great ones on Pinterest) or you can take a photo from a coloring book that you own. Watch the video below as I walk through the steps for turning this image into a full color embroidery file.
Make sure you scroll down after you watch for more tips and tricks for turning your beautiful embroidery into a one of a kind project!
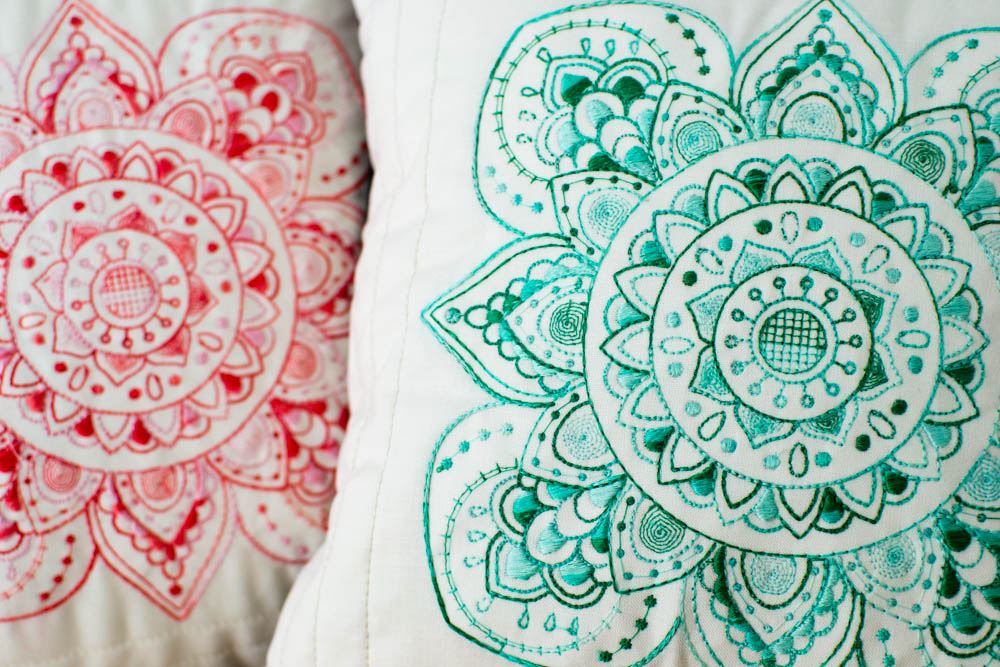
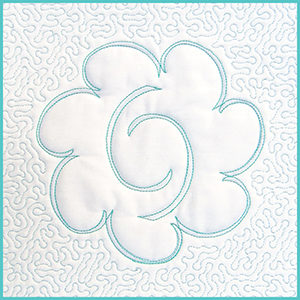
As I mentioned in the video, I stitched this design in only one color of thread – but I used variegated thread to give it interest.
Here are some tips for making your coloring book embroideries successful:
• In the ‘Re-sequencing’ dialog box, combine elements of the same color when possible. • Re-order the embroidery elements to help them stitch out smoothly. • Use the ‘branching’ feature to join elements that are touching. • Use the ‘apply closest join’ feature to avoid jumping all over the hoop. 🙂
The online User Guide of Hatch Embroidery Digitizer is awesome – make sure you use the search function to find just the information you need.
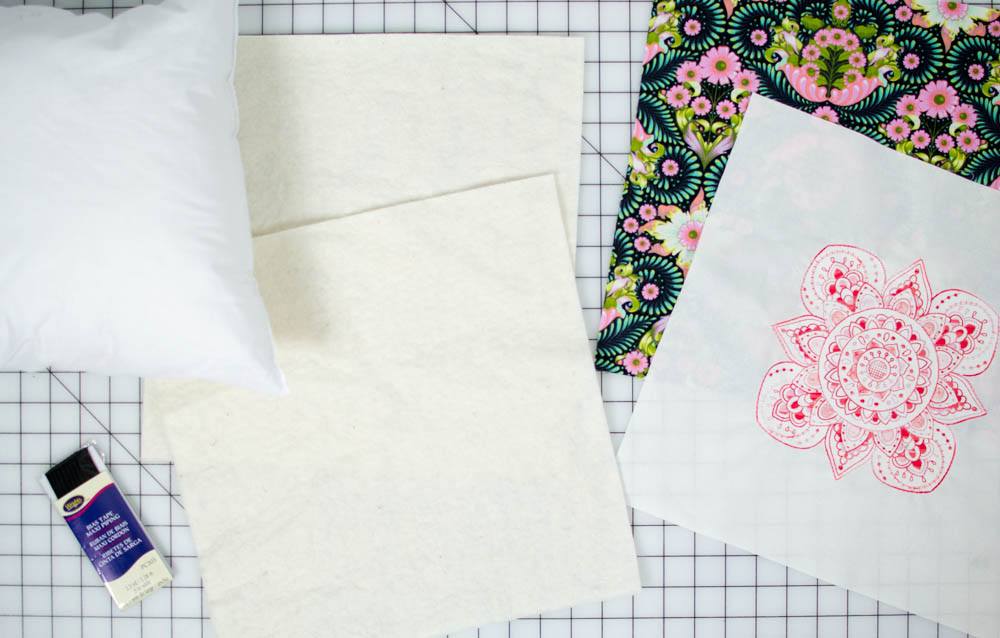
To make quilted pillow covers like these, you will need:
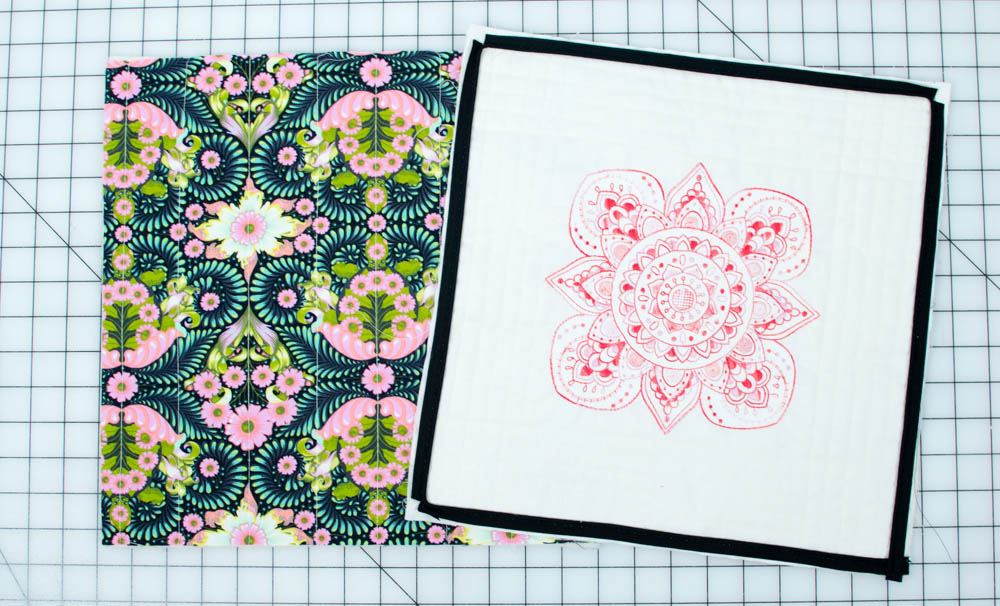
Trim the embroidery piece to the same dimensions as your square pillow form and cut 2 pieces of batting and 1 piece of backing fabric the same size.
Tip: Cutting your pillow cover pieces the same size as the pillow form and then using a 1/2’’ seam allowance will result in a pillow cover that is 1’’ smaller than the pillow form. This makes a nice, plump pillow!
Step 2.
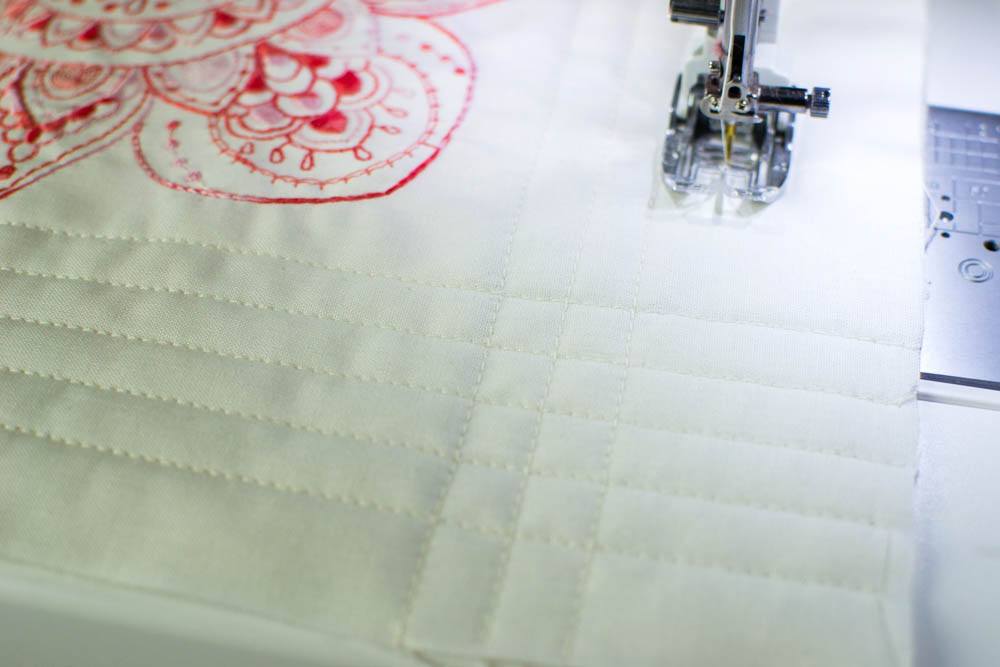
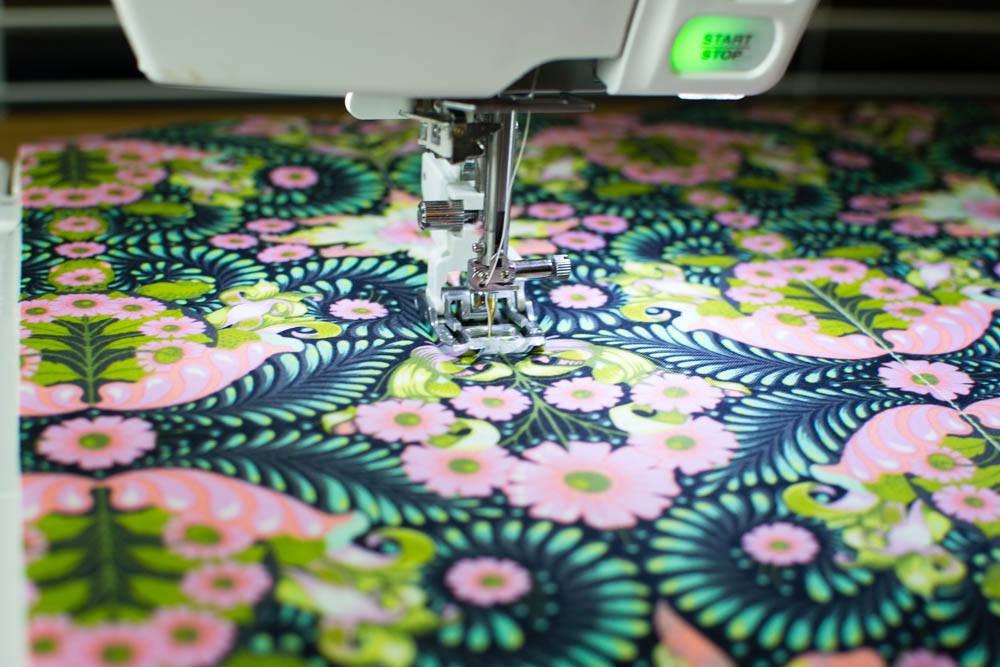
Layer the embroidery piece on top of a square of quilt batting and quilt around the embroidery design. You can see that I added straight line quilting on the sides of the piece to add dimension.
Step 3.
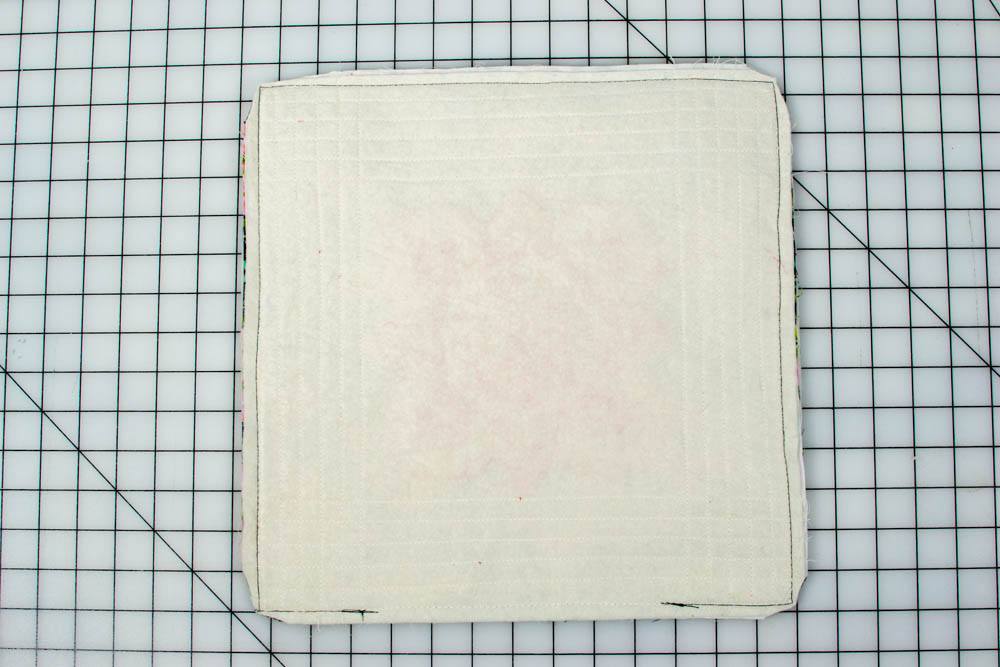
Layer the backing fabric on top of the other batting square and quilt as desired. I only added a few straight lines on the back.
Step 4.
Sew piping around the quilted pillow top piece, using a basting stitch and a 1/2’’ seam allowance.
Step 5.
Place the pillow back and pillow top right sides together and sew all the way around, leaving a generous opening for inserting the pillow form. Clip the corners and turn the pillow cover right side out.
Step 6.
Insert the pillow form and pin or clip the opening together. Hand sew the opening closed.
Now, isn’t that lovely?
Please visit me on my blog SewCanShe.com for lots of sewing, quilting, and machine embroidery ideas every day! I’m on Instagram, Facebook, Pinterest, and I also have a free newsletter, so you don’t miss a thing.
xoxo,
Caroline
Hatch Embroidery software products are in popular use in over 100 countries. It is time to join the global trend and give Hatch a try! The 30-day Free Trial grants you unlimited use of all the amazing features and the 30-day Money Back Guarantee ensures that there is absolutely no risk involved.
Did you enjoy this article? We’d love to hear your feedback!