

Tutorial and video by guest blogger, Caroline Critchfield
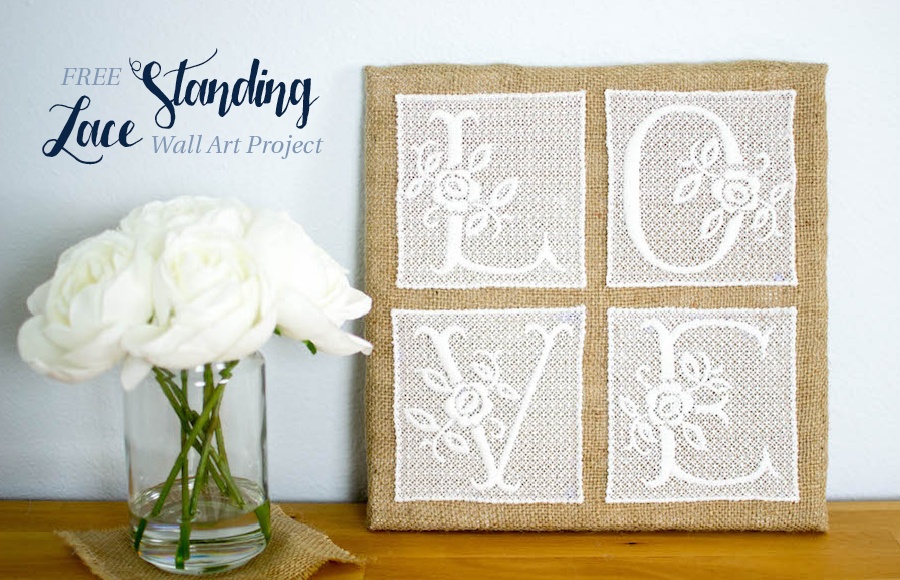
Burlap with lace has become a very popular wedding theme in recent years. This beautiful wall art by our guest blogger, Caroline Critchfield, is the perfect decoration piece at the reception and in the marital home after the wedding. Caroline used a gorgeous Hatch font and turned it into a stunning piece of art.
Hi! This is Caroline from SewCanShe.com. I’m so excited to be a guest on the Hatch blog today sharing how I used Hatch Embroidery Digitizer to make free standing lace designs that I turned into a piece of beautiful art!
All of the resources that you need to make the embroidery machine files for the free standing lace designs are included in the Hatch Embroidery Digitizer software, including the background fill, the design border, and the floral font. The video below shows exactly how I put all three elements together.
Make sure you scroll down after you watch the video to see how I turned my free standing lace into a one of a kind project!
Wasn’t that easy?
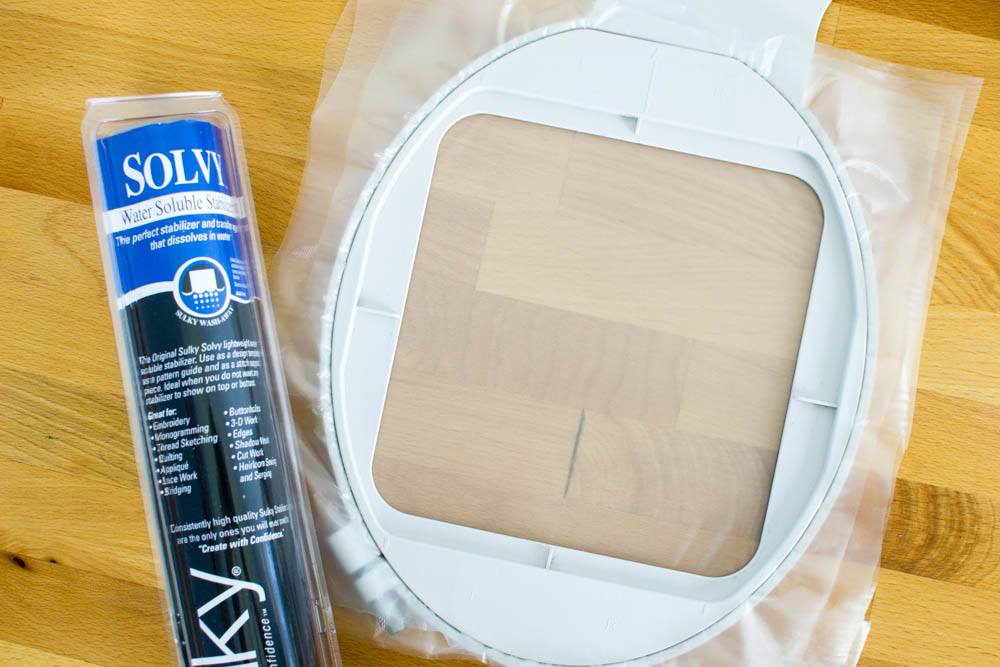
After I exported the files in .JEF format (because I use a Janome embroidery machine, but almost every format is supported in Hatch), I hooped up three layers of water soluble stabilizer. I used Sulky Solvy but there are several on the market. Use the one you like best for Free Standing Lace.
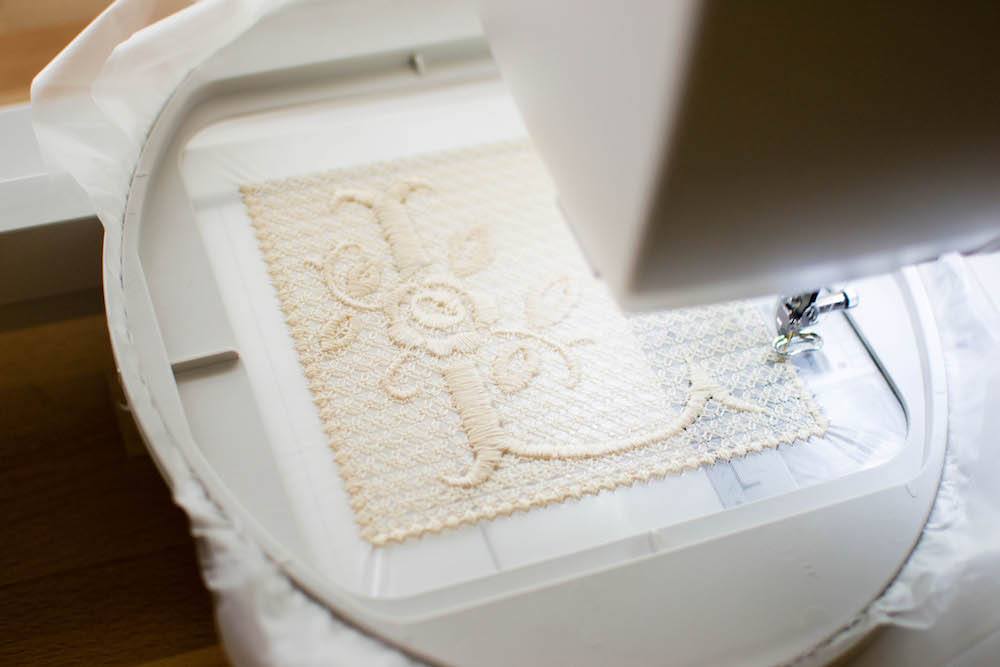
Then I stitched my design onto the stabilizer. Repeat these steps for each letter.
When the embroidered lace is finished, dissolve the stabilizer following the manufacturer’s instructions. I find it easiest if I cut away the extra stabilizer around the edges first. Then I immerse the lace in a shallow pan of water, gently wiggling it for about 10 seconds. When I take the lace out, the rest of the stabilizer is washed away. Lay flat on a towel and allow to dry.
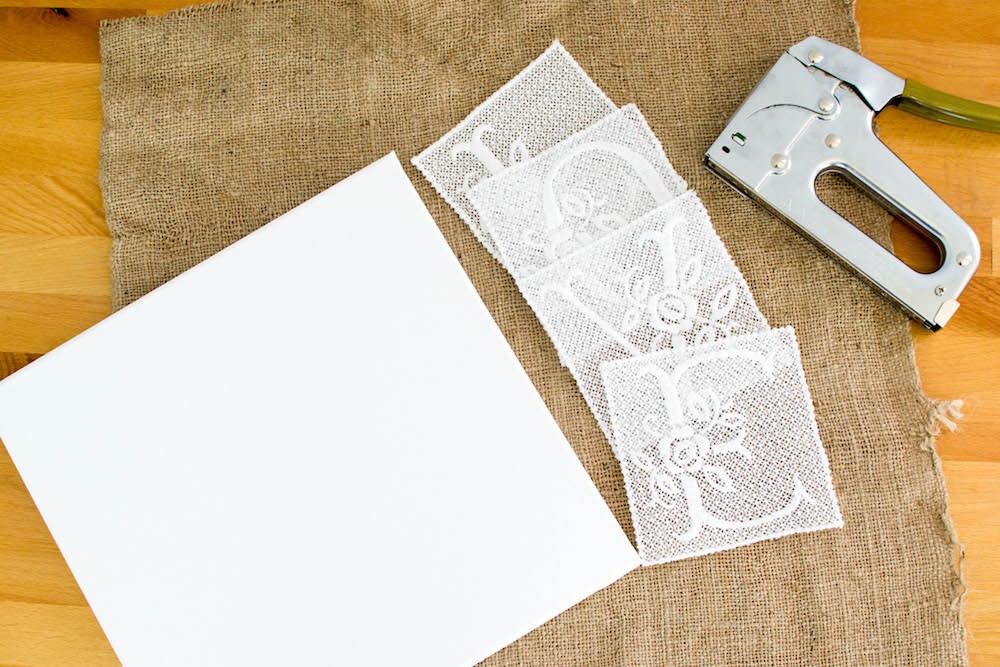
To finish this piece of art, you will need:
• a 12’’ square artists canvas
• a 16’’ or larger square of burlap
• a staple gun with staples
• fabric glue that dries clear
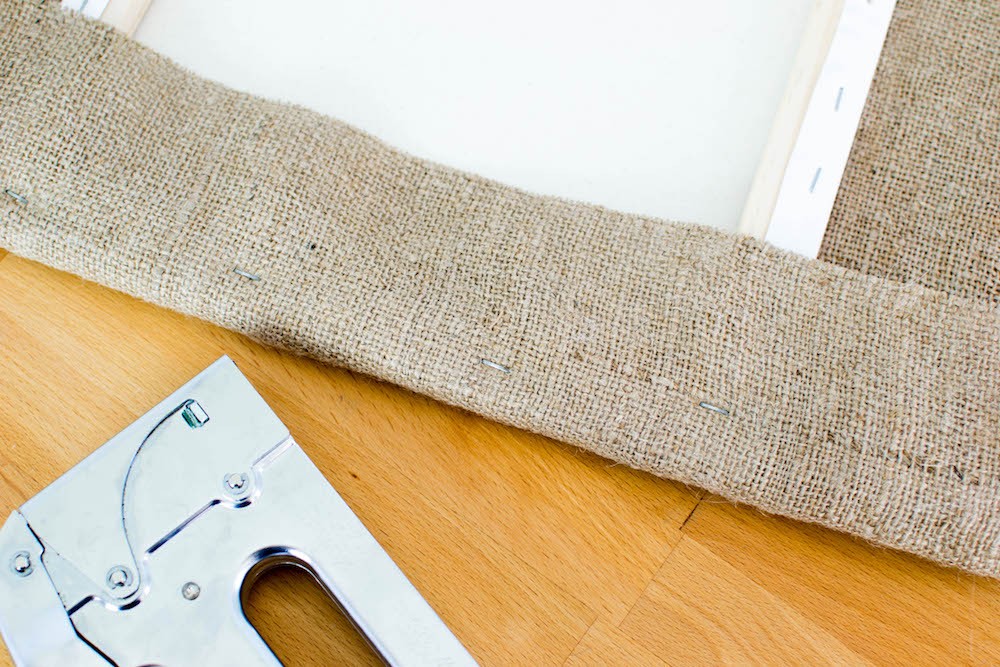
1. Center the square artists canvas on the back of the burlap square. Wrap the edges of the burlap around to the back tightly and staple them to wooden frame of the canvas.

2. Apply fabric glue to the back of the pieces of lace.
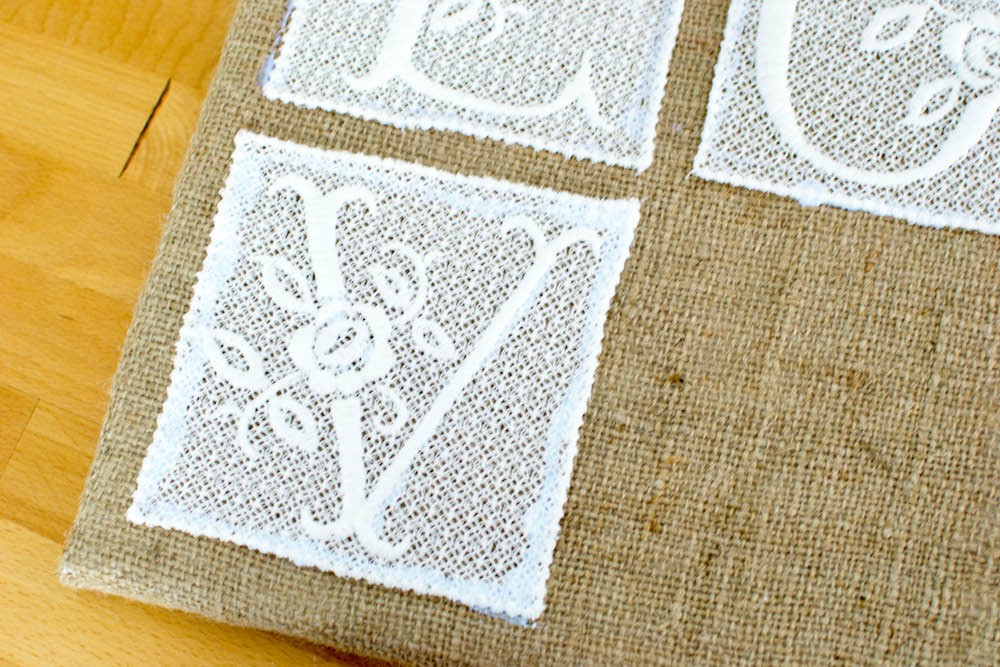
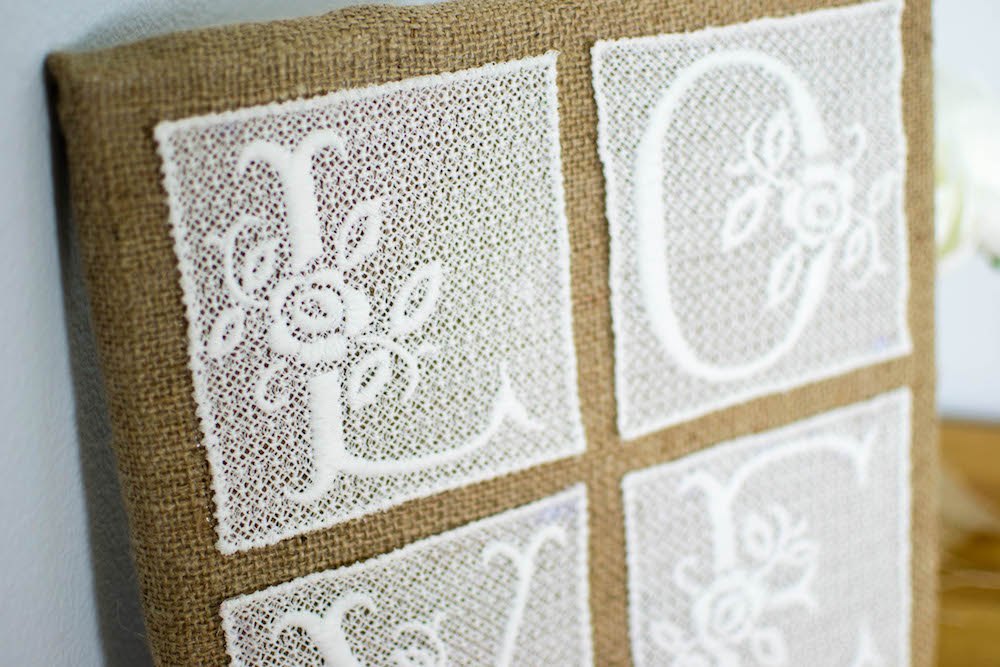
3. Position the lace pieces as shown and allow to dry.
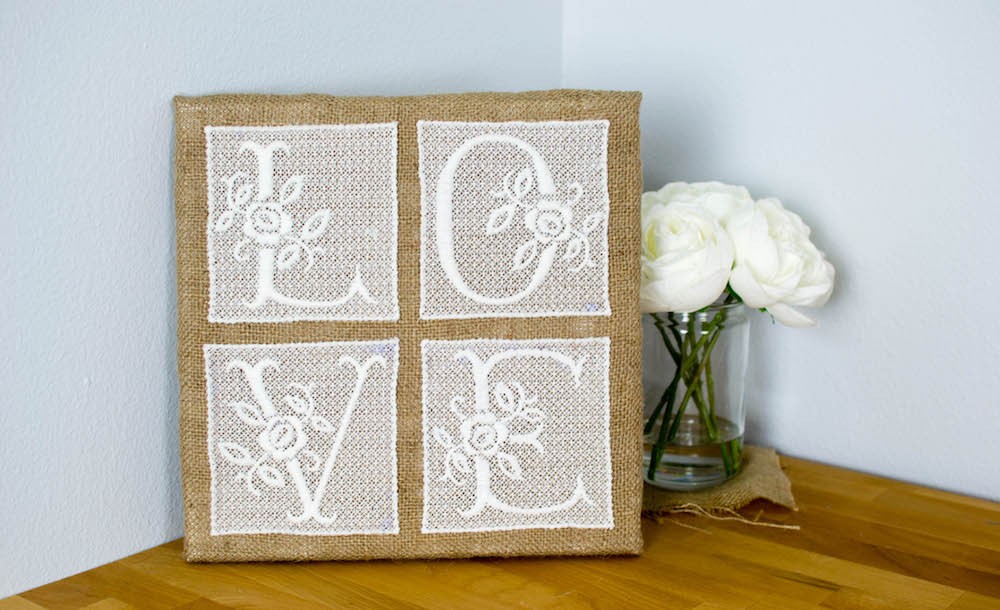
Done! This would also make a fun and easy name project using a family name or even someone’s first name. Hatch Embroidery Digitizer lets you create any letter in a snap!
Please visit me on my blog SewCanShe.com for lots of sewing, quilting, and machine embroidery ideas every day! I’m on Instagram, Facebook, Pinterest, and I also have a free newsletter so you don’t miss a thing.
xoxo,
Caroline
Hatch Embroidery software products are in popular use in over 100 countries. It is time to join the global trend and give Hatch a try! The 30-day Free Trial grants you unlimited use of all the amazing features and the 30-day Money Back Guarantee ensures that there is absolutely no risk involved.


Did you enjoy this article? We’d love to hear your feedback!