Caroline Critchfield makes summer even more fun with this gorgeous bag
Queen of craft Caroline Critchfield, is back as a guest blogger with a super cute tote bag design decorated with embroidered flip-flops, the ultimate symbol of summer. An absolute must for going to the beach or a picnic! Read the article for machine embroidery digitizing and sewing instructions.
At the end of this article you will find a button to access the super cute FREE flip-flops appliqué embroidery design.
Hi! This is Caroline from SewCanShe.com. I’m so excited to be a guest on the Hatch blog today sharing this fun 3-dimensional flip-flop embroidery design that I made with Hatch Embroidery Digitizer, plus a Summer Tote Bag pattern that goes perfect with it.
The flip-flop embroidery design includes appliqué (with blanket-stitching to make them look even cuter), plus there is a layer of batting underneath that peeks out to make them look even more like real flip-flops! If you prefer not to have the batting, you can just leave it out.
The tote bag pattern involves stitching the design 3 times on a piece of canvas or duck cloth for the bag pockets, and then assembling the tote. Enjoy!
Digitizing the Flip-Flop Embroidery Design
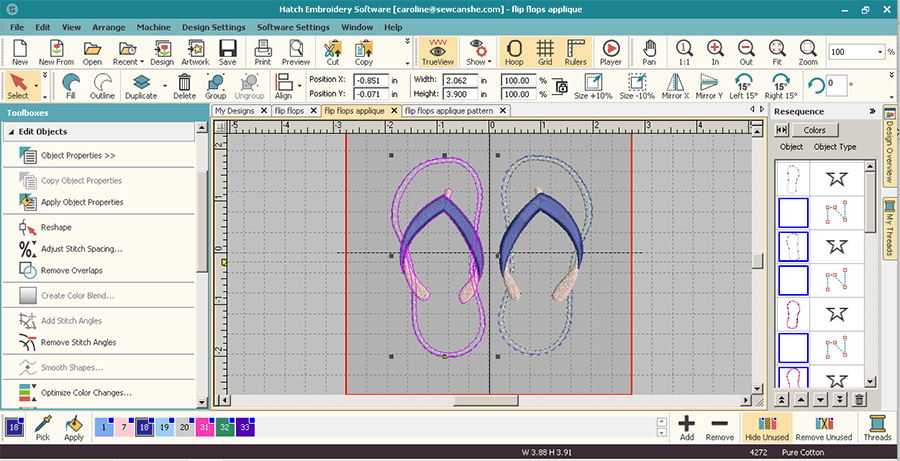
I digitized the flip-flop design using Hatch Embroidery Digitizer. I love how it lets me embroider anything that I can imagine! It was very easy using an image of a flip-flop that I traced using my mouse using the ‘Digitize Appliqué’ tool. Then I used the ‘Digitize Closed Shape’ tool to make the different parts of the strap. After that I easily duplicated and mirror-imaged the first flip flop to make another, but I adjusted the curves of the second flip flop using the ‘Reshape’ tool, so it would be slightly different.
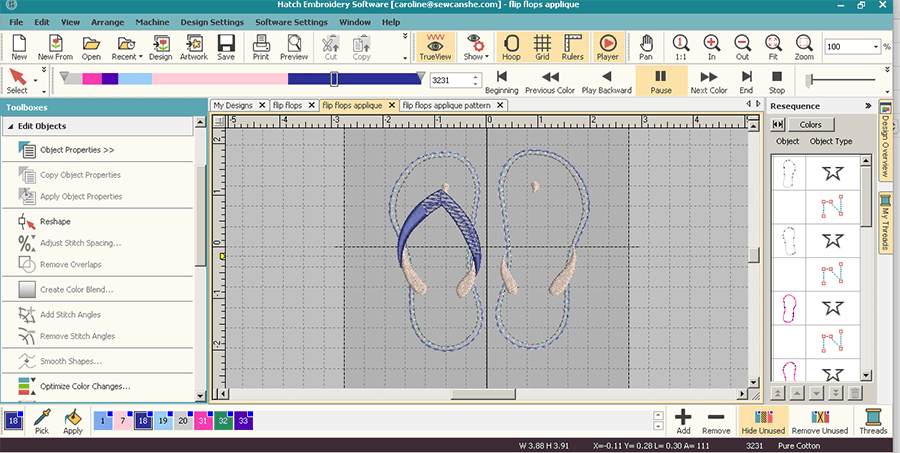
Lastly, I checked the order that each part would stitch out using the ‘Stitch Player’, and re-ordered the objects with the ‘Resequence’ tool to put the same colors together. Voila! Fun appliqué flip flop design is now ready to be embroidered.
3D Flip-Flop Embroidery Design Stitch Order & Instructions
Please note this is a 4’’ design
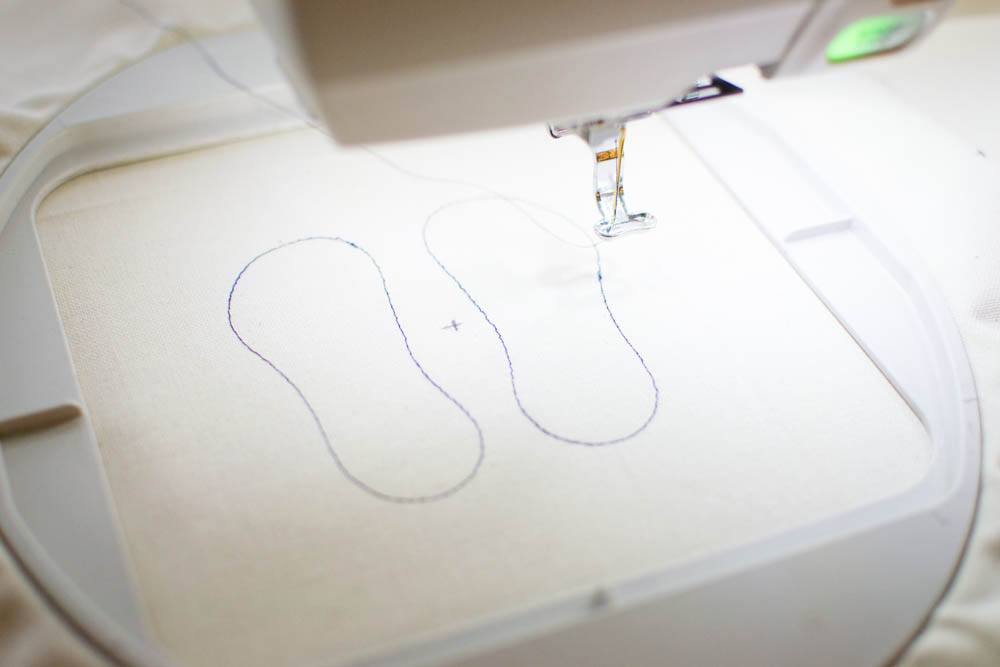
1. Placement line for batting. Place 5’’ square of batting. 2. Batting tack down stitch. Trim batting close to stitching. Place 5’’ square of appliqué fabric over the batting. 3. Fabric tack down stitch. Trim close to stitching. 4. Applique blanket stitch. 5. Flip flop straps – underside and toe piece. 6. Flip flop straps – top of straps.
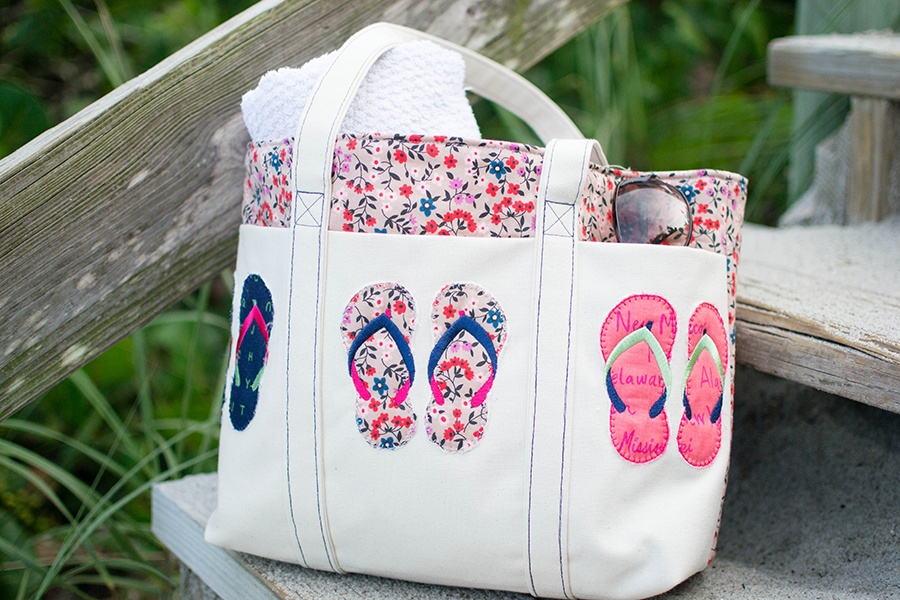
Summer Tote Bag Pattern
This cute tote will take you to the beach, the pool, and everywhere else all summer long! It is approximately 10’’ tall and 16’’ wide (not including the straps). There are 3 exterior pockets. You will need:
• 3 – 5’’ squares of batting (for the applique detail) • 3 – 5’’ squares of fabric (for the applique detail) • embroidery thread • fabric marking pen • medium weight tear away embroidery stabilizer • 1 1/2 yards of natural colored canvas or duck cloth • 1/2 yard of print fabric • 1 yard of fusible fleece interfacing (such as HeatnBond fusible fleece) • regular sewing thread Cutting:
From the canvas or duck cloth, cut:
• 1 rectangle 22’’ x 25’’ for the pocket panel • 2 rectangles 14’’ x 18’’ for the bag interior • 2 strips 4’’ x 50’’ for the straps (piece together if necessary)
From the print fabric, cut:
• 2 rectangles 14’’ x 18’’ for the bag exterior
From the fusible fleece interfacing, cut:
• 2 rectangles 14’’ x 18’’
Making the Pocket Panel
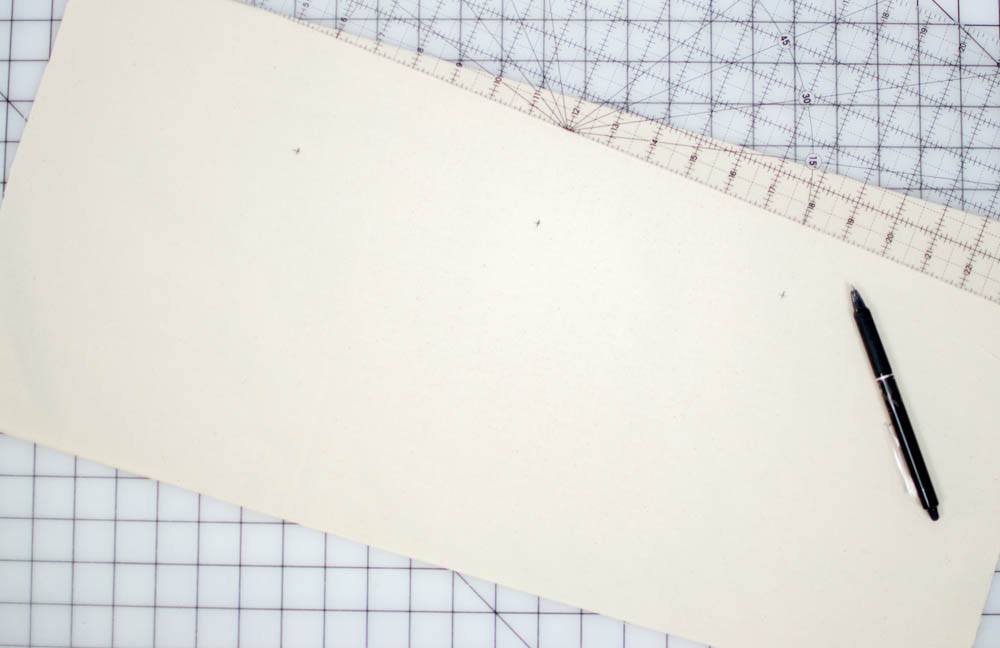
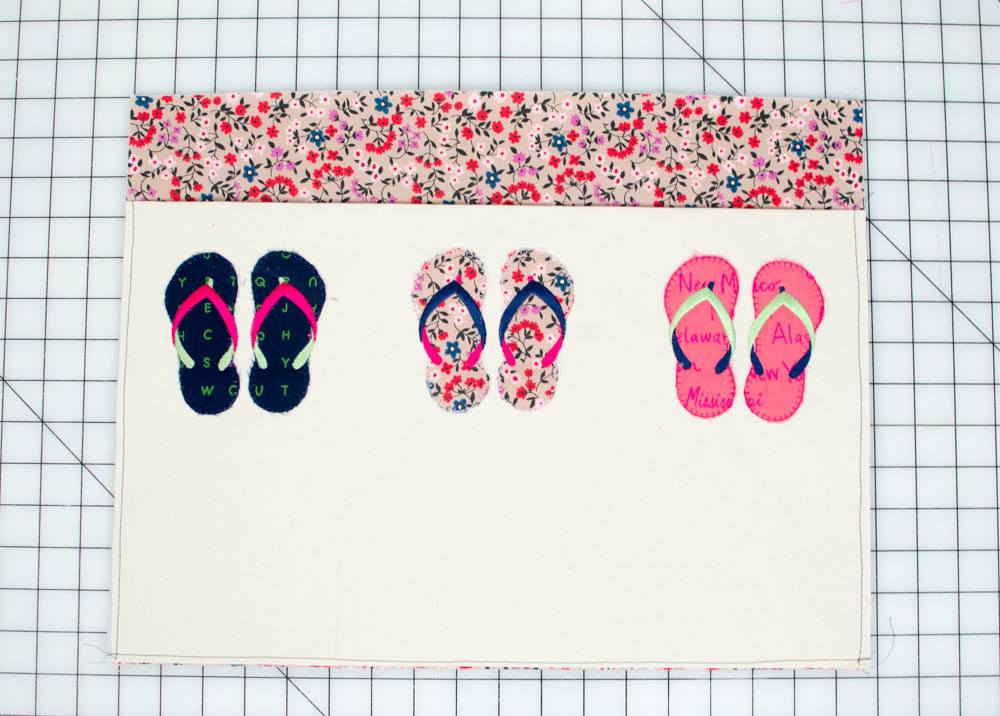
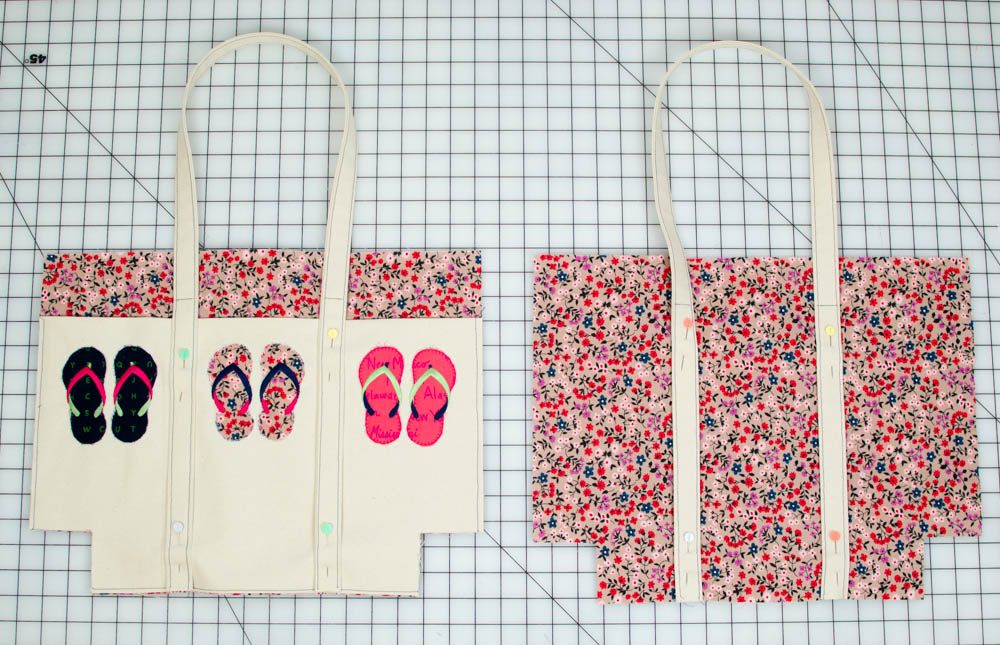
1. Fold the 22’’ x 25’’ canvas rectangle in half, wrong sides together and with the 25’’ edges together to make a rectangle that is 25’’ wide x 11’’ tall.
2. Use the fabric marking pen to make three marks that are 3’’ away from the fold. Place the first mark in the center, and the other two marks 6’’ away on either side of the first mark.
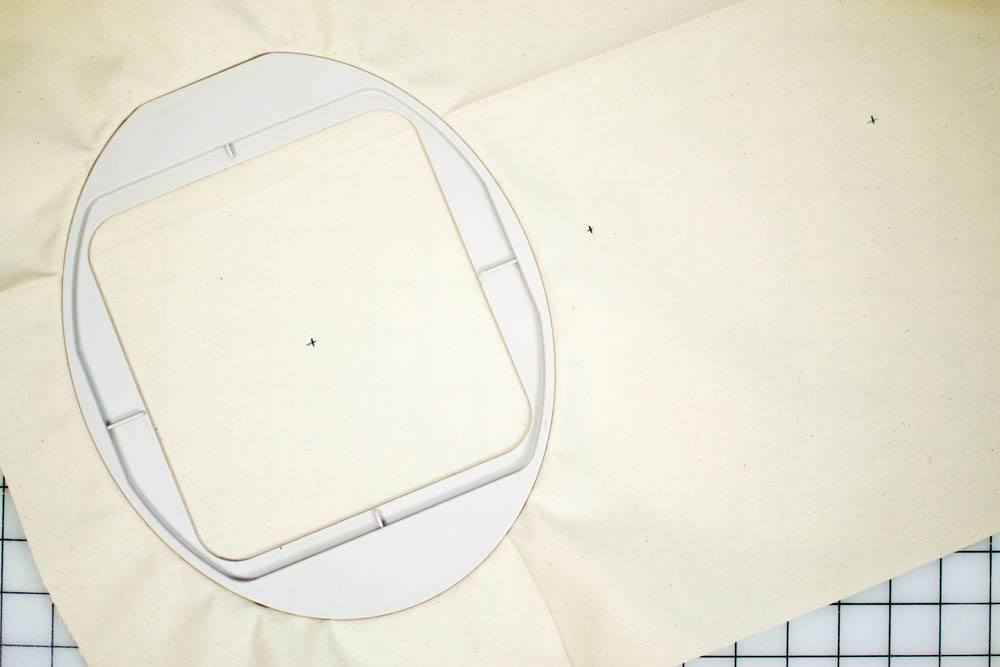
3. Unfold the pocket panel and hoop it for embroidery with one of the marks centered in the hoop. Use the fold line in the fabric as a reference for the top of the pocket. Use medium weight tearaway stabilizer on the back to ensure a pretty result.
Stitch the design 3 times (centered over all 3 marks) using different appliqué fabrics, if desired. Remove the tearaway stabilizer and re-fold the pocket panel along the pressed edge.
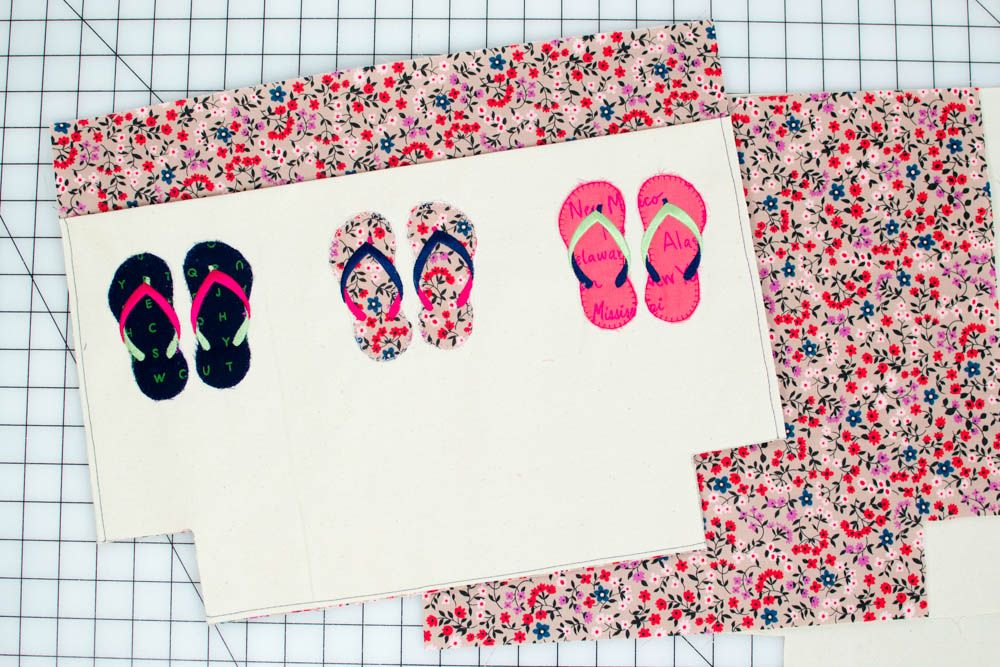
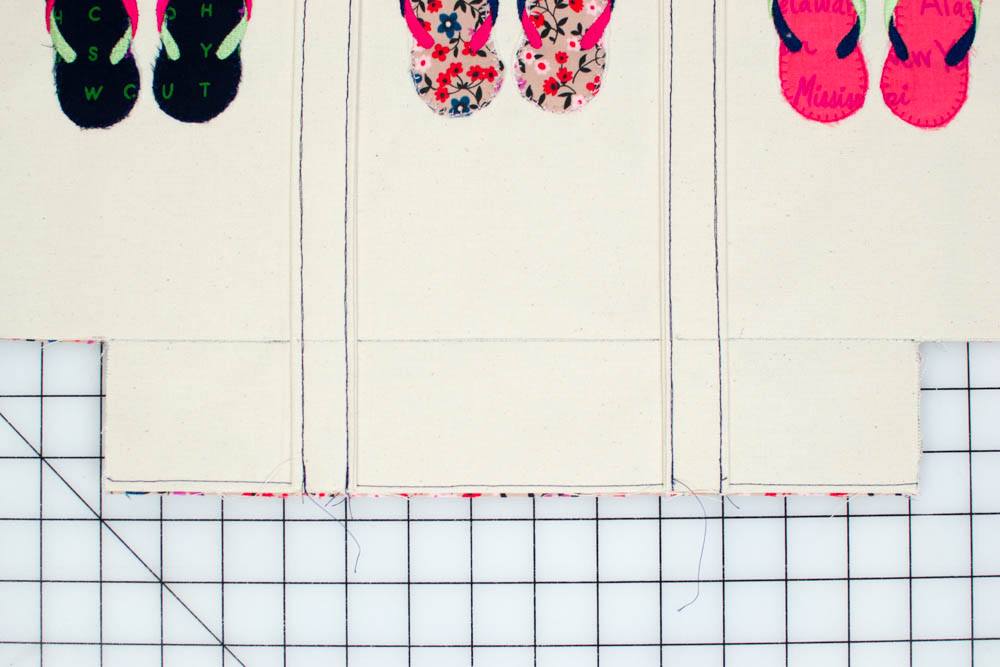
4. Trim the sides of the pocket panel to make it 18’’ wide with the embroidery designs centered and about 1’’ away from the folded edge.
Making the Bag Straps
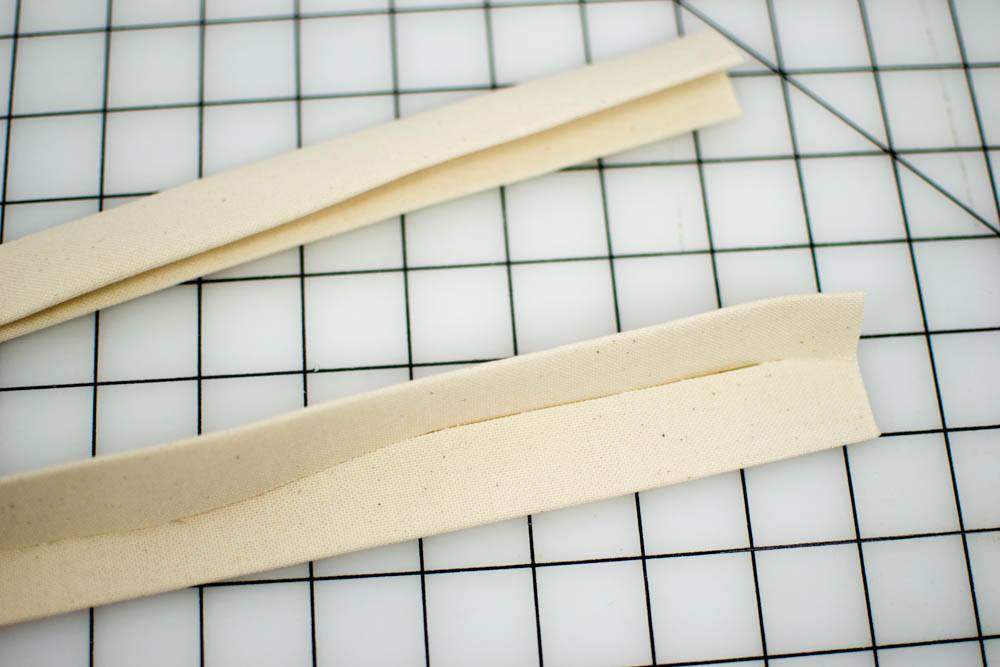
1. Fold the strap pieces in half lengthwise and press. Open and fold the long edges to the center fold, press. Fold in half again and press to make 2 straps, each 1’’ x 50’’.
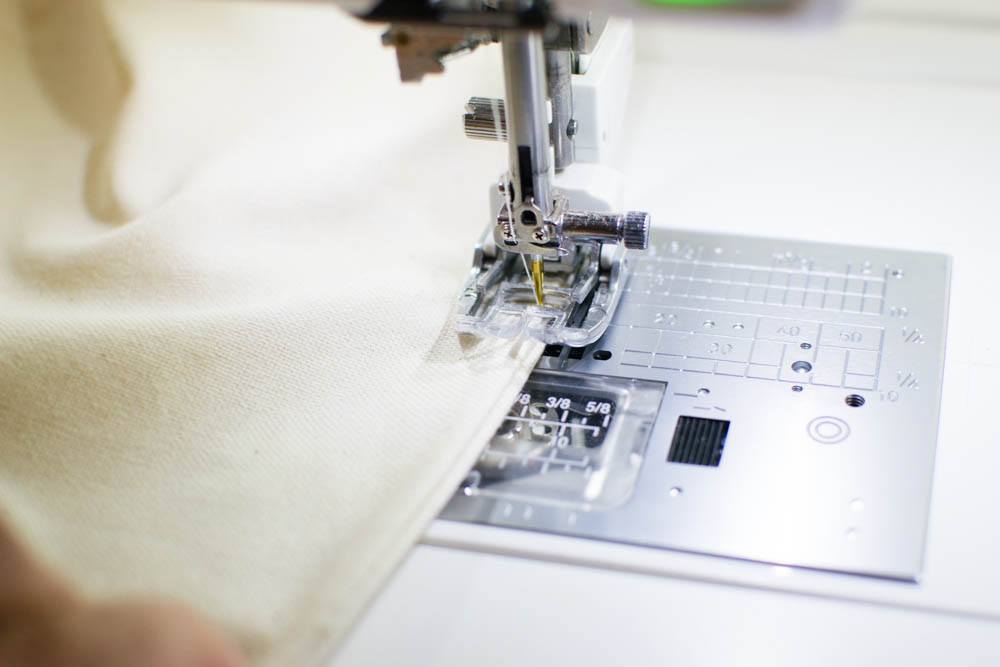
2. Top stitch along both straps, 1/8’’ away from both long edges.
Assembling the Tote
1/2’’ seam allowance allowed.
1. Apply the fusible fleece to the bag exterior (print) pieces.
2. Place the pocket panel on top of one of the bag exterior pieces, with the bottom edges lined up. Machine baste in place by sewing around the side and bottom edges using a long stitch length.
3. Cut 2 1/2’’ squares from the bottom corners of the bag exterior pieces and the bag interior pieces.
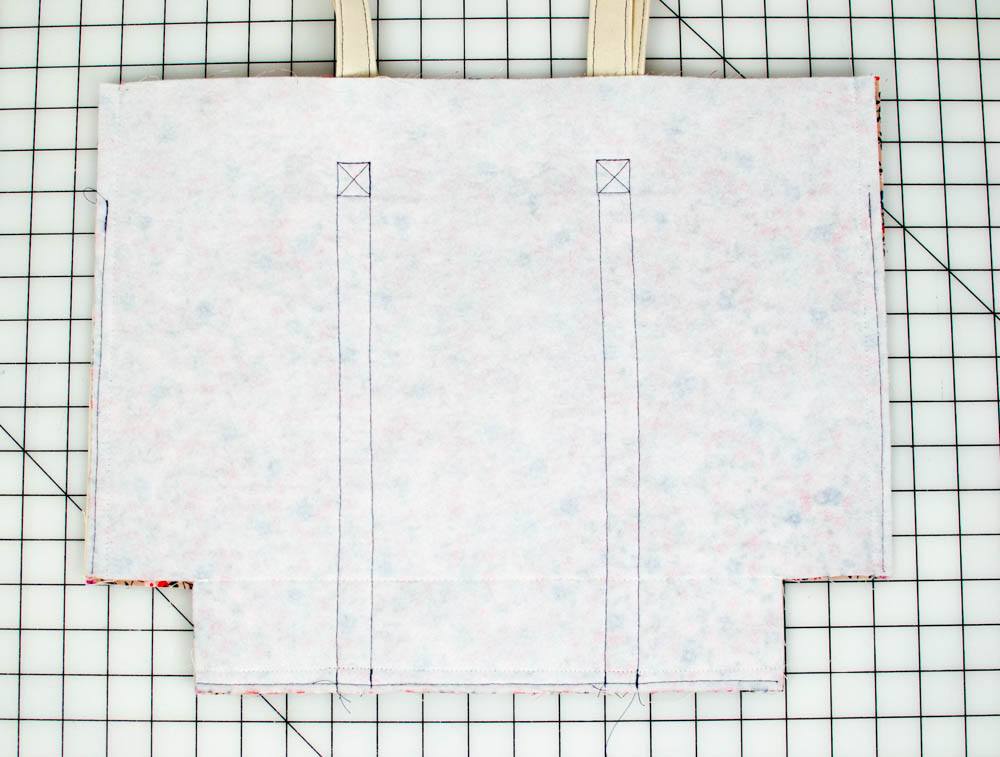
4. Pin the bag straps to the exterior pieces with the ends of the straps aligned with the bottom of exterior pieces. The straps should be 5 1/2’’ away from the sides of the fabric pieces and 2 1/2’’ away from the corner cut-outs. On the pocket side of the bag, the straps should run in between the embroidered flip flops.
5. Using the fabric pen, draw lines across each strap 2’’ below the top edge of the bag as shown. This mark indicates where to turn when sewing the strap to the bag.
6. Stitch the straps to the bag sides by starting at the bottom and sewing on top of the previous top stitching. When you reach the line that you marked, sew across it and proceed to sew a square with an ‘x’ in the middle to secure the strap well. Then sew back down the strap along the top stitching on the other side. Repeat this step 3 more times to sew both straps to the bag exterior pieces.
7. Draw a line across the bottom of the pocket side of the tote, running from the top of one cut-out to the other. Stitch across this line using matching thread to prevent items from getting lost at the bottom of the pockets.
8. Place the bag exterior pieces right sides together and sew the sides and bottom edges. Press the seams open.
9. Flatten one corner to align the side and bottom seam. Stitch across. Repeat on the other corner.
10. Assemble the tote interior by following steps 7-8 above, except leave a 6’’ opening along the bottom edge for turning the tote right side out.
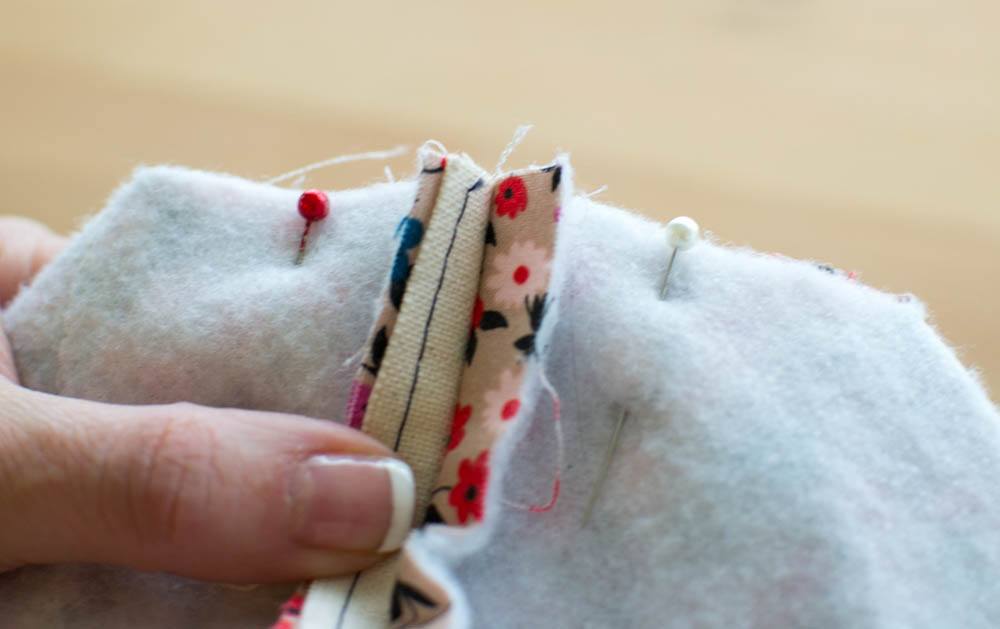
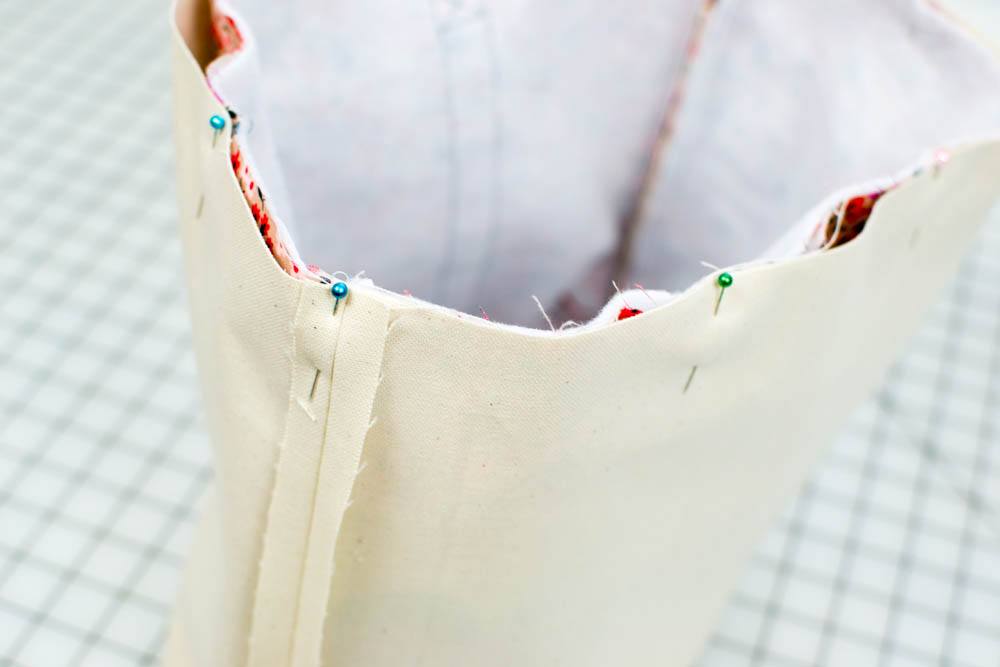
11. With the tote exterior turned right side out and the interior wrong side out, place the interior over the exterior so the pieces are right sides together. Pin all around the top edge, lining up the side seams. Stitch all the way around the top of the bag.
12. Turn the bag right side out through the opening in the bag lining. Sew the opening in the lining closed either by hand or by machine.
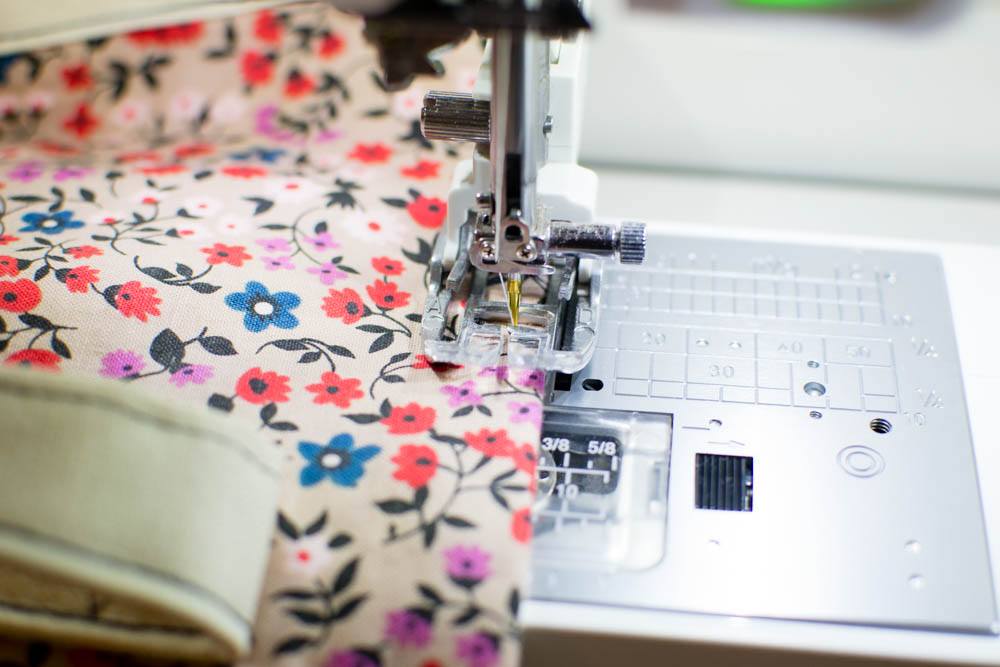
13. Press the top edge of the bag carefully. Top stitch around the top edge of the bag, 1/4’’ away from the edge.
Done!
Please visit me on my blog SewCanShe.com for lots of sewing, quilting, and machine embroidery ideas every day! I’m on Instagram, Facebook, Pinterest, and I also have a free newsletter, so you don’t miss a thing. xoxo, Caroline
Please note: You will need to sign in or register a free account to be able to download the free design.
Once you registered an account, you will have unlimited access to ALL the free designs that are currently on the Hatch Embroidery website and future ones two. You will also automatically receive our newsletter about free projects and designs. You will NOT be requested to download the software. Having an account does not come with any obligations to you at all.
This design is copyrighted and not to be shared or sold.
Hatch Embroidery software products are in popular use in over 100 countries. It is time to join the global trend and give Hatch a try! The 30-day Free Trial grants you unlimited use of all the amazing features and the 30-day Money Back Guarantee ensures that there is absolutely no risk involved.