Surprise that special cook with a personalized gift!
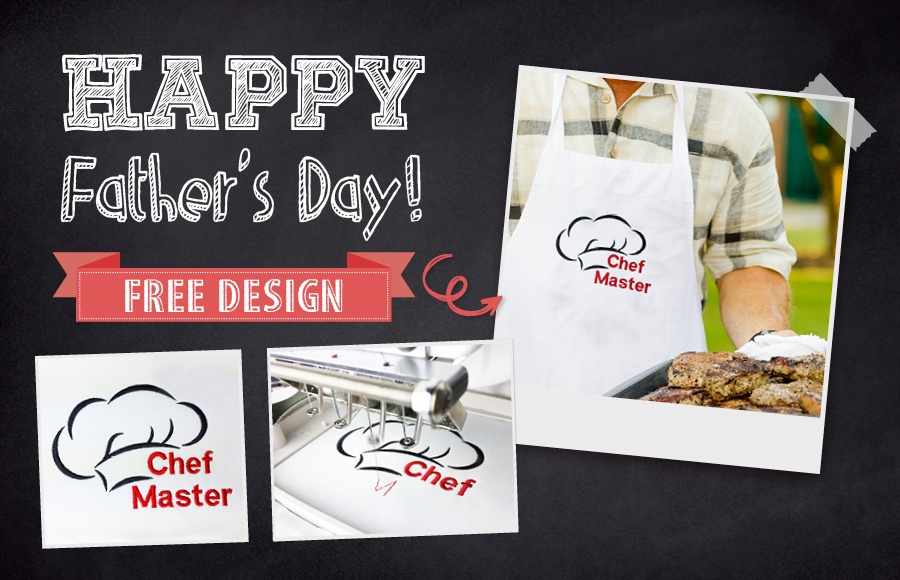
We are always looking for occasions to give away free designs. It gives us the opportunity to demonstrate how easy it is to work with Hatch Embroidery. Creating an embroidery design using a simple artwork, auto-digitizing it and adding some lettering to it is really a breeze!
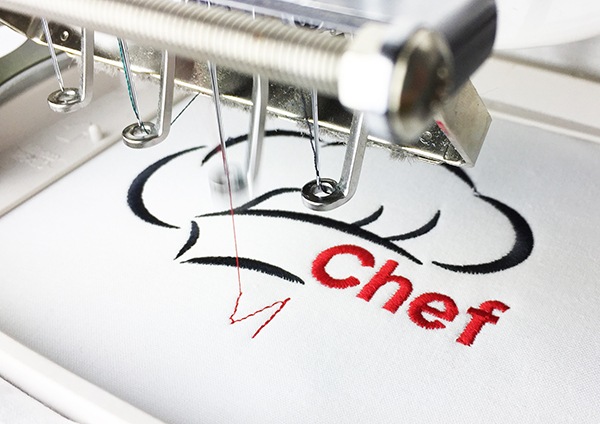
Kim recorded a tutorial video that shows you all the steps while she created this Father’s Day Chef Master design.
In the video you will learn how to open artwork into your Hatch software and how easy it is to resize it before you start digitizing. You will also learn how to determine the size of the actual artwork, not the whole image using the “measure tool”, how to center your artwork after resizing and how to save the new size of your image.
Kim used the Auto-digitize Instant Embroidery function for the auto-digitizing. You will also see how to add lettering, position the lettering and then resize the whole design and learn how to determine the size of the whole design.
Finally you will see how to save to .EMB file format first, then export your design file to your machine format.

Please note: You will need to sign in or register a free account to be able to download the free design.
Once you registered an account, you will have unlimited access to ALL the free designs that are currently on the Hatch Embroidery website and future ones two. You will also automatically receive our newsletter about free projects and designs. You will NOT be requested to download the software. Having an account does not come with any obligations to you at all.
Let us know in a comment below how useful you found this article and please do share your embroidery on our Facebook page. We love to see your work!
Happy Embroidery,
Bernadett and the Hatch Team
Hatch Embroidery software products are in popular use in over 100 countries. It is time to join the global trend and give Hatch a try! The 30-day Free Trial grants you unlimited use of all the amazing features and the 30-day Money Back Guarantee ensures that there is absolutely no risk involved.