Learn from a Pro!
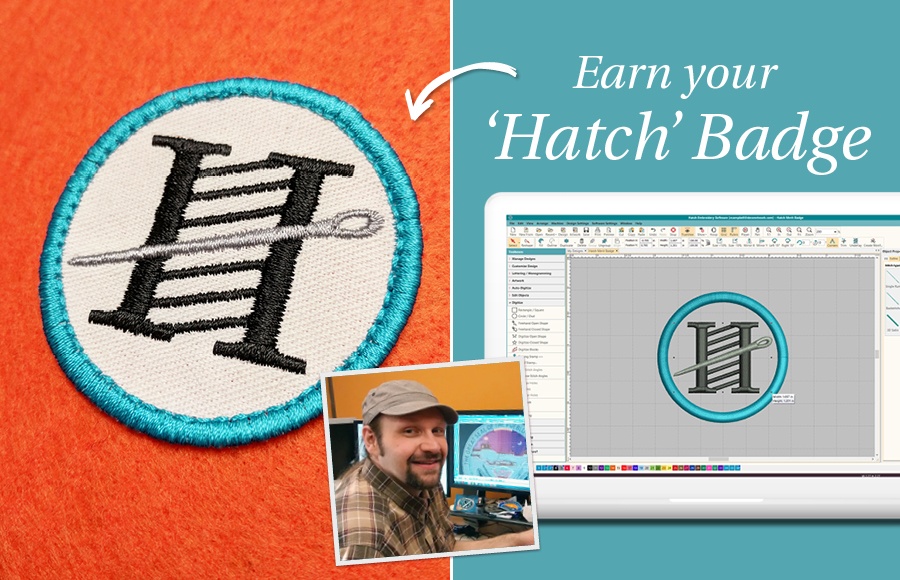
I have made patches for everyone from local motorcycle clubs to the wardrobe department on Better Call Saul, and the truth is that the method for making small numbers of custom patches does not vary much from the big commercial jobs to the craft and home market. In fact, it is easy to make patches like a pro with your Hatch Embroidery Digitizer, and I am going to show you how. From the basic steps and settings in digitizing, right through the stitching and finishing processes, I will provide you with a simple method to make patches with the least amount of equipment possible. If you have Hatch Embroidery Digitizer, sharp scissors, some water-soluble stabilizer, and even the most basic home machine, the techniques will allow you to make your first simple patches with ease.
You will find a download button at the end of this article that will take you to the page where you can download step-by-step instructions in a a printable PDF format and the FREE Hatch Patch design.
When I think of the quintessential emblem, the classic scouting merit badge comes to mind. Seeing as a round badge is a simple shape to cut and create, we will start your patch-making education by walking through the process behind my custom Hatch merit badge. In the steps I laid out in the downloadable PDF file, you will learn how to create the proper shapes, the settings to use for solid, clean edges, and execution of the patch design using the manual applique-style method.
Taming Tear-Out – A Solid Sequence
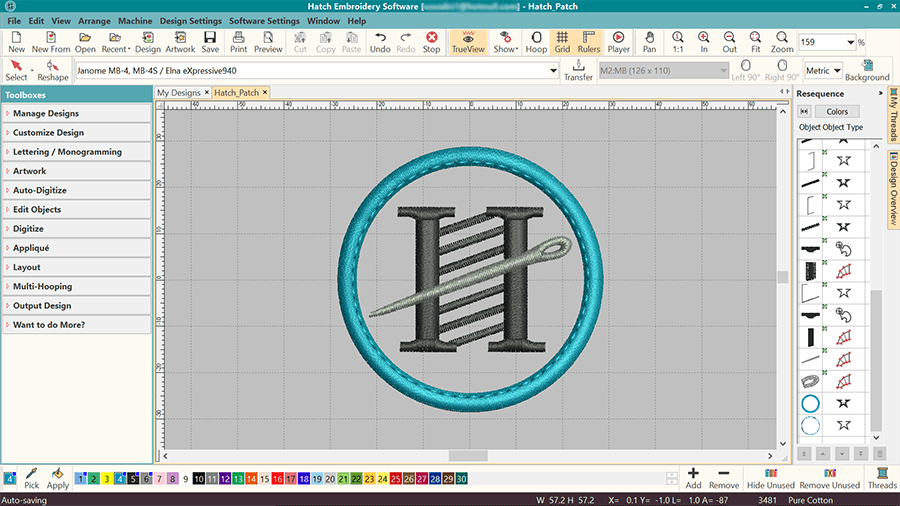
There are a few ways to create a clean-edged patch with your embroidery machine, but the most common employ a soluble backing or film. The problem many embroiderers have in using these films, however, is that the patch design becomes detached from the backing before the embroidery is complete. This is usually because the digitizer has placed the satin-stitch border before other elements inside the patch, perforating the outside edge too early. With the backing perforated and weak, submitting it to the stresses of embroidering the design in the middle of the patch can cause it to tear out. In order to avoid that, you must keep you final border last in your sequence. No matter your patch-making method, it’s critical that the full-density satin stitch edge runs last to maintain the stabilizer’s integrity. Luckily, that does not mean you have to create your design in the proper sequence from the beginning. With Hatch Embroidery you can easily move elements into the proper order with the Resequence docker after the fact. Just remember that before you export your design, you must move the satin border to the last position after the central design of the patch is complete.
The Border
It may seem strange after I just told you that the border has to run last, to start digitizing patches by creating the border, but the reason I do this is first so that I can make sure that my central design is properly sized and centered within the space inside said border, and second so that I can make sure my placement and cutting lines are properly offset from the final outer edge of the patch. Creating the border lets me set my final dimensions first and use the border as an easy reference.
For this project, I’m creating a large merit badge. The standard size for a large merit badge is 2.25 inches or roughly 57.15 millimeters.
Note: I usually work in metric measurements, seeing as they translate directly to standard embroidery-specific measurements of density and because they are easier to work with in my head than fractions of inches; I will provide both measurements in this article, but I suggest that all embroiderers move over to metrics for digitizing and measurement. 1 inch = 25.4 millimeters; it is a good thing to know.
Steps of Creating the Patch
- Digitizing the Border
- Creating Placement and Cut Lines
- Adding the Central Design
- Completing the Border
- Adding Texture to the Border
- Stitching: Setup and Sequence
- Placing the Fabric
- Cutting Away the Excess
- Finishing
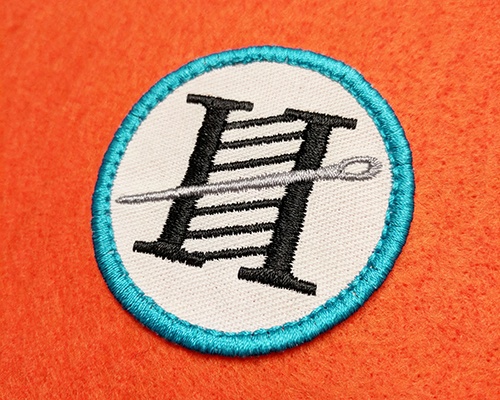
The Finished Patch
Apply the Technique
Though this project specifically describes a round, merit-badge styled emblem, this technique can be applied to nearly any shape using the same measurements. The steps are the same for any patch using a soluble stabilizer; a placement stitch that runs a little more than 1 mm inside the outer edge of your border, a similarly placed cut line for after the material is placed or a zigzag border thinner than your final cover stitching if you are using pre-cut piece of material, the central embroidery design, then a full, well-underlaid and fully dense final edge in satin stitch. Making emblems is such a simple process that once you start, you will never want to stop. Luckily, with the small investment needed for some thread and speciality backing, patch-making is one of those embroidery specialities that’s inexpensive and fun, and does not cost you a garment if an experiment goes awry.
I hope you’ll give embroidering emblems a try!
Erich Campbell is a very well respected embroidery industry expert. He worked as a full time embroidery digitizer for over 15 years. He regularly writes for Printwear Magazine and the UK’s Images Magazine and contributes to the MrXStitch.com blog.

Please note: You will need to sign in or register a free account to be able to download the free project.
Once you registered an account, you will have unlimited access to ALL the free projects that are currently on the Hatch Embroidery website and future ones two. You will also automatically receive our newsletter about free projects and designs. You will NOT be requested to download the software. Having an account does not come with any obligations to you at all.
Did you find this article helpful or interesting? Please leave a comment below. We would love to hear your feedback!
Hatch Embroidery software products are in popular use in over 100 countries. It is time to join the global trend and give Hatch a try! The 30-day Free Trial grants you unlimited use of all the amazing features and the 30-day Money Back Guarantee ensures that there is absolutely no risk involved.