


Firstly, it is important to know that you need a special kind of stuffed animal toy if you want to do machine embroidery on it, because you will need to remove the stuffing to hoop it. A simple internet search for “embroiderable stuffed animals” will provide a number of suppliers you can order from.
Getting Ready to Embroider
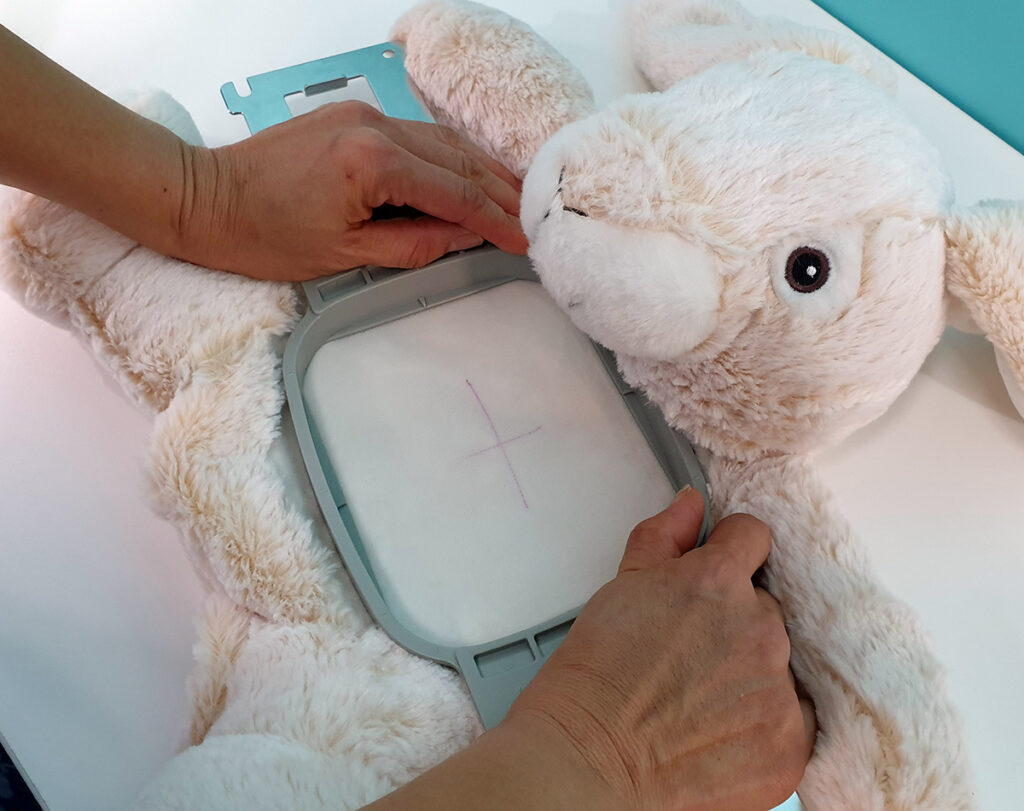
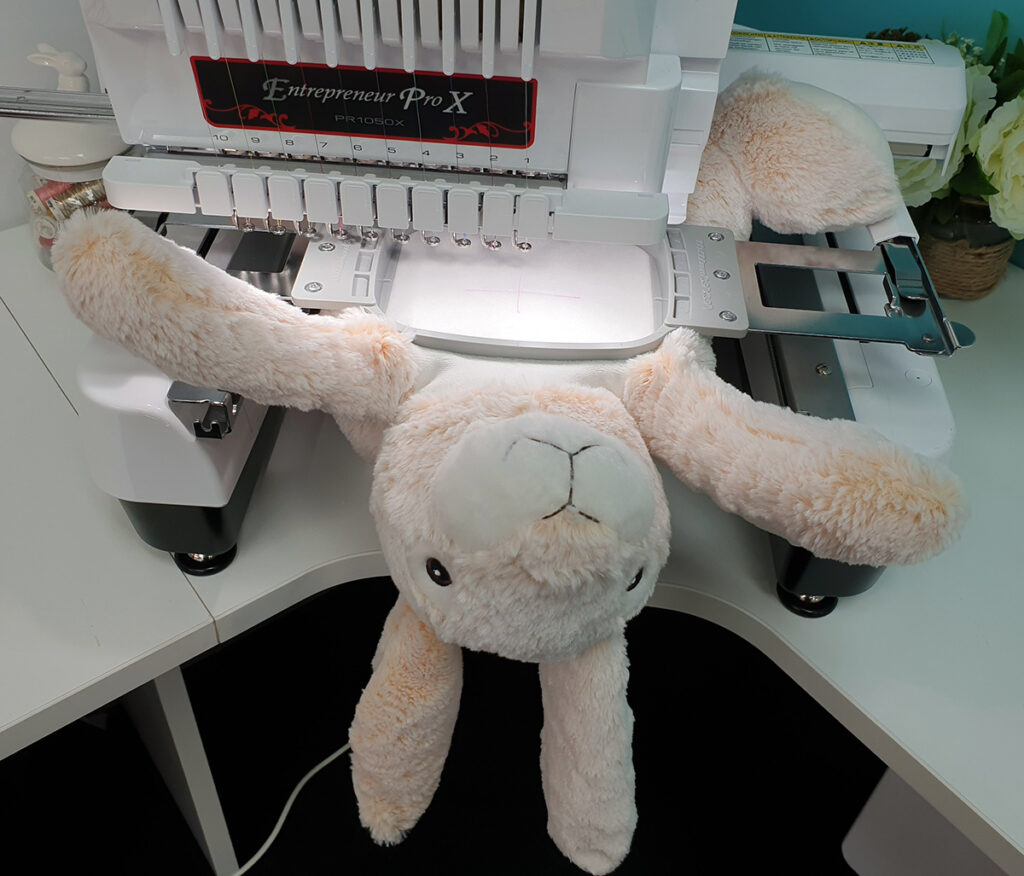
Find a hoop that will suit the size of the embroidery area on the belly. I used a 100×100 Brother hoop for this project.
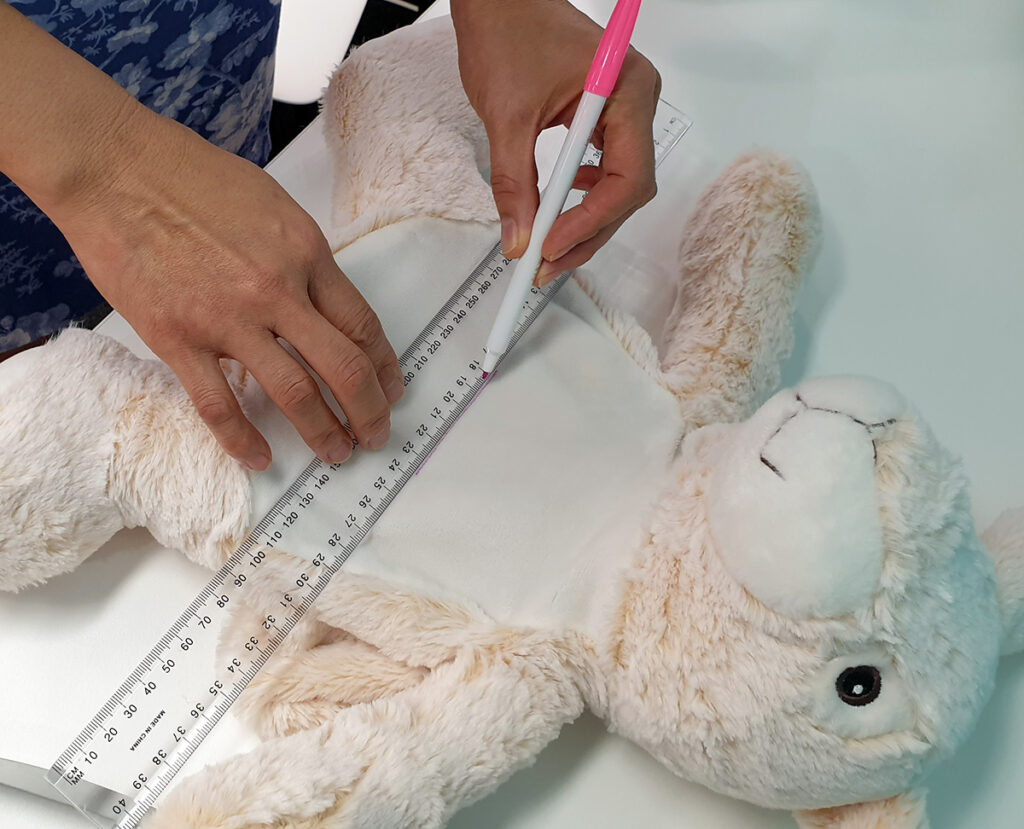
Remove the stuffing from the belly, and measure out the middle of the area you want to embroider. Make a cross with a temporary marker and line up your hoop accordingly.
Slide 2 layers of tearaway stabilizer underneath the hoop before attaching it to your embroidery machine.
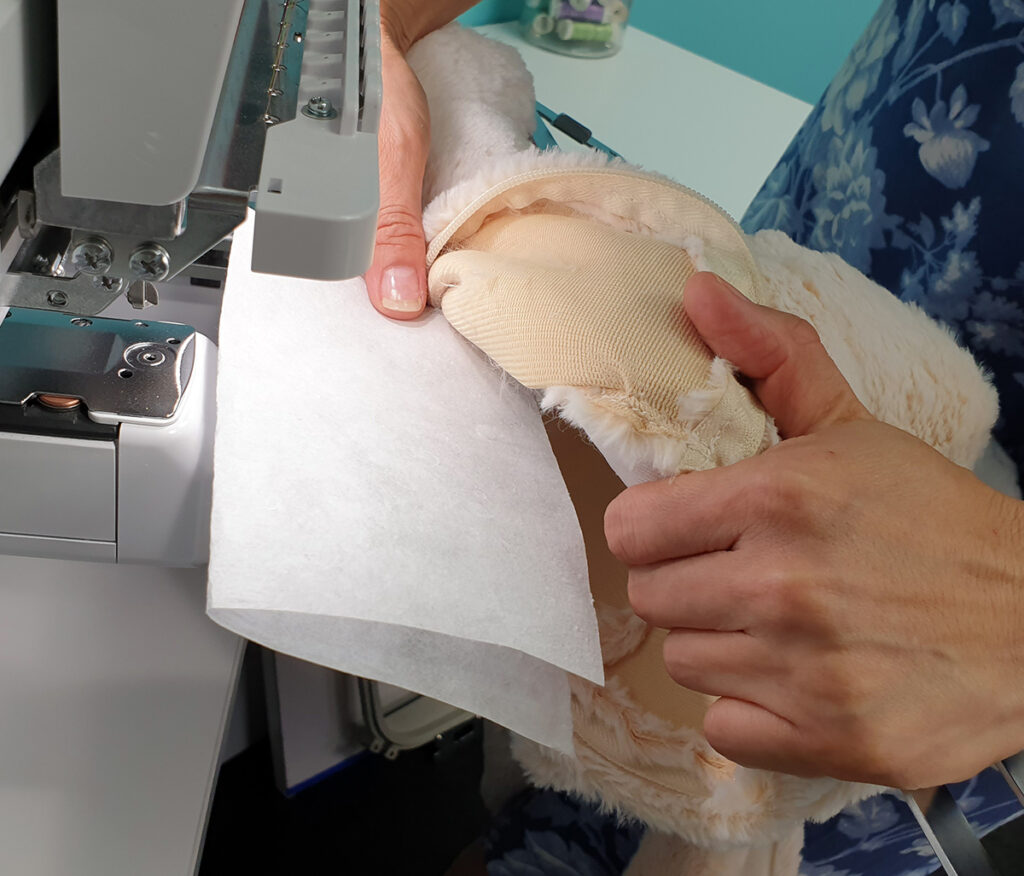
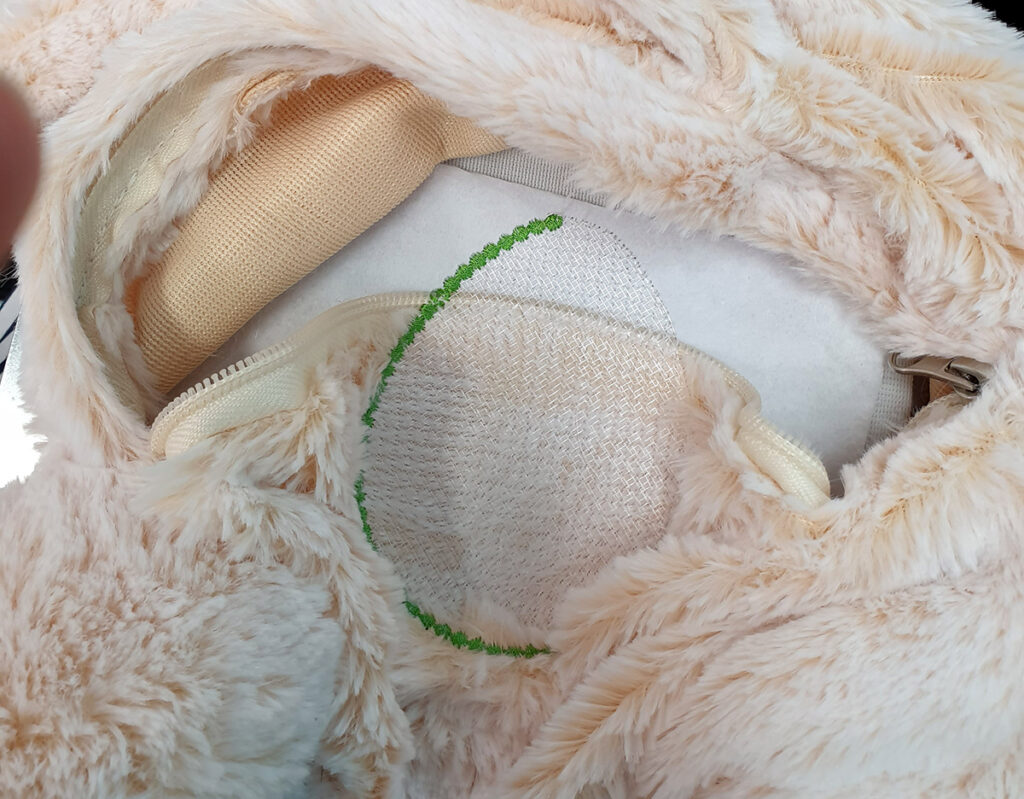
Make sure the back fabric of the toy is not caught under the front fabric that you will embroider on. It is an utter nightmare unpicking the embroidery if that happens. Trust me, I’m talking out of experience.  The image below is of my first attempt at embroidering the bunny, and I’m just glad I noticed what was happening way before the whole design got stitched out!
Important: You will need to turn your embroidery design upside down in Hatch Embroidery or when setting it up in your machine, because your stuffed animal will be upside down too.
Creating the Easter Egg Design
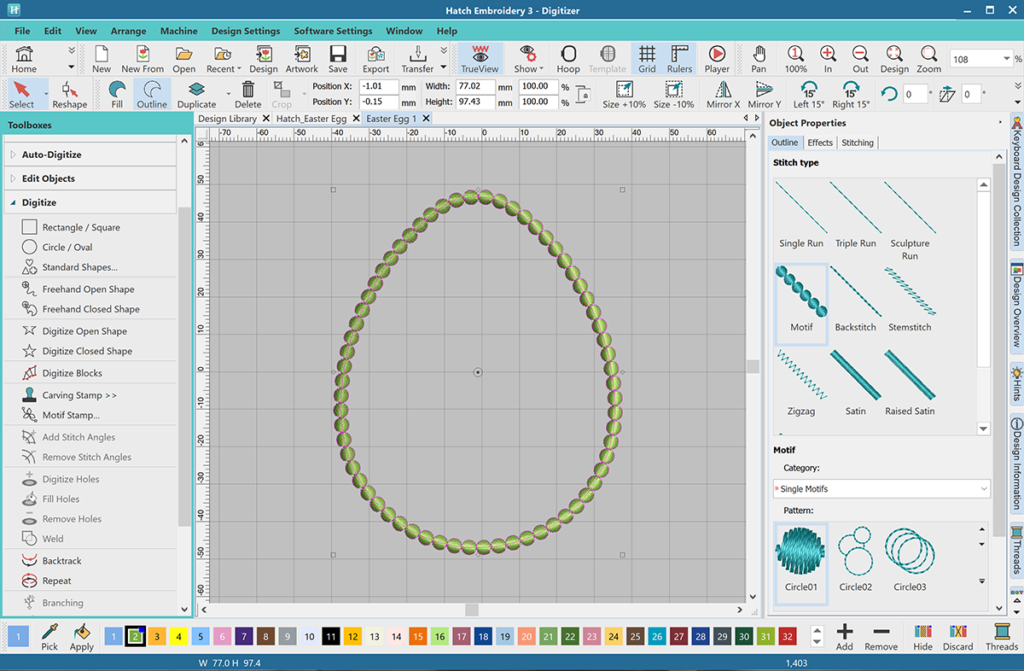
I digitized the outline of the Easter egg first and then changed it to Motif (Single Motif Circle 01) in the Object Properties Toolbox on the Outline tab.
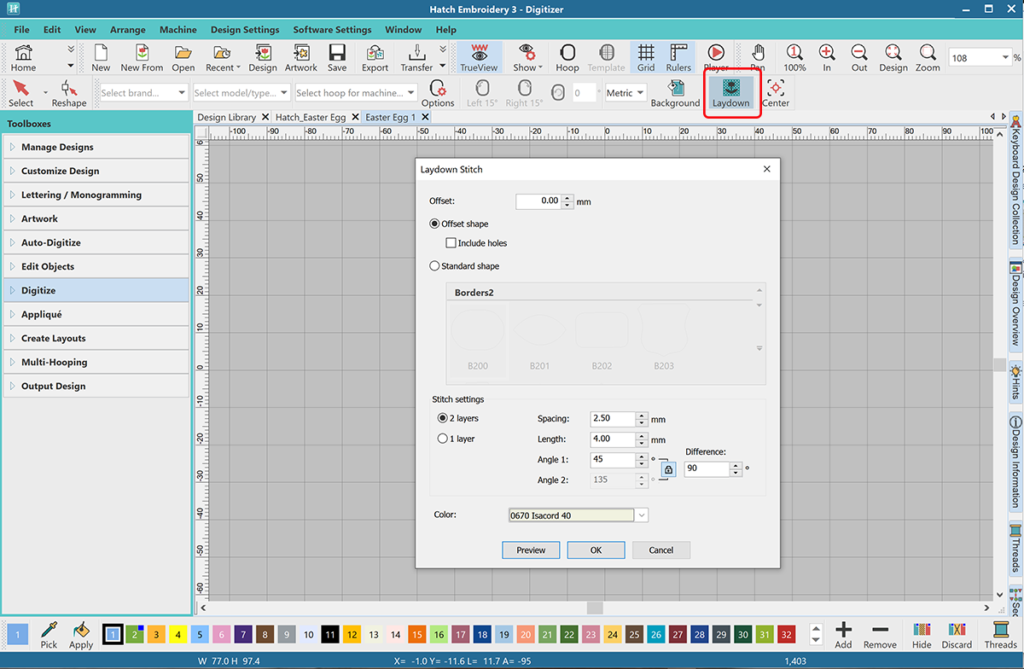
Hatch Embroidery has a wonderful tool called Laydown Stitch which is very handy when you embroider on high pile fluffy fabrics such as blankets, terry toweling or faux fur. It creates a mesh object that follows the outline of your design and it will push the fuzzy fabric or faux fur down, so the embroidery doesn’t sink and get lost in it.
Without selecting the object, I clicked the Laydown icon in the toolbar on the top of your screen. I changed the Offset to 0 and the color to cream to match the fur.
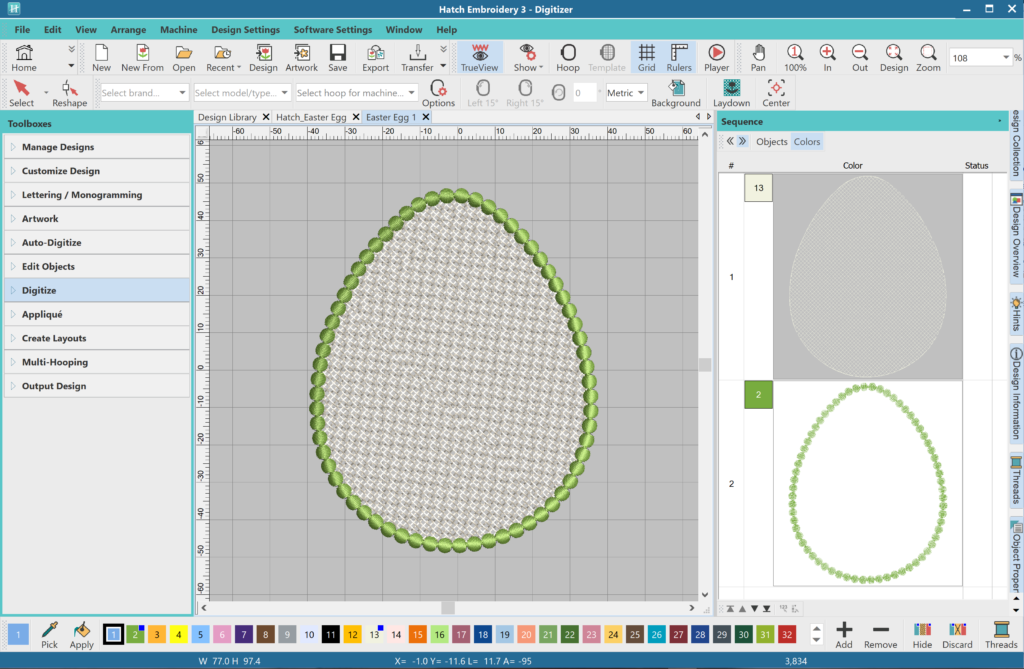
The laydown stitch object will automatically be placed in the first position of the stitch sequence.
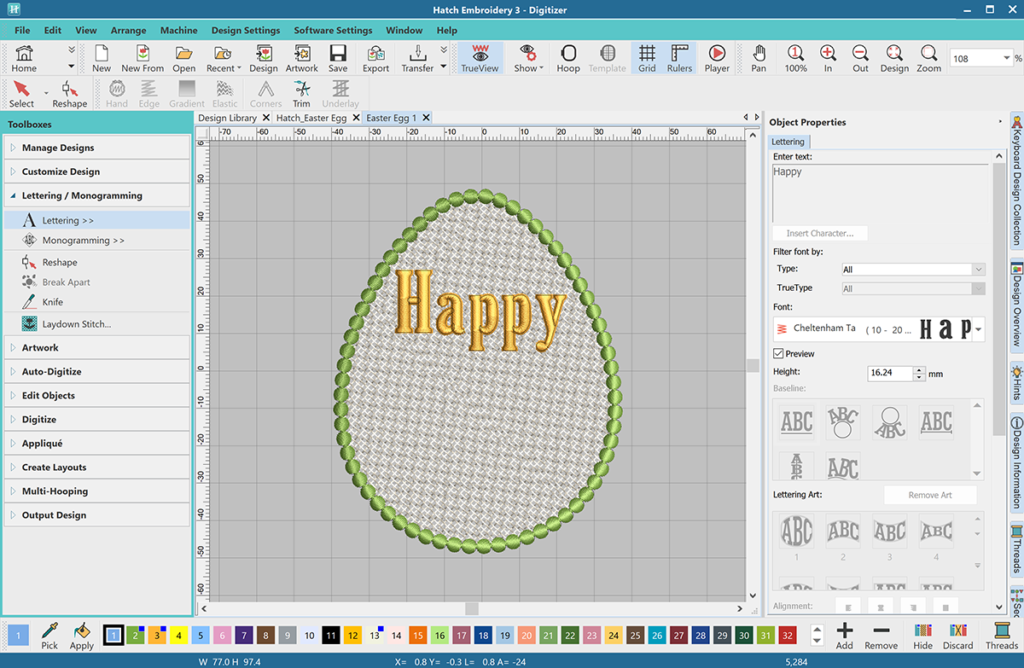
I used the Lettering tool in the Lettering/Monogramming toolbox to create the word Happy. I selected the Cheltenham Tall font.
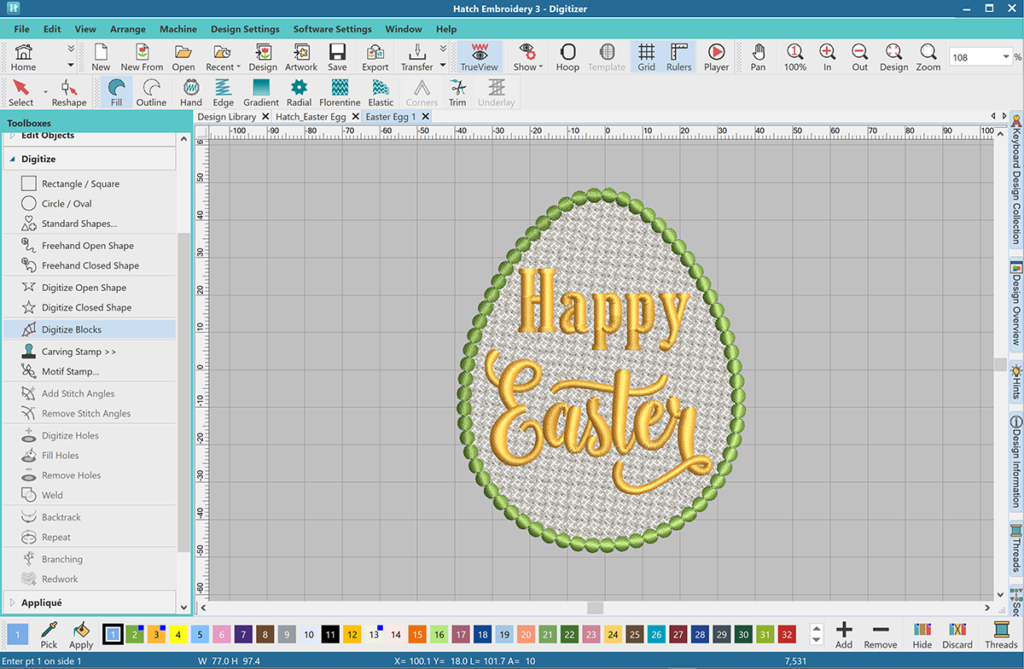
I manually digitized the word Easter using the Digitize Blocks tool in the Digitize toolbox. It is a great tool to digitize columns of varying width with turning stitches.
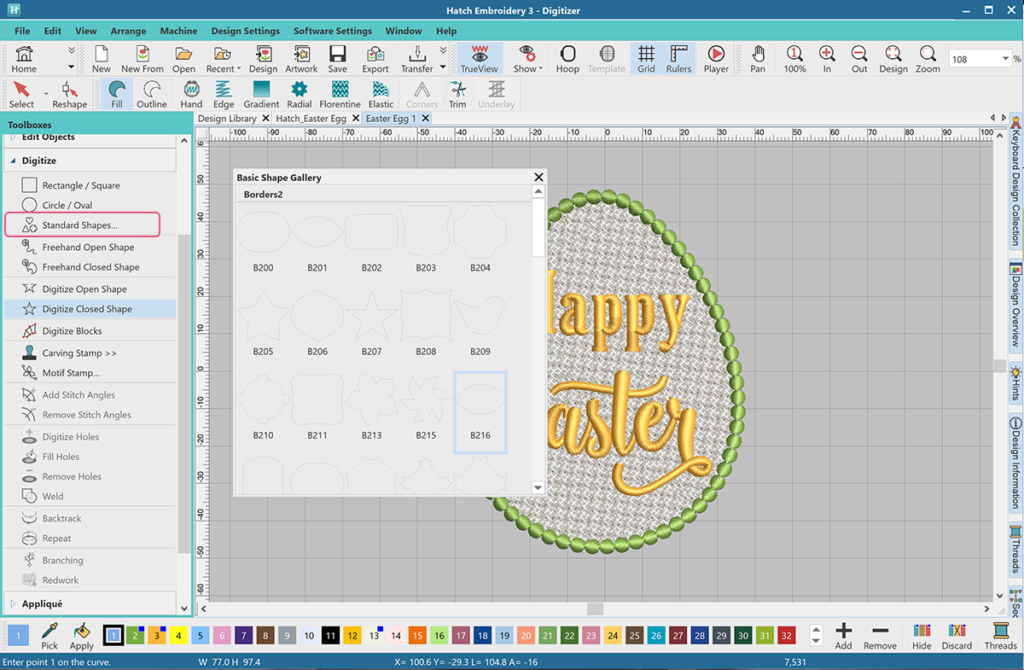
To add the floral decorative elements, I selected the B216 shape from the Standard Shapes tool in the Digitize toolbox. I changed the stitch to Satin, the color to pink and adjusted the stitch angle. I made 7 more copies and arranged them in the design. I slightly resized a few of them.
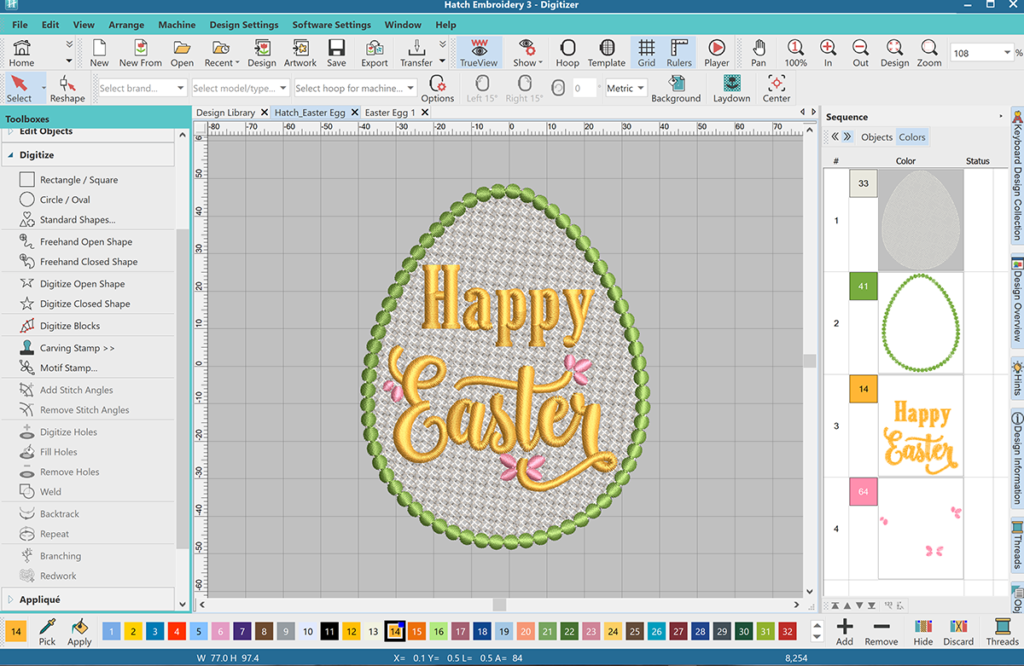
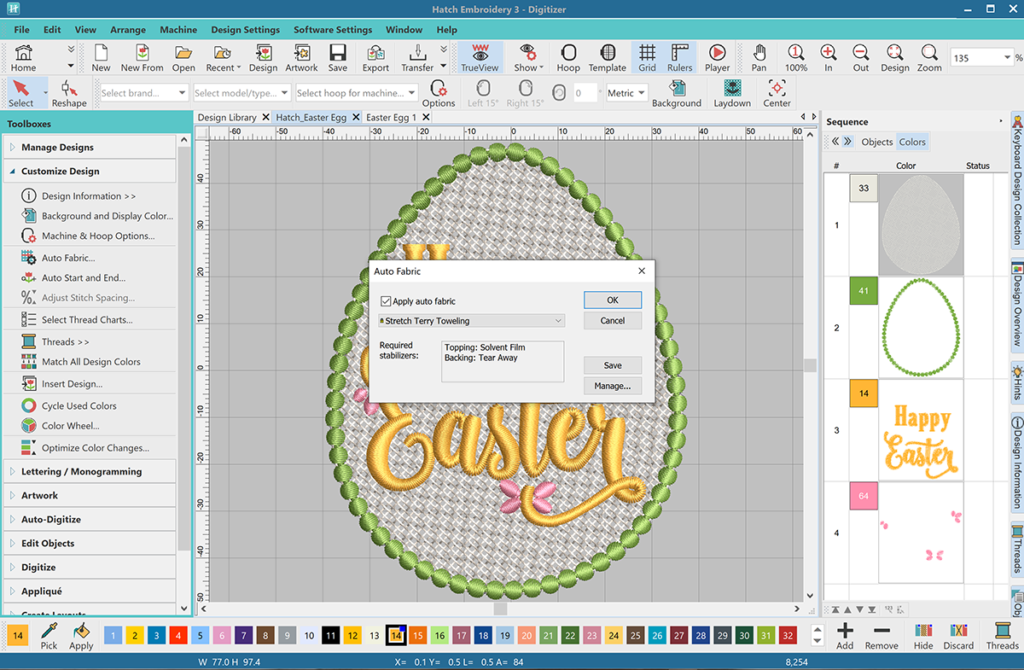
Finally, I used the Auto-Fabric tool in the Customize Design toolbox to recommend the best stabilizer and make adjustments to the design to suit the fabric. Although it was recommending a soluble topping, by adding the Laydown Stitch, I actually avoided having to use it.

Hatch Embroidery software products are in popular use in over 100 countries. It is time to join the global trend and give Hatch a try! The 30-day Free Trial grants you unlimited use of all the amazing features and the 30-day Money Back Guarantee ensures that there is absolutely no risk involved.

Hatch Academy
over 200 FREE Lessons

30 Day FREE Trial
all the tools & features

Money Back Guarantee
ease of mind

FlexPay
monthly instalments