When you trial Hatch embroidery or purchase it, you get access to over 400 beautiful professionally digitized embroidery designs. You can combine these designs, edit them as you wish, easily add some lettering and you can create something new without actually digitizing a thing.
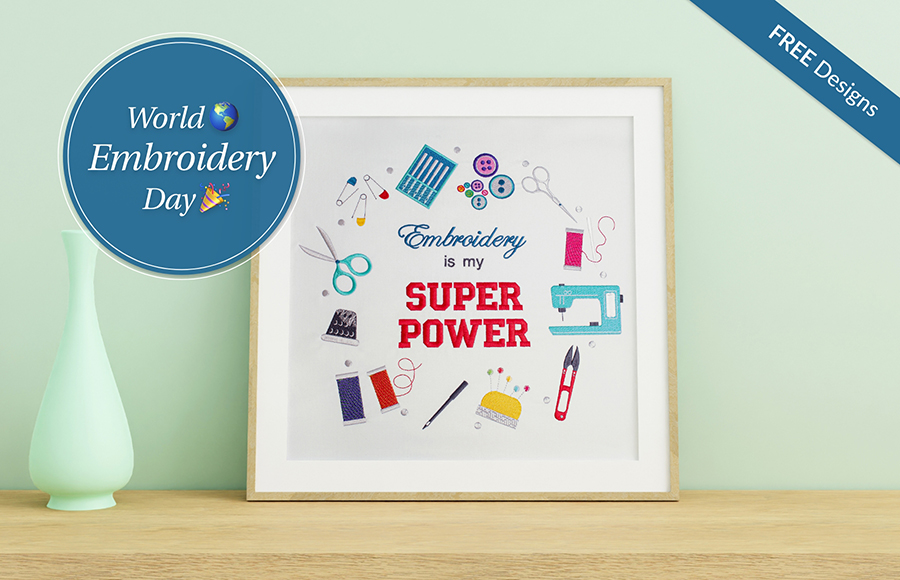
That is exactly what we did when we created this amazing and complex design. All the elements of the circle are included with Hatch Embroidery, we just combined them together, arranged them in a circle and added the text in the middle. It was really that simple.
If you want to be a bit clever with it, you can create a run stitch circle with the Circle/Oval tool and arrange the elements around it, but it is just an option.
Steps of Combining Designs:
1. Open up one of the designs you want to use. Select all the objects of the design (Ctrl+A) and group the elements (Ctrl+G).
2. Open another one of the designs, select all the objects of the design (Ctrl+A), group the elements (Ctrl+G) and copy it (Ctrl+C).
3. Go back to the first design and copy the second one Ctrl+V. Arrange the designs as you wish.
Keep repeating these steps with other designs you might want to add. Once you are happy with your design, you can move on to adding some text to it.
https://youtu.be/N5ORoXwP_d0
Adding Lettering to your Design:
Open the Lettering/Monogramming Toolbox and click the Lettering tool. It will open on the right hand of your screen. Type in the text you want to add. It will appear in your design space. You can select it by clicking it, then edit the size, color and font type. You can change the baseline or apply lettering art. It is a lot of fun trying out all the different options!
https://youtu.be/sYZV9seqUDU
Once you are happy with the elements and layout of your design, use the Optimize Color Changes tool in the Customize Design toolbox to reduce the number of color changes.
Also, use the Sequence docker to change the stitch out order of the colors and objects.
Learn more about how to use these tools here.
Top tips from our Head Digitizer:
1. Start the stitch out of objects from the middle to avoid puckering.
2. When you have a large design, stitch out objects in the same area at once even if they are different colors. This way the objects will line up better.T
Hatch Embroidery software products are in popular use in over 100 countries. It is time to join the global trend and give Hatch a try! The 30-day Free Trial grants you unlimited use of all the amazing features and the 30-day Money Back Guarantee ensures that there is absolutely no risk involved.

Hatch Academy
over 430 FREE Lessons

30 Day FREE Trial
all the tools & features

Money Back Guarantee
ease of mind

FlexPay
monthly instalments