Set underlay, change colors, pull compensation, and connectors using Object Properties
This week we are continuing to take further steps into lettering. If you missed our blog on getting started with lettering, click here to review them first. Our first video will show you how and why to make changes to your lettering via the Lettering Object Properties Docker. Our second video will show you all about changing the colors of your lettering, correcting spelling mistakes and simple customizing of your letters.
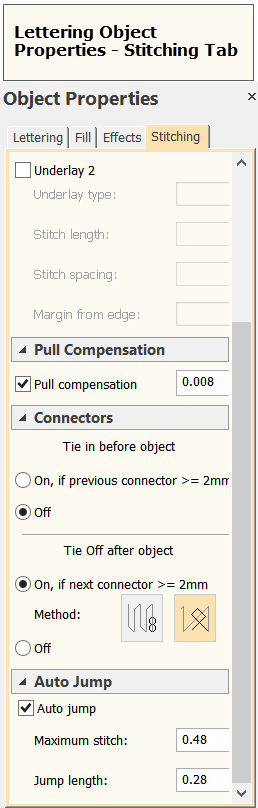
Stitching Tab in Lettering Object Properties
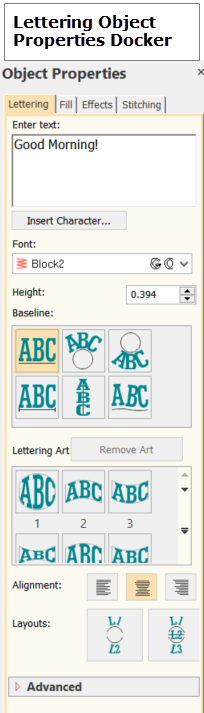
When you click on the Lettering feature in the Lettering/Monogramming Toolbox, you’ll see the Object Properties Docker open on the right hand side of your screen. This is where you can enter your text and easily make lots of changes to your lettering. Our video today will focus on the Stitching Tab that you will find in your Lettering Object Properties Docker.
In the Stitching Tab we will cover underlay, pull compensation settings, and options for tie in and tie offs.
Underlay is used to attach backing material to work. You have 5 options to choose from. Test each option and then mix-and-match one or two options at once to suit your design. Pull compensation is all about the tension of your thread on your design. The firmer the fabric the less compensation is applied. This video takes you through how to find your ideal compensation. We also discuss connectors which are used to control machine functions between embroidered objects. This is a great time-saving function that can be used with tie ins and tie offs.
Changing and Customizing Letters on a Baseline
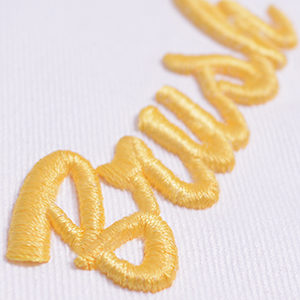
This video helps you adjust your lettering text once you have added it to your design. Whether you want to add or remove a letter to correct spelling mistakes, change colors or adjust your entire lettering baseline, the video will take you through the steps to achieve your final vision. You can even adjust single letters along your baseline. Change the font, color or both. By keeping all your lettering on the same baseline, you can make easy adjustments to the entire base and use the reshaping techniques. We will talk about reshaping techniques in another video so stay tuned to your weekly blog posts.
Click here to download!
Remember to play around with your software and experience all the options, learn and most importantly, have fun!
Customizer - The perfect Lettering software for professional results!
Hatch Embroidery Customizer includes 60 professionally digitized fonts and gives you world-class lettering and monogramming. Read more.
The full Hatch Embroidery Digitizer level includes and incredible 86 professionally digitized fonts. It also gives you the power to create extraordinary embroidery designs. Read more.