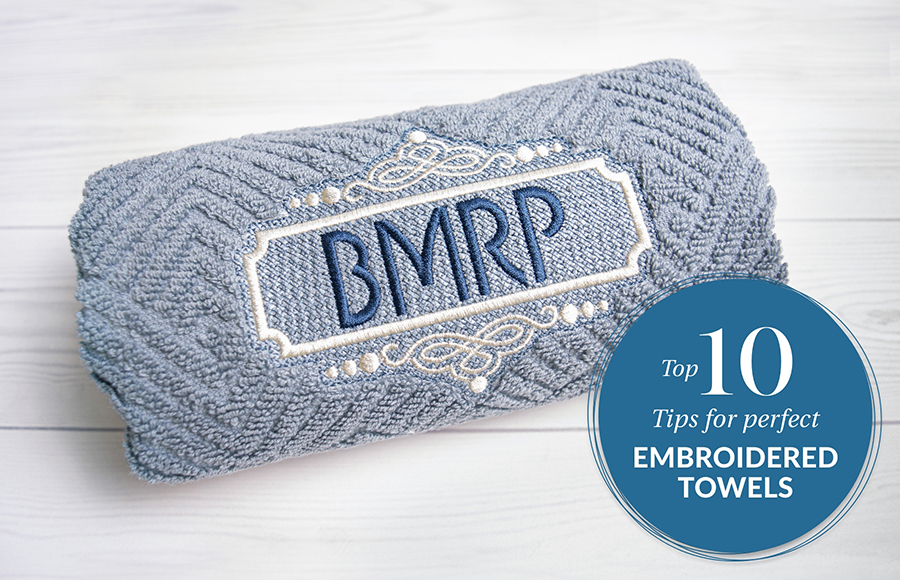
For best results with your next towel embroidery project
Discover the joy of embroidering on towels with our top 10 tips. Whether you’re a novice or an experienced digitizer, these expert insights will help you create stunning designs on this versatile and durable fabric. From decorative pieces to personalized gifts, towel embroidery is a rewarding project that guarantees adorable results. Join us as we dive into the world of towel embroidery and elevate your stitching skills. Let’s get started!
Terry toweling is a favorite among embroiderers because it’s easy to find, can be used in many ways, and is simple to work with. These towels make great decorations and can handle regular use without getting damaged. Plus, they’re perfect for creating personalized gifts! Whether you’re a beginner or experienced, if you want to create cute designs, towel embroidery is just what you need. Join us as we explore the world of towel embroidery and have fun bringing your ideas to life!
1. Wash and dry your towel beforehand
Before you start embroidering, remember to wash your towel first. This step is crucial to ensure a clean surface for your embroidery. By washing the towel beforehand, you remove any dirt, oils, or residues that may interfere with the stitching process. So, make sure to give your towel a good wash, and then you’ll be all set to create beautiful embroidered designs on it.
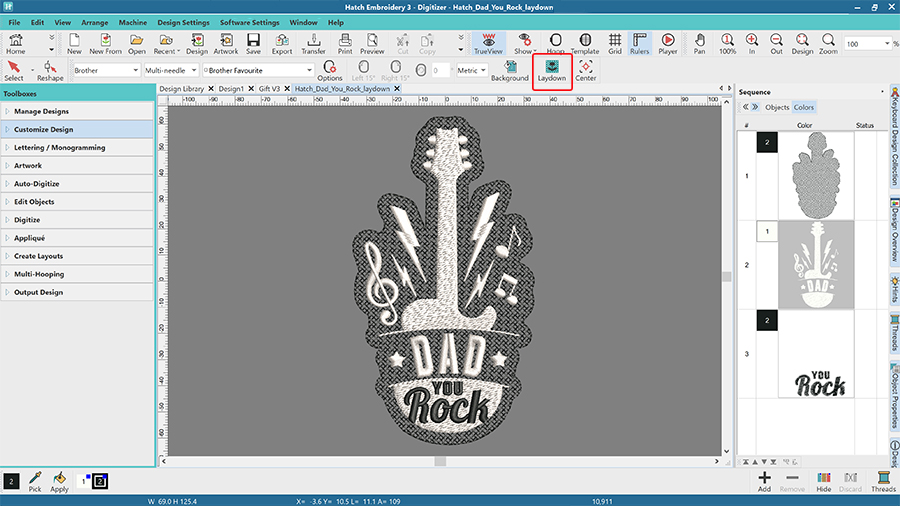
2. Use the Laydown Stitch tool
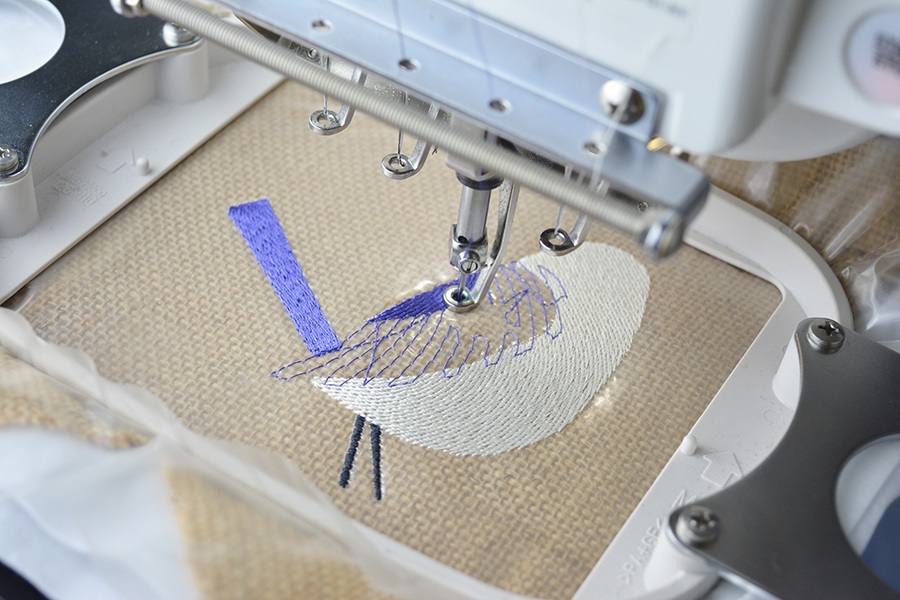
The Laydown Stitch tool in Hatch Embroidery creates a base layer of light grid style fill that is placed under lettering, monograms, or any other embroidery designs. It is automatically placed to be stitched out first. It holds down the high pile of towels to allow the embroidery design to stand out more.
It is best to choose embroidery designs with solid stitching because delicate or thin stitches will get lost in the towel texture. Solid patterns and stitching are more stable and are better suited to the traditional wear and tear that comes with toweling.
Learn more about the Laydown Stitch tool in Hatch Academy.
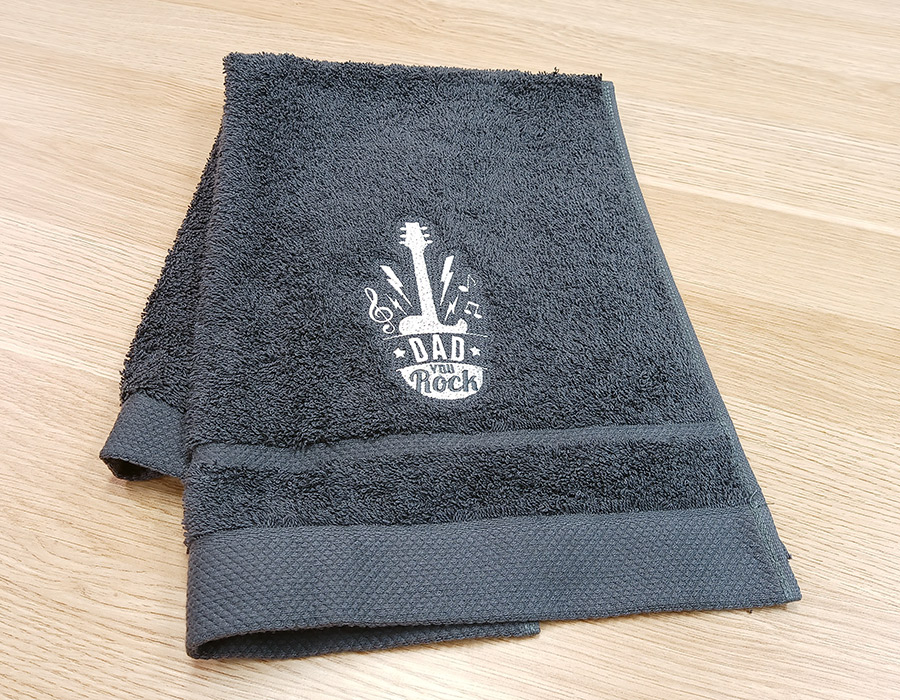
3. Play around with placement, and use what works for you!
Centre your design approximately 4 inches above the lower border of your towel. This is the standard placement for larger ones like bath towels or beach towels and will look great when folded. Our handy placement guide for monograms is also a great reference tool.
A 14 needle is extra sharp and is great for penetrating fabric without distressing it. These are the sizes that are generally recommended however they are not universal. Instead it is more advisable to use these sizes as a starting point and go wider or narrower from there. Again, it’s about trial and error and using what feels comfortable for you.
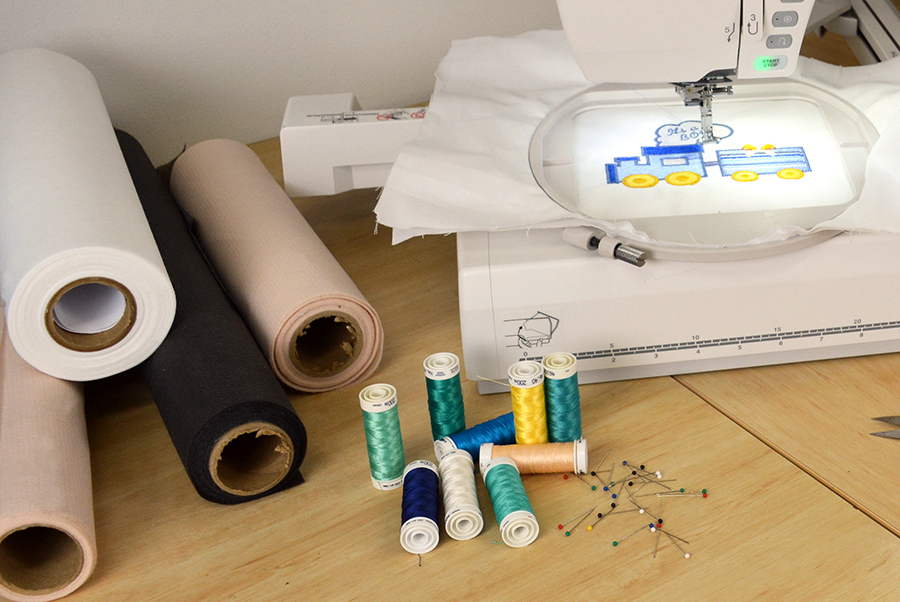
5. Use a tear-away stabilizer
Whilst you can basically use any stabilizer for towels, using a tear-away stabilizer will give you the tidiest finish. Just slide a sheet of the stabilizer under your hoop once it’s attached to your machine.
6. But there are alternatives...
If you don’t have any tear-away stabilizer, you can also use cut-away. For more information visit our blog Taking the Headache out of Embroidery Stabilizers and download the free stabilizer guide.
7. Use a water-soluble topping
If you are not using the Laydown Stitch tool, it is recommended that you use a water-soluble topping. This is to ensure your stitches don’t get lost or sink into your towel. The topping will sit over your design as your machine does the work. It is a clear plastic material which can be easily removed by tearing and then wiping the remnants away with a damp wash cloth.
8. 'Float' your towel
Sometimes your towel may be too thick to hoop together with your stabilizer and topping. If this is the case, hoop cut- away stabilizer and simply lay the towel on top of it instead of hooping it. This called ‘floating’.
9. Use a spray-on adhesive
If you decide to float your material, you can use spray-on adhesive to keep your fabric attached to the stabilizer while you are embroidering. This will help your layers stay in place and it won’t add any distress on your items.
Note: some embroiderers use pins instead.
10. Use a design template
This will ensure your placement comes out perfectly. There are templates that come with software and some that come with the embroidery machines. If your software or machine does not come with a template you can purchase them or download a basic one from the internet. Your Hatch Embroidery software will allow you to print out the design with reference marks that you can use as a template.
And a little something extra…
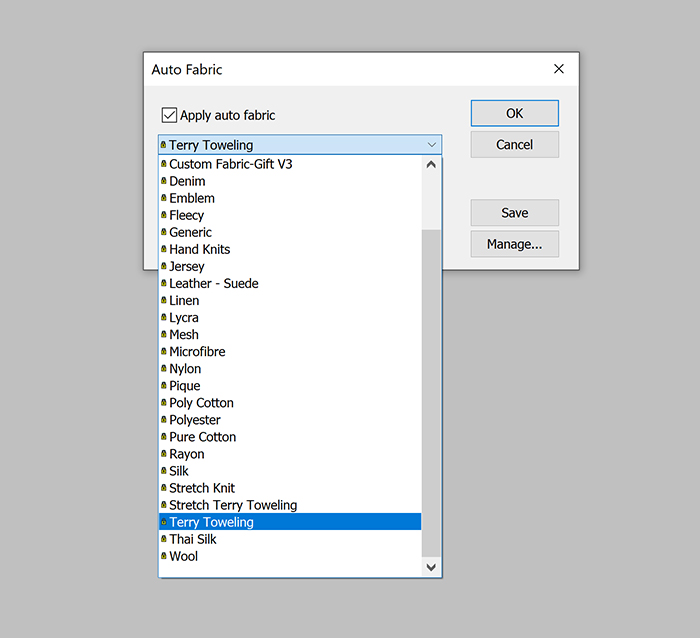
Use the Auto-Fabric feature of Hatch Embroidery software to pre-set your design to the type of fabric you are using. Simply select your type of fabric and it will adjust the stitch settings to best sew on that fabric! Just one of the many amazing features in the Hatch Embroidery software.
We hope you find these tips useful,. Towels are truly a great and versatile medium for embroidery projects!
Hatch Embroidery software products are in popular use in over 120 countries. It is time to join the global trend and give Hatch a try! The 30-Day Free Trial grants you unlimited use of all the amazing features and the 30-Day Money-Back Guarantee ensures that there is absolutely no risk involved.