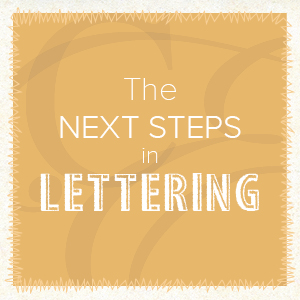
Embroidery enthusiasts, rejoice! In this article we’re shining the spotlight on a feature that’s sure to elevate your embroidery game: creative Lettering. This isn’t just your ordinary typing tool; it’s a powerhouse of creative potential waiting to be unleashed.
Creative Lettering Feature Overview: A Symphony of Fonts and Styles
Imagine a world where your embroidery projects are not just stitched but tell a story with every letter. Hatch Embroidery’s creative Lettering tool is here to turn that imagination into reality.
• Extensive Font Library: With up to 124 professionally digitized fonts in Digitizer, 72 in Composer and 62 in Personalizer, the Lettering tool opens the door to a diverse range of styles. From multi-color and fancy embroidery fonts, your creative palette just got broader.
• Flexibility Unlimited: Not satisfied with the pre-loaded fonts? No problem! Hatch embraces TrueType and OpenType Fonts, giving you access to an infinite array of lettering possibilities. Explore even further with Add-on Font Packs, offering 25 packs and a total of 73 fonts to fuel your creativity.
• Artistic Control: The Lettering tool isn’t just about typing; it’s about artistic expression. Tweak your lettering with adjustable height, baseline options, different art styles, alignment choices, and multi-line layouts. The power is in your hands to create the perfect harmony of letters.
• Shape Your Vision: Refine your lettering with reshaping tools that provide precise control. Scale vertically or horizontally, rotate, adjust spacing, reshape baselines, and even break apart lettering into individual components for unparalleled editing freedom.
• Special Characters and Symbols: Elevate your designs with special characters, flair additions, and monogram font sets. The Knife tool, available in Digitizer, lets you make intricate changes to each letter, adding a personalized touch to your creations.
Benefits: Empowering Your Creative Journey
The Lettering feature isn’t just a tool; it’s a companion on your creative journey. Here’s why you should embrace it:
• Diverse Font Styles: Choose from a rich library of fonts to match your project’s personality.
• Artistic Flexibility: Enjoy the freedom to edit, reshape, and customize lettering objects to suit your unique design needs.
• Endless Creative Potential: Combine Lettering with other Hatch design tools for a vast array of creative possibilities.
How to Use: A Step-by-Step Guide
1.Select Your Canvas: Begin with a new design window or open an existing design where you want to add lettering.
2.Access the Lettering Toolbox: Navigate to Lettering/Monogramming and select Lettering to open the Lettering docker.
3. Type Away: Enter your text, add special characters, and choose your font from the dropdown menu.
4. Adjust Settings: Fine-tune your lettering with height, color, and font size adjustments. The Design Colors toolbar is your canvas for color exploration.
Making Adjustments: Mastering the Art of Edit
Now that your letters are on the canvas, it’s time to shape them to perfection. Depending on your Hatch Embroidery level, here are some adjustment techniques:
1. Lettering Object Properties Docker: Explore baseline options, lettering art styles, alignment, and advanced settings to refine your design.
2. Select Object in the Design Window: Single-click to stretch or resize, double-click for rotation and skew controls, and utilize the context toolbar for additional adjustments.
3. Reshape Tool: Dive into precise control with triangular and baseline control points, reshaping diamonds, and more. Learn more here.
4. Break Apart Tool: (Composer & Digitizer): Dissect your lettering into components for intricate editing.
5. Knife Tool: (Composer & Digitizer): Sculpt your letters manually with the Knife tool, adding a bespoke touch to your design.
Tips and Tricks: Unleash Your Embroidery Wizardry
• Sewing Sequence Mastery: Optimize your sewing sequence to minimize registration issues and enhance your stitch-out quality.
• Object Repurposing: Use lettering objects as the foundation for new designs, experimenting with embellishments, resizing, and different stitch types.
• Nap-Flattening Magic: Before stitching on fabrics with a nap, like terry toweling, employ the Laydown Stitch feature to ensure a smooth, professional finish.
Embark on Your Lettering Journey: Learn, Create, Inspire
To dive deeper into the Lettering feature, check out the Hatch Academy. Whether you’re a beginner or a seasoned pro, there are lessons and resources waiting for you:
• Getting Started with Hatch 3: Learn the basics of lettering, adding it to a design, and managing your personal data. • Hatch Toolboxes HT: Explore lessons on lettering and monogramming, changing sizes and baselines, going beyond the basics, and repurposing designs. • Online User Guide – Lettering: Find additional hints for mastering the Lettering tool on Hatch’s online help platform.
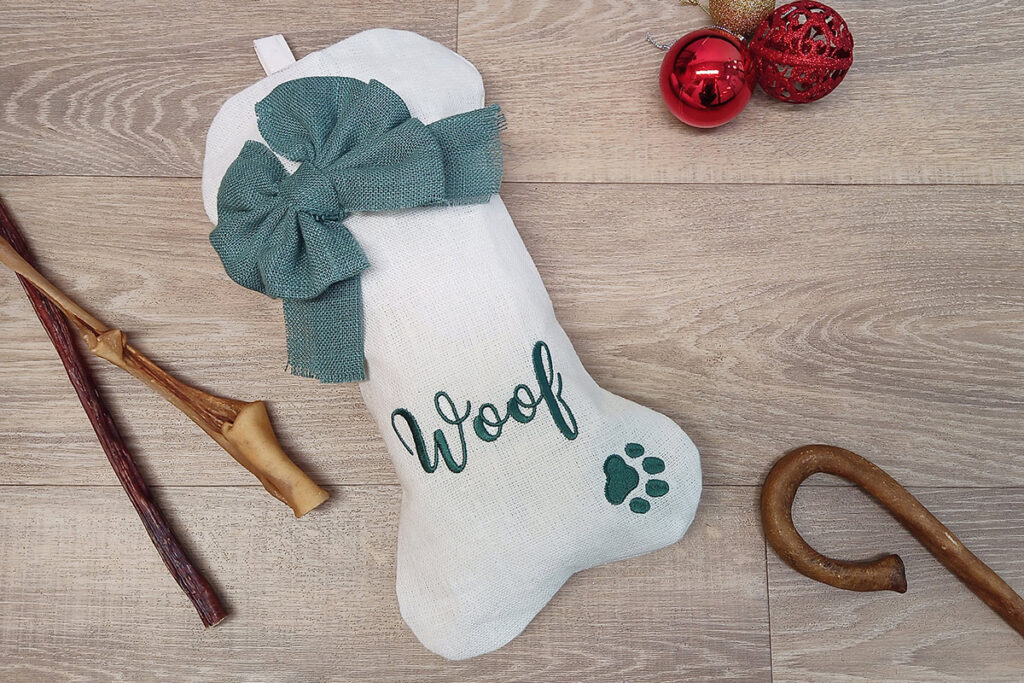
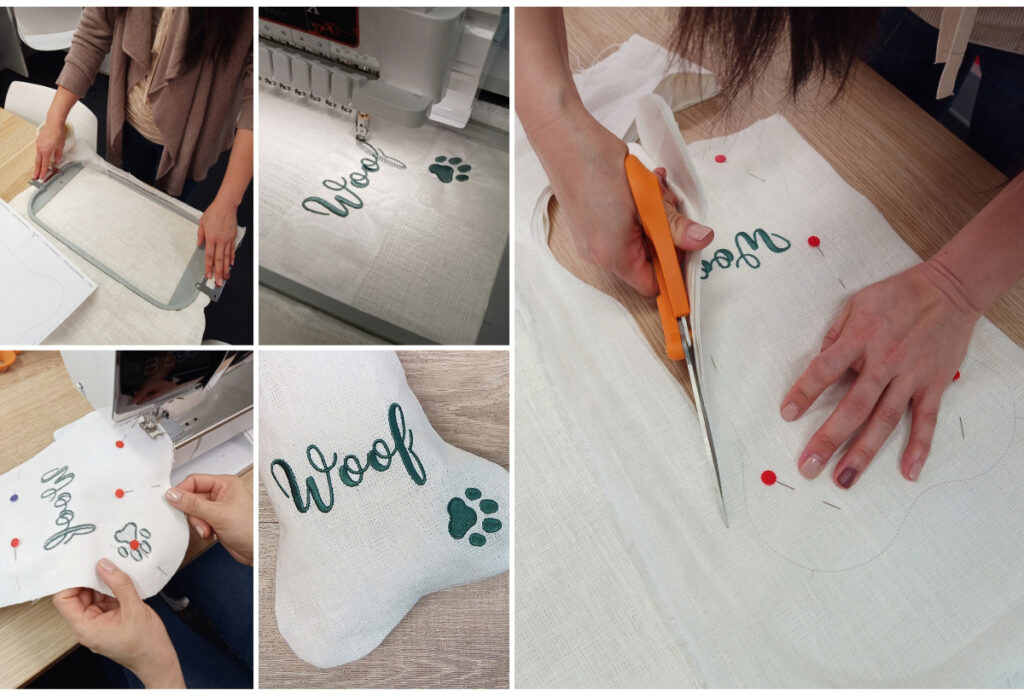
Surprise your beloved pet with a stocking full of treats this Christmas! Download the design and watch the instructional video below to see how to make this lovely stocking.
Tips from our master digitizer Mai:
The design was made to fit in the hoop without seam allowance, you will need to add your own.
If you don’t have a hoop big enough for the provided emb file, you can always convert the bone outline into vector, resize, print and use it as a cutting pattern.
Hatch Embroidery software products are in popular use in over 120 countries. It is time to join the global trend and give Hatch a try! The 30-Day Free Trial grants you unlimited use of all the amazing features and the 30-Day Money-Back Guarantee ensures that there is absolutely no risk involved.